Español
¡Hola querida comunidad Creativa!
Hoy nos volvemos a encontrar con una actividad manual fácil y sencilla pero, muy útil, se trata de Las bolsas de regalo que vienen en una diversidad de tamaños. También son costosas, sobre todo si se trata de las más grandes y pesadas, y no siempre obtienes exactamente la que en realidad deseas. No obstante, puedes hacer la tuya propia y guardarla para la próxima vez que debas darle un regalo a alguien. Acompañe en este tutorial que con mucho cariño he preparado para todos ustedes, ya no es una excusa poder realizarla.
Inglés
Hello dear Creative community!
Today we meet again with an easy and simple manual activity but, very useful, it is about The gift bags that come in a diversity of sizes. They are also expensive, especially if they are the larger and heavier ones, and you don't always get exactly the one you actually want. However, you can make your own and save it for the next time you have to give someone a gift. Follow along in this tutorial that I have lovingly prepared for all of you, it is no longer an excuse to be able to make it.


Tomamos una hoja de color (el que ustedes deseen igual a una tipo carta tradicional A4 doblamos por la mitad y juntamos cada extremo.
We take a colored sheet of paper (the one you want, the same as a traditional A4 letter), fold it in half and join each end.

Abrimos nuevamente la hoja y doblamos a la cuarta parte como lo indica la imagen.
We open the sheet again and fold it to the fourth part as shown in the image.

Demos pegar los extremos que coincide, preferiblemente con pega en barra, doblamos la parte inferior aproximadamente 5 cm hacia arriba.
Let's glue the matching ends, preferably with glue sticks, and bend the lower part upwards by about 5 cm.


Para la base, la trabajaremos de la siguiente manera: abrimos y aplanamos, cuadramos cada extremo y hacemos presión, por último pegamos en el centro y dejamos secar.
For the base, we will work it as follows: we open and flatten, square each end and press, finally we glue in the center and let it dry.


Doblamos los bordes 2 centímetros aproximadamente hacia adentro, marcamos bien para que las líneas queden bien fijadas, este procedimiento lo repetimos en los dos lados. abrimos y volvemos a fijar las líneas que le dará forma a nuestra bolsa, en la base pegamos por la parte interna un pedazo de cartón para dar firmeza
We fold the edges approximately 2 centimeters inwards, we mark well so that the lines are well fixed, we repeat this procedure on both sides. we open and fix again the lines that will give shape to our bag, at the base we glue a piece of cardboard on the inside to give firmness.


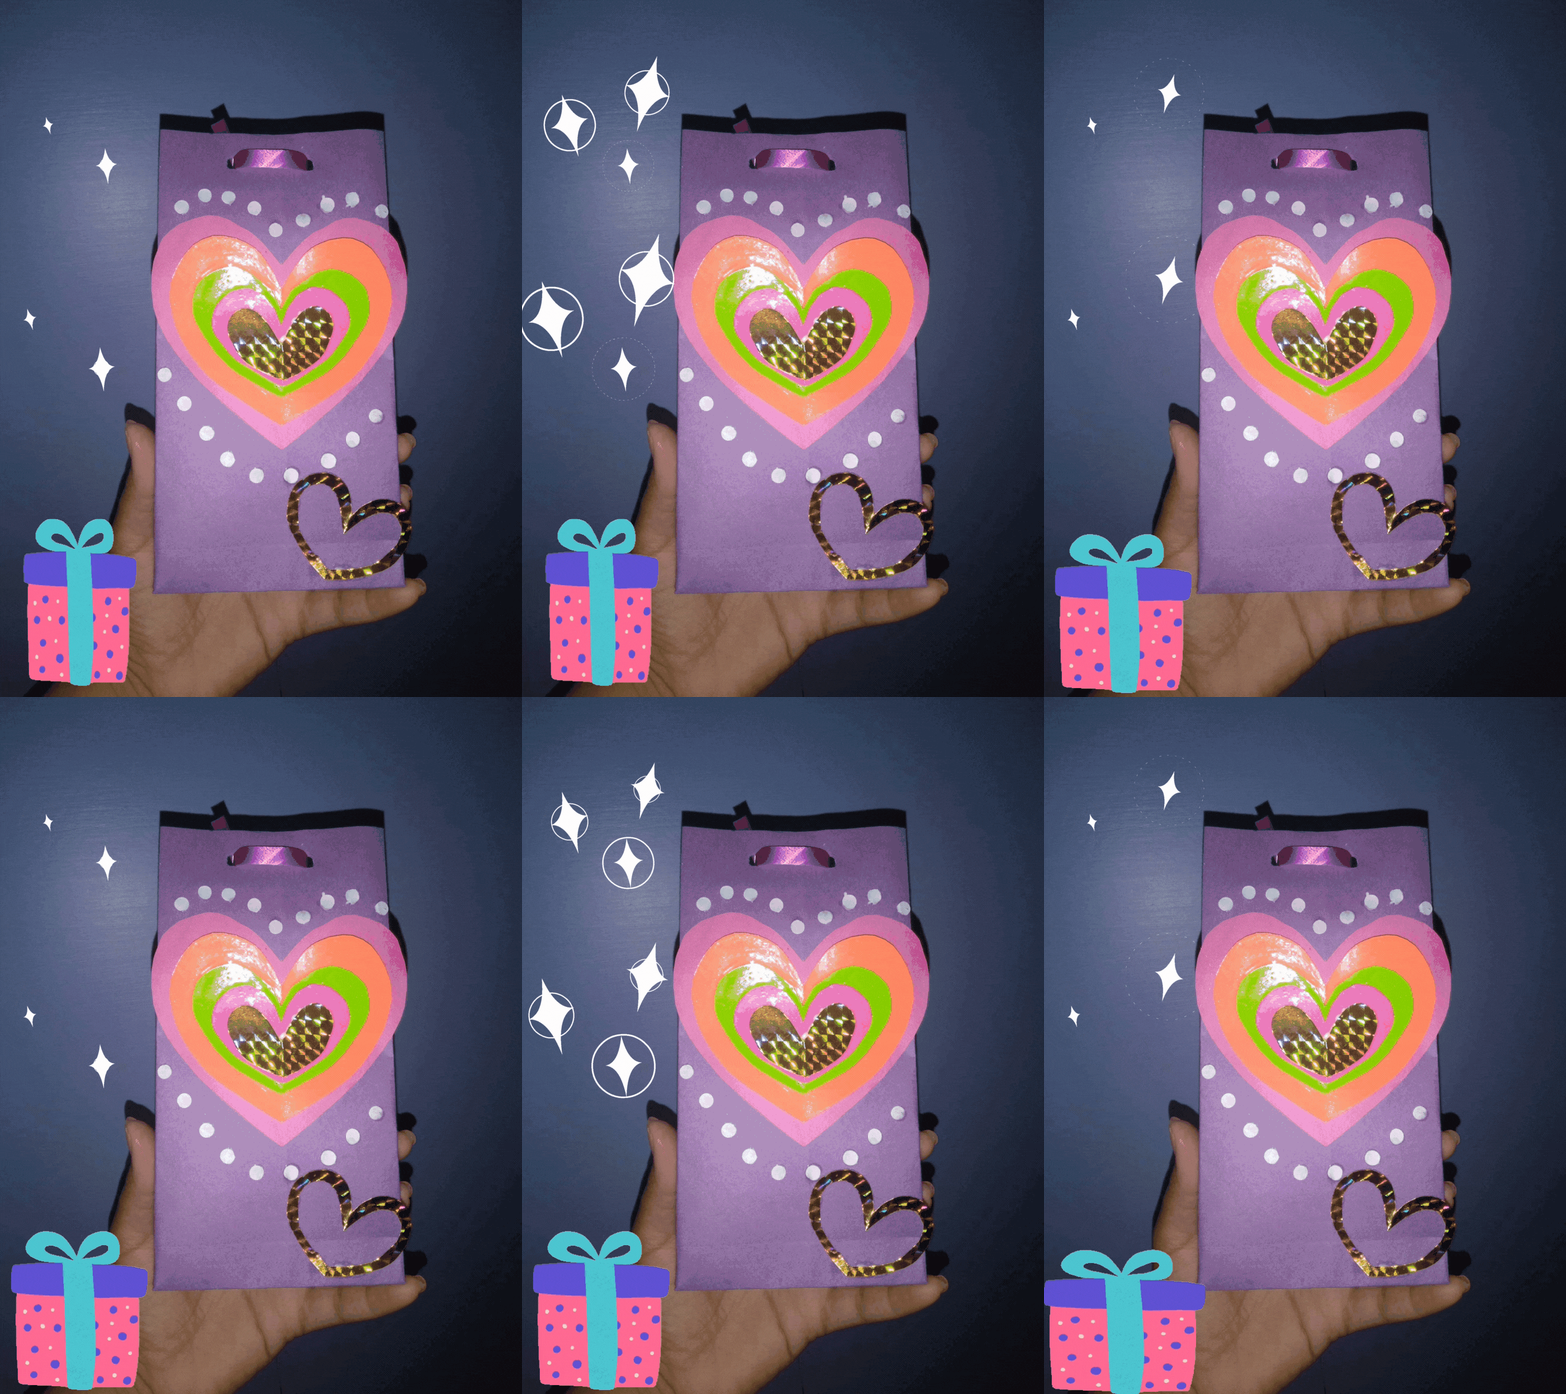
El decorado queda a criterio de cada quien, en este caso quise hacerla de corazones, utilizando pequeños recortes de cartulina de varios colores y uniéndolos entre si, realice puntos en hojas blancas y pegué a la bolsa
The decoration is up to each person, in this case I wanted to make it with hearts, using small cardboard cutouts of various colors and joining them together, I made dots on white sheets and glued them to the bag.
RESULTADO FINAL
RESULTADO FINAL


Todas las imágenes sin fuentes son de mi propiedad.
Utilice traductor DeepL versión gratuita
Imágenes, separadores, banner hechos en Canva
Contenido original de @marytp20
All images without sources are my property.
Use translator DeepL free version
Images, separators, banner made in Canva
Original content by @marytp20

Congratulations, your post has been Manually curated by @r2cornell. You can use the tag #R2cornell. Also, find us on Discord
Felicitaciones, su publicación ha sido votada Manualmente por @r2cornell. Puedes usar el tag #R2cornell. También, nos puedes encontrar en Discord
Esta publicación ha recibido el voto de @blurthispano, una iniciativa dedicada a promover el contenido de calidad de la comunidad hispanohablante . Te invitamos a usar el tag #blurthispano. Nos puedes encontrar en Discord
Vota por nosotros como Testigo (Witness) en el siguiente enlace Testigo / Witness