As you know, we need a web server to publish our websites on the internet. This service, which can be obtained from various companies under the name of hosting service, can be done with a physical server according to the need or preference. In this course, I will discuss the processes we need to do to get a hosting server from scratch.
Our system will run on Linux/CentOS and I will use cPanel as the control panel. After that, we will make it ready for publication by performing its settings and optimizations.
First of all, we need a physical server. This may be a physical server, a rack server, or a computer vault that you have collected yourself. Of course, its characteristics depend on preference, but in order for web services to work comfortably, you need to have a minimum of 4 GB of Ram, 128 GB of Hard Disk and an Internet speed of at least 100 MB/s.
You can host this server in your own home, as well as rent a Dedicated Server from various companies that provide Internet services. These Dedicated Servers are the virtualized version of a regular physical server. It is usually up to your preference to use a different virtualization system that is delivered ready-made with the Linux operating system and the VMware virtualization system after it is rented, but I will explain it that way because it is widely used in ESX. After the order, your root password along with your ip addresses will be sent to you.
I assume that you have performed all these operations and rented your Dedicated Server, and this is 1. in our lesson, I'm starting to explain how to partition a Dedicated Server and how to install a CentOS operating system on it with an image...
First, you type the ip address transmitted to you in your internet browser, and then you download the program called "Download vSphere Client", which comes out, after opening the program you downloaded, the following screen appears in front of you.
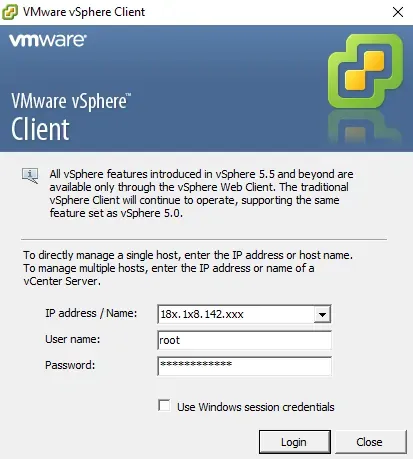
- section: Your ip address transmitted to you.
- section: root
- section: Your password transmitted to you.
You type the following information and press the Login key.
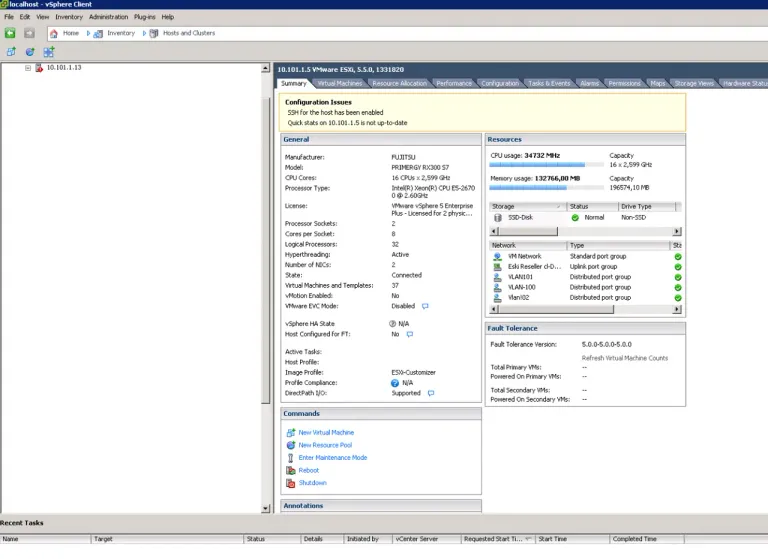
After logging in, we are faced with the administration panel of our server. As we can see our server properties on the right side, we can also see and intervene from the server's disks to all network and process logs from the menus at the top right.
First of all, we are downloading CentOS7 ISO from the address below.
http://ftp.linux.org.tr/centos/7/isos/x86_64/CentOS-7-x86_64-DVD-1708.iso
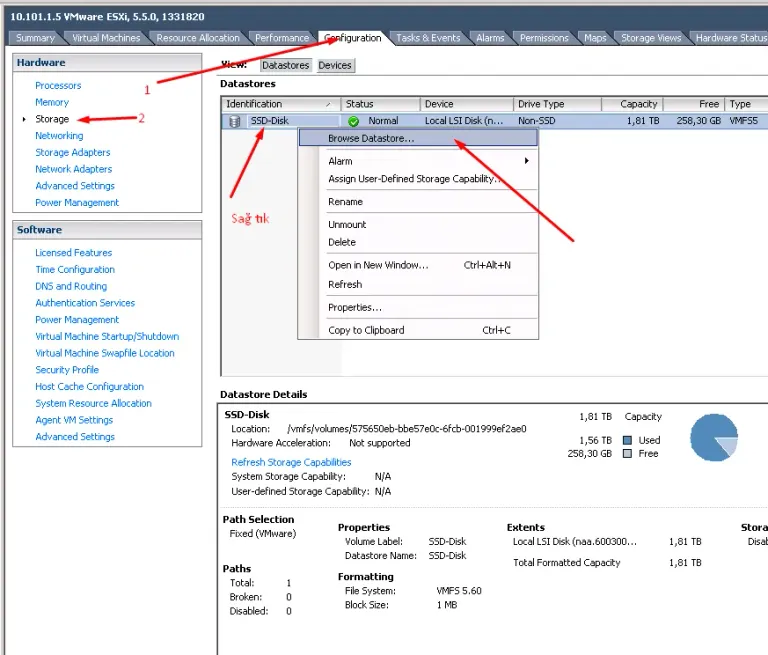
After selecting Browse Datastore,
We select the ISO we downloaded by pressing the Upload button and wait for it to be installed on our server's disk.
After the ISO is installed,
To create a Virtual Server (VDS), first select our server from the top left and;
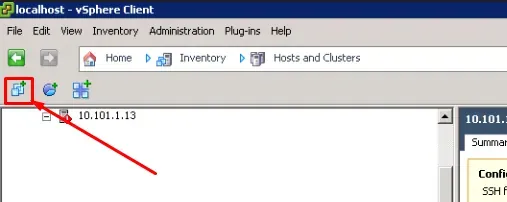
We press the "New Virtual Machine" key and the installation screen appears.
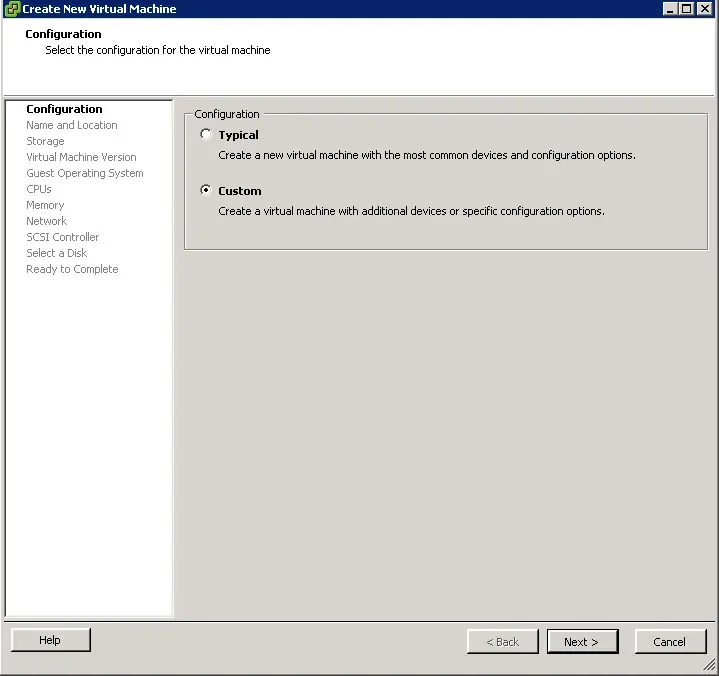
We select "Custom". Then we press the Next key.
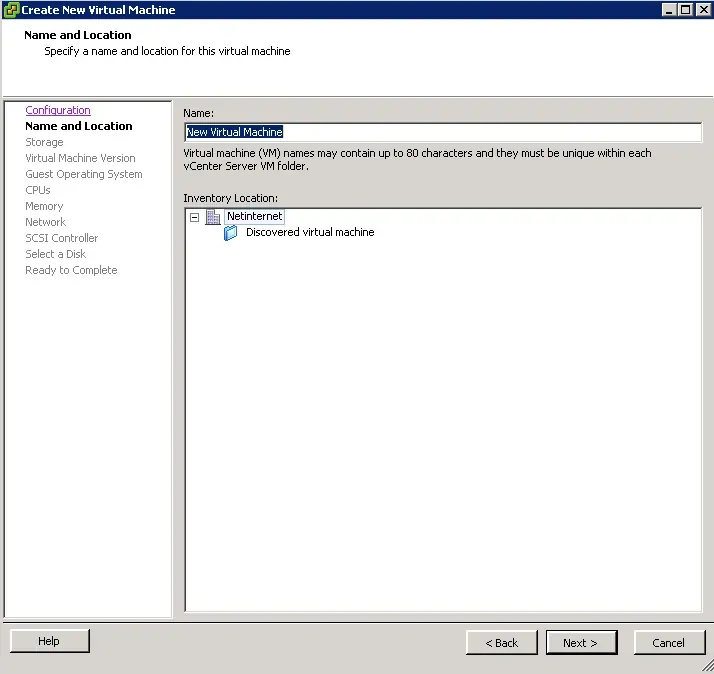
We write a name in the New Virtual Machine section and continue with Next.
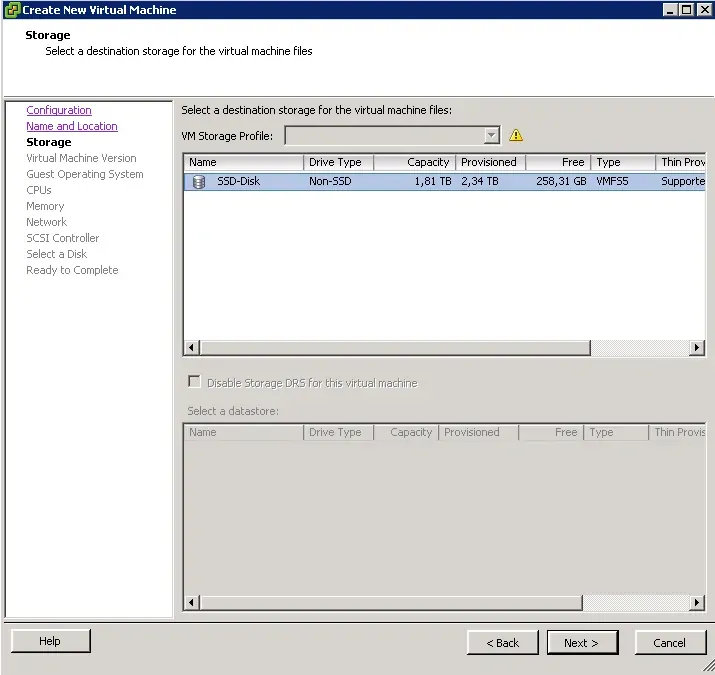
We select one of the disks attached to the server, it already seems to be selected because there is only one disk attached to my server. We continue with Next.
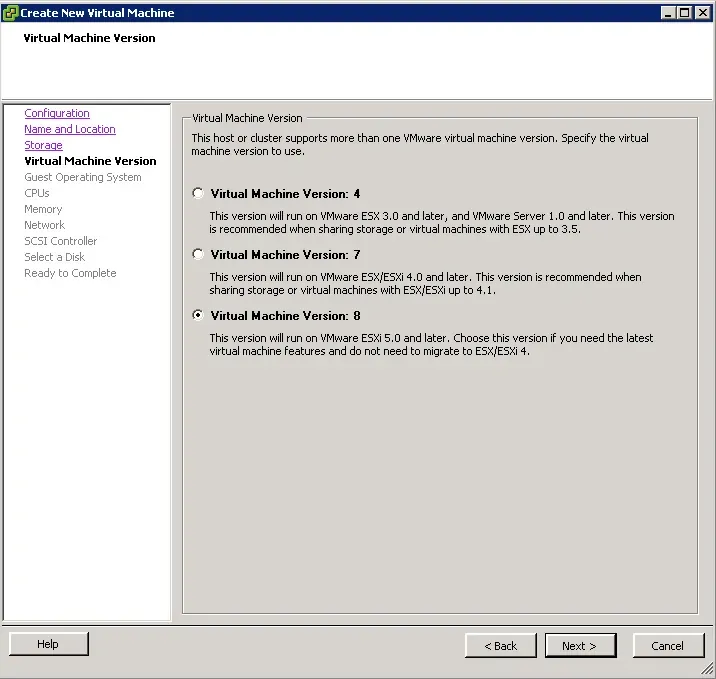
We pass through Next without touching anything.
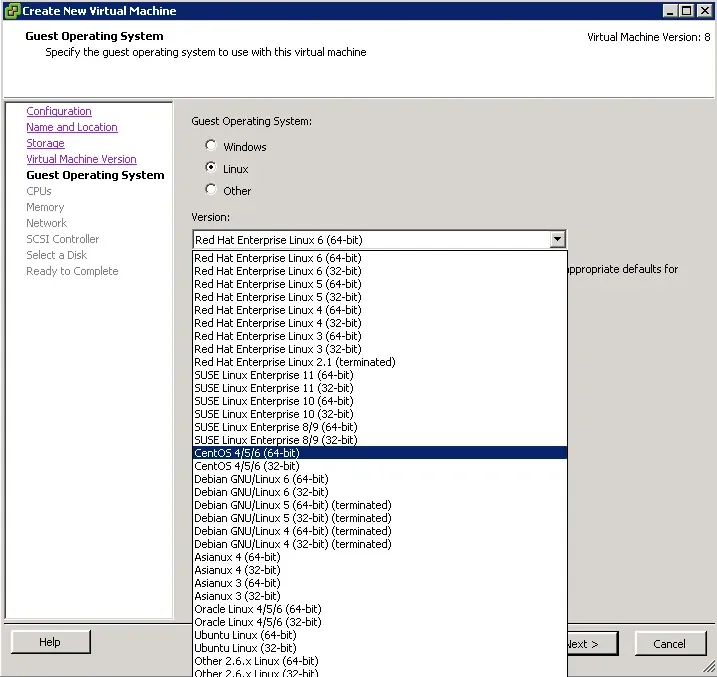
- we select the Linux option and select CentOS 4/5/6 (64) from the Version section and say Next.
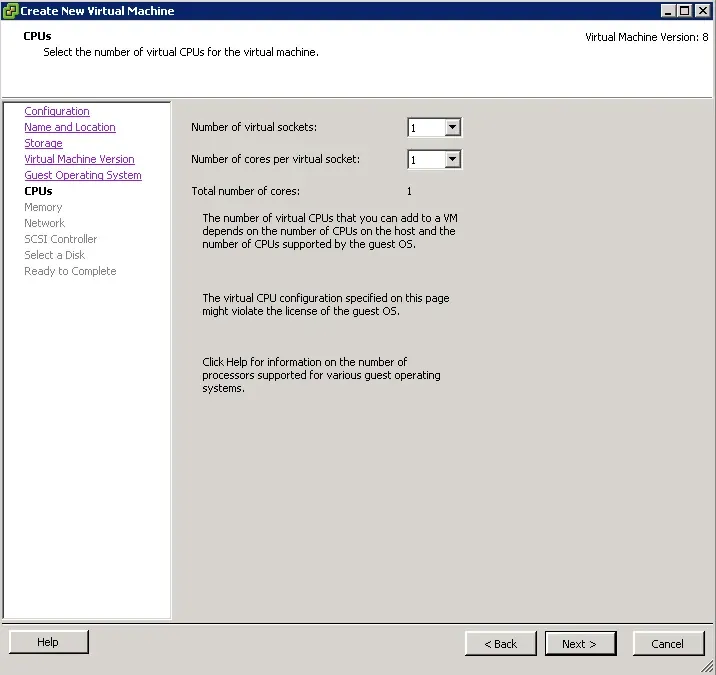
We specify a CPU according to the characteristics of our server, you can make it 2x1 or 2x2 as a minimum. Then let's continue with Next.
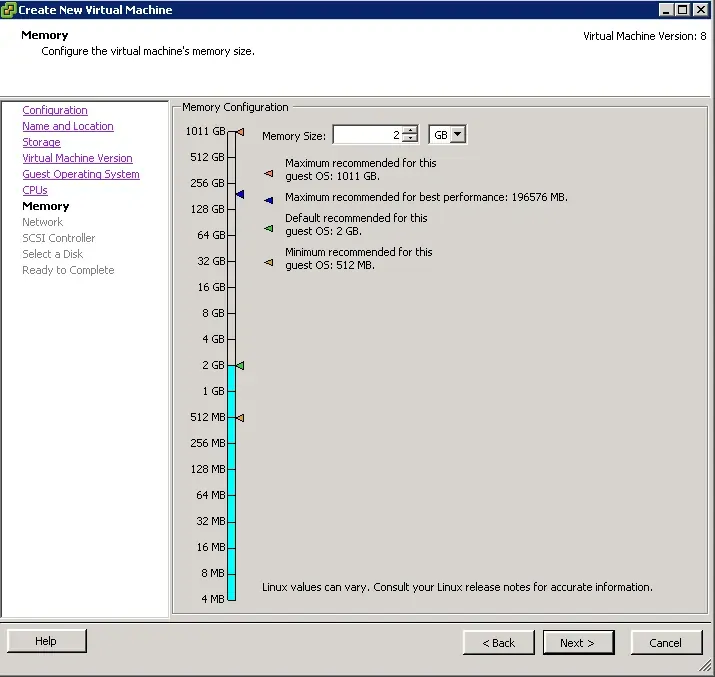
We are choosing the amount of ram that we will give to our virtual server, although 2GB is ideal for a virtual server, I recommend giving 4GB if possible, next.
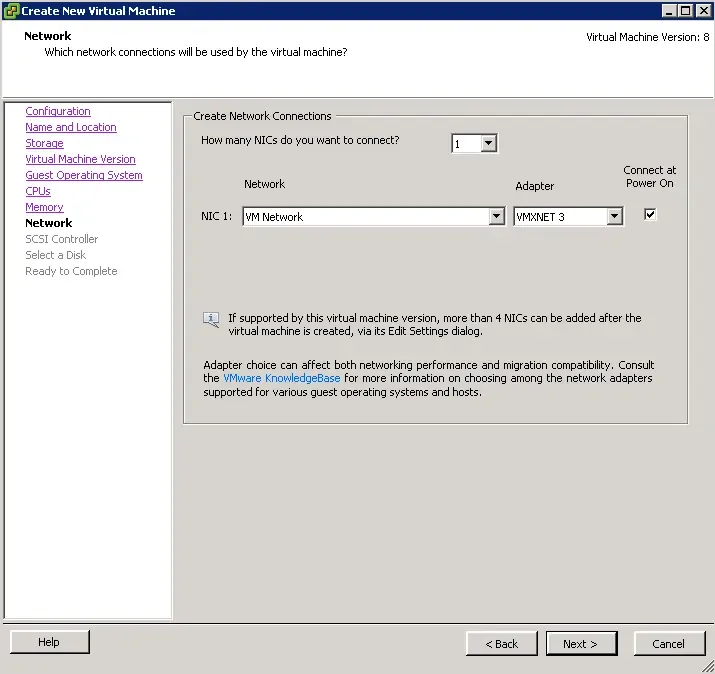
We select the network connected to our server so that our virtual server can also connect to the Internet, but since there is usually only one internet line on the servers, you can say Next without touching it.
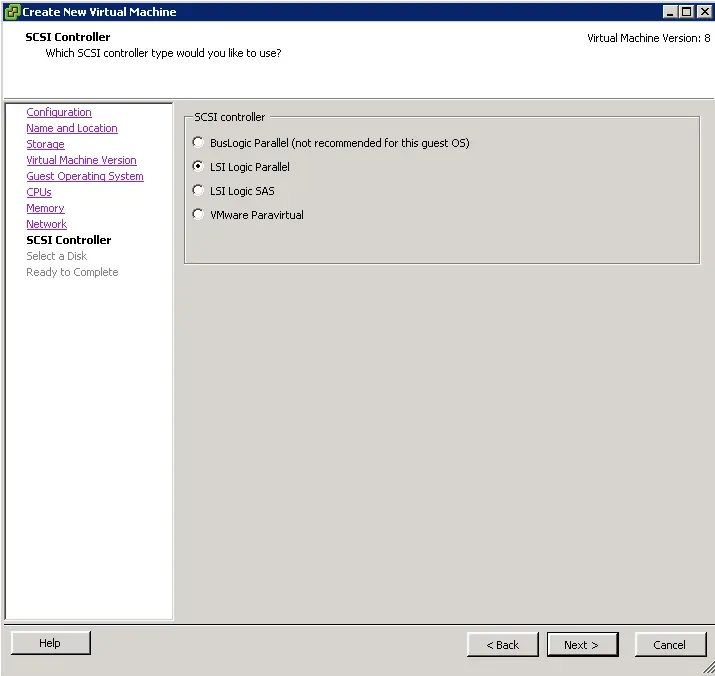
We select the SCSI controller LSI Logic Parallel is selected, click Next without touching it.
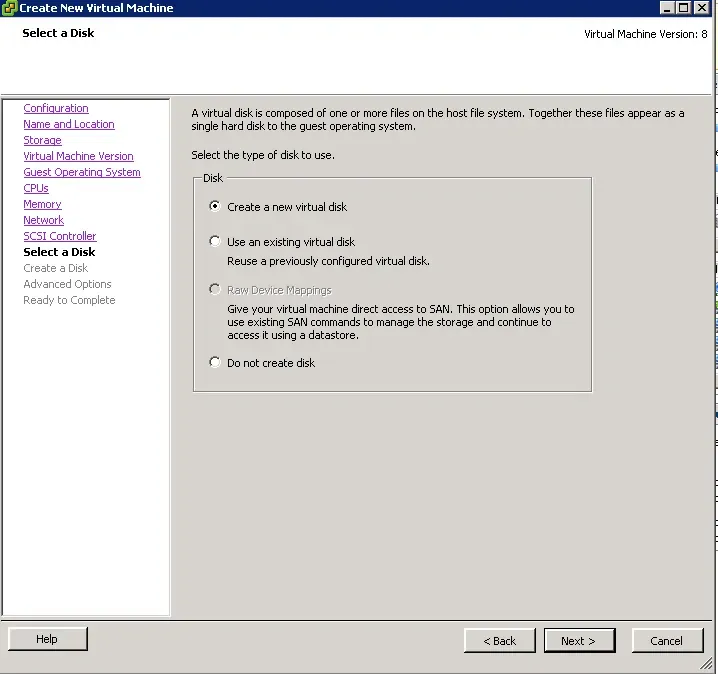
To create a disk for our virtual server, we select Create a new virtual disk and do it Next.
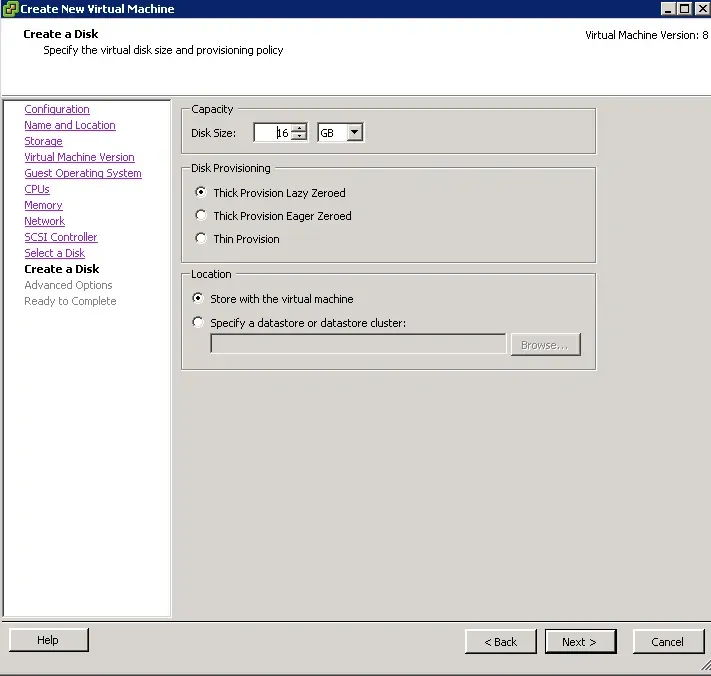
We are adjusting the amount of disk we will give I can recommend you to give a minimum of 30GB for Centos+cPanel, if the site size you will host is heavier, you can give more. Then 2. we also select Thin Provision from the section so that if the virtual server takes up less space than the disk you gave it, it doesn't use the disk from the main server for nothing. 3. we continue with Next without touching anything in the section.
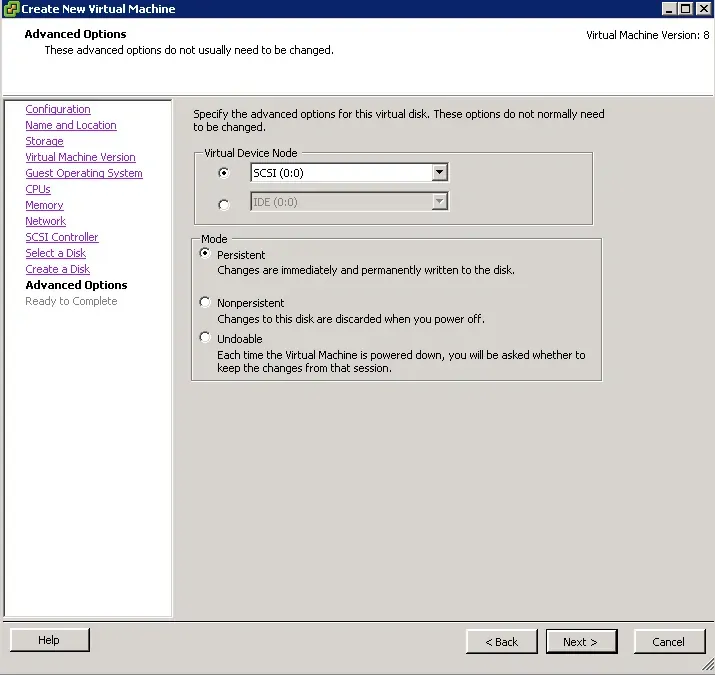
Next, without touching anything.
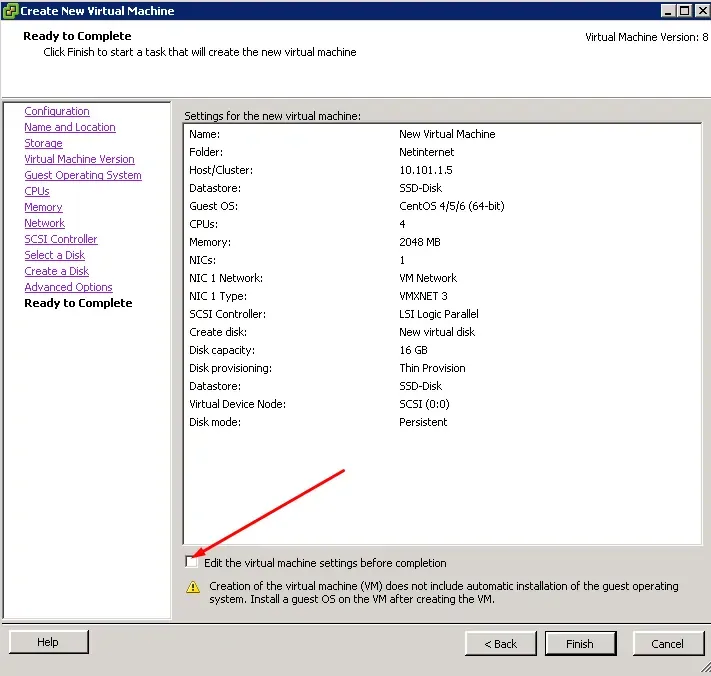
We click on the Edit box and say Finish.
Then we come across a screen like this.
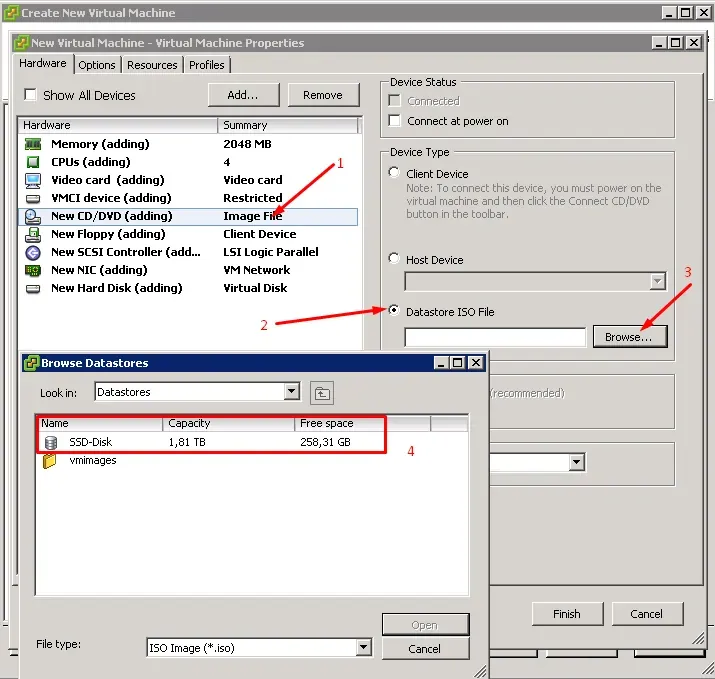
From this screen, you select the parts that I have marked, respectively, and double-click on the ISO of the operating system that will be installed on the virtual server that you have already installed on the disk, and the Browse Datastores section will automatically close. Then you press Finish at the bottom of the Edit page.
If a vds volume has been created in this way under your server in the list on the left side, you have successfully completed all the operations.
I can try to help if you forward the parts that you are curious about or can't do with a comment.
I'll see you in our second lesson...
Hi, @sedatyildiz,
Thank you for your contribution to the Blurt ecosystem.
Please consider voting for the witness @symbionts.
Or delegate to @ecosynthesizer to earn a portion of the curation rewards!