Hello, I have already told you about creating VDS and installing CentOS in the previous two locations. In this article, I will show you how to install cPanel, the hosting control panel, on CentOS.
First, we download the Putty programmer by clicking here to make an SSH connection to the CentOS VDS we have installed. Putty does not require any installation, putty.when we double-click on the exe file, it opens directly.

After opening Putty, we type the IP address of our VDS in the Host Name or IP address section, the port number remains the standard 22, and we connect to our SSH screen by pressing the Open button at the bottom.
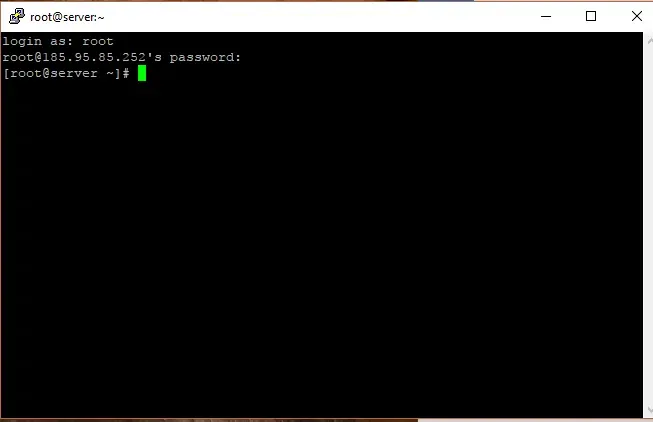
To log in to the SSH screen, we first type root and press the enter key on our keyboard. After that, he asks us for our password and we enter the password that we set when installing CentOS. When typing a password, it does not appear on the SSH screen, do not think that it is not typing. After typing correctly, remember that if SSH has also # arrived, it means that it has been logged in.
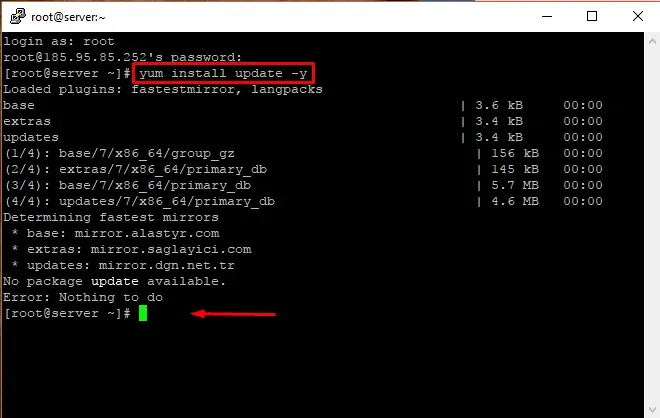
After providing a link to our VDS, so that it can download the latest updates and repos;
yum install update -y
We enter the command, I didn't make any downloads because I entered it earlier, but when you type it, it will probably do the download for about 10 minutes, and when # comes up, it means it's completed.
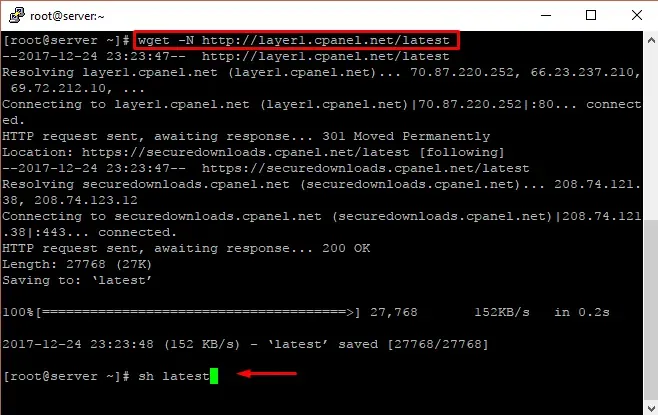
Then we enter the cPanel/WHM Panel setup command;
wget -N http://layer1.cpanel.net/latest
we download the latest file and use the sh latest command to start the download and installation process.
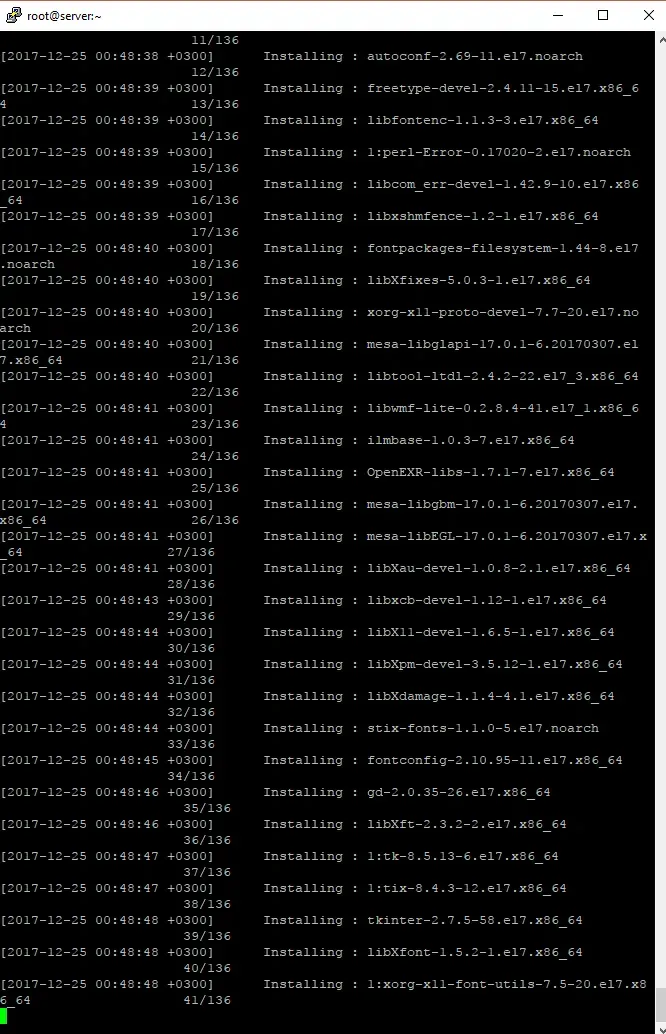
This installation process will take an average of half an hour until then, the messages will continue to flow on your SSH screen.
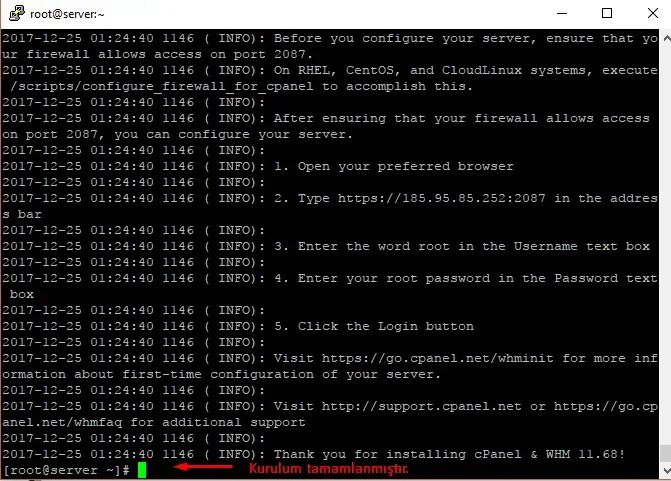
When it is completed, you will be greeted with the # sign again.
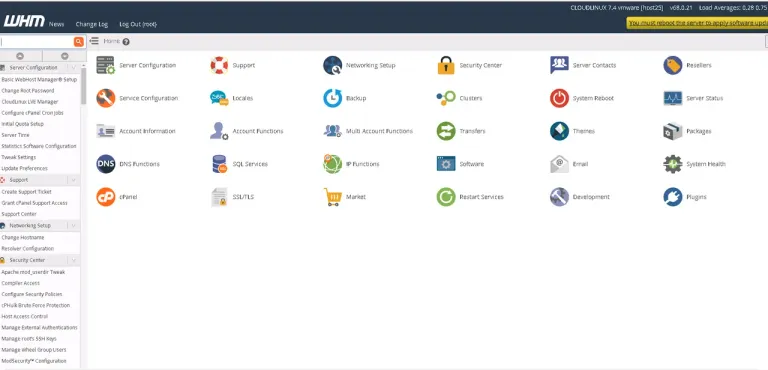
Now that the installation is complete, we can make our final settings...
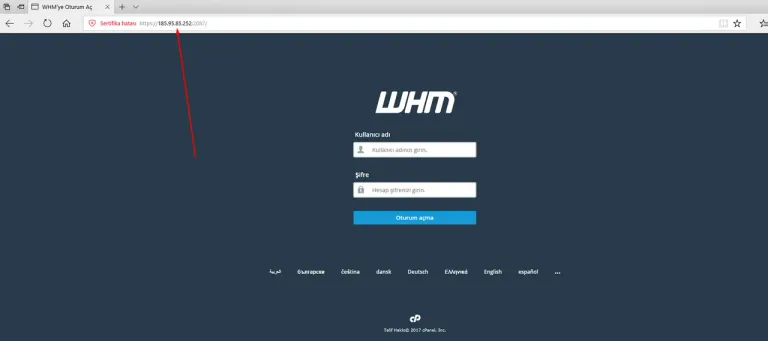
Enter our Internet browser and https://ipadress:2087 we are logging in as /. He wants our VDS username and password from us. After typing the Root and password, we log in.

In the first part, we pass by saying I Agree.
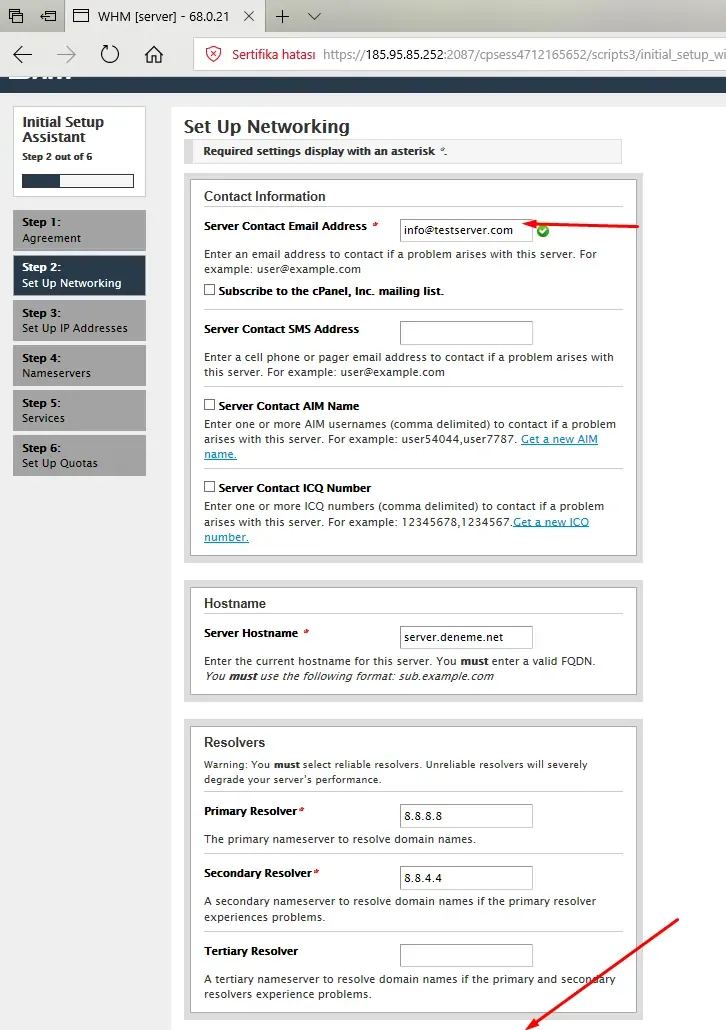
In the second part, we write an e-mail address to the Server Contact section, where cPanel notifications will be received. and without touching anything else, we go down to the very bottom and press the Go Step 3 button.
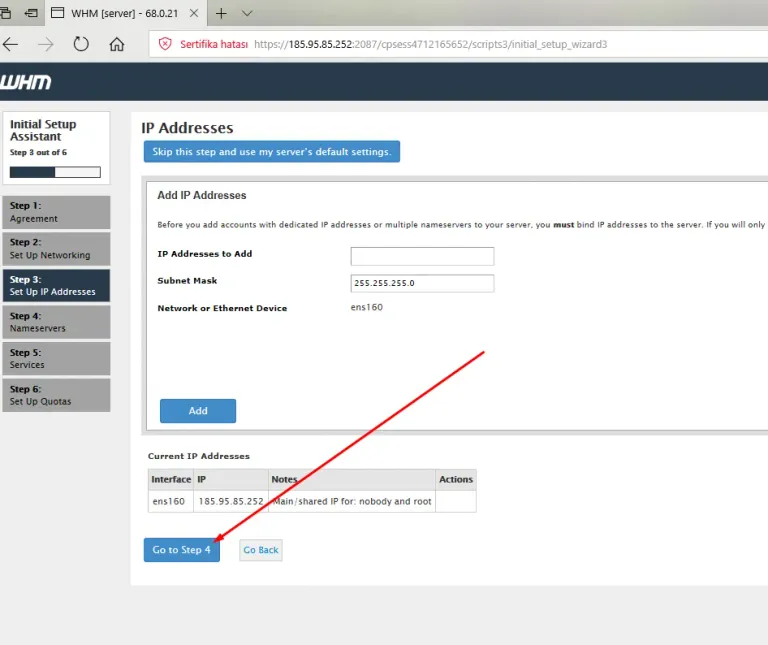
In the third part, we have come to the place where we will add an IP address, because we will not add any, we are going through Go Step 4.
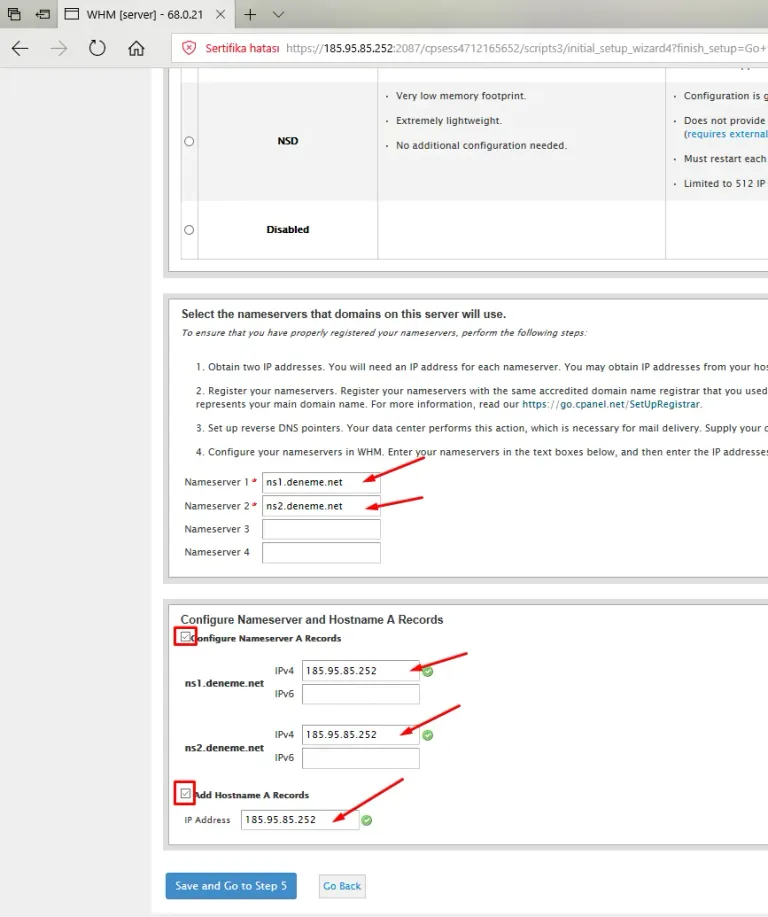
The fourth part is the Name Server setting field that we will use for domain connections.
NameServer1 = ns1.domain.com
NameServer2 = ns2.domain.com
We log in and type the IP address to be used for name servers in the IPv4 box just below the section, that is, the ip address of our main server, of course, without forgetting to check the boxes at the beginning, we go down to the bottom and say Go Step 5 and continue.
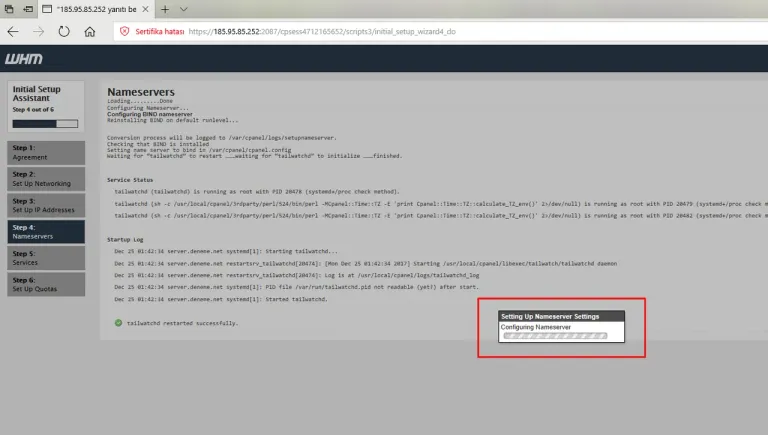
After this process, we do a short installation and our DNS Server is created.
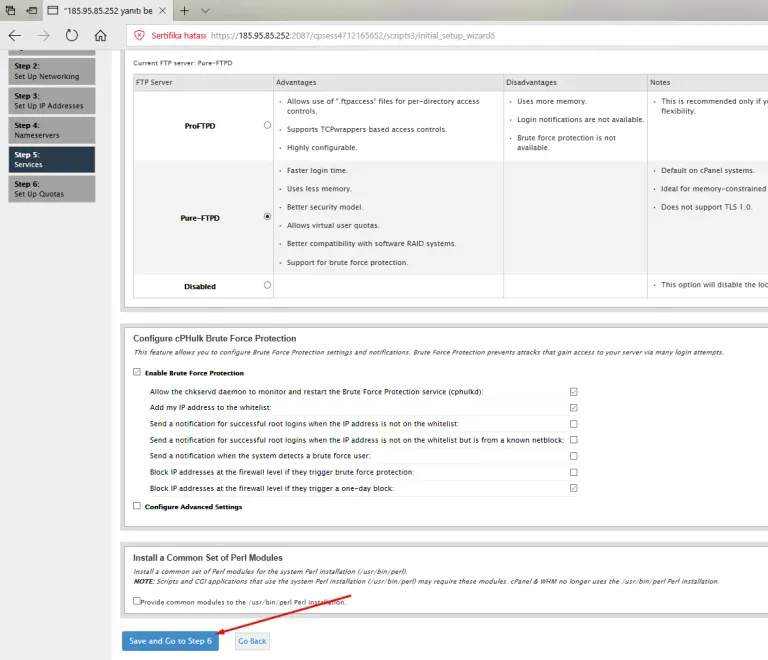
Then we come to the fifth part, and the settings here should remain in default, we say Save and Go Step 6.
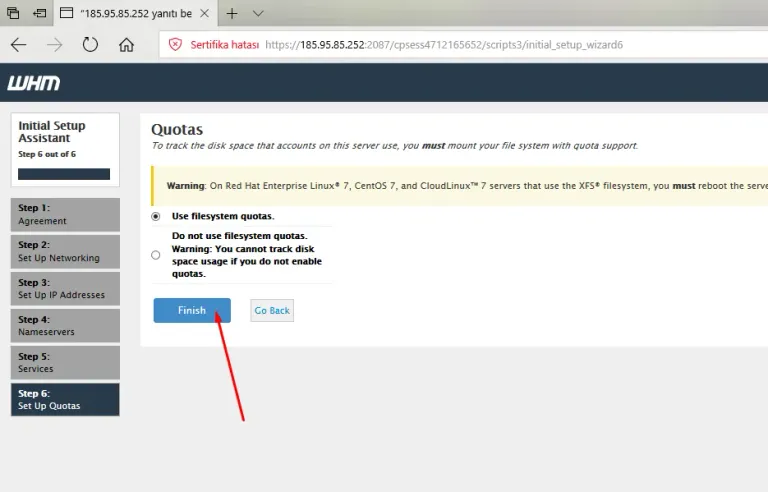
Finally, we save our settings again and complete it by saying Finish from the page that comes across.
Our CentOS cPanel Virtual Server is ready, use it on good days.
Hi, @sedatyildiz,
Thank you for your contribution to the Blurt ecosystem.
Please consider voting for the witness @symbionts.
Or delegate to @ecosynthesizer to earn a portion of the curation rewards!
Vote for our Witness
@tracy55
We have a TRC20, VKRW we are supporting with the income
https://blultwallet.com/~witnesses