Warm greetings to you all.
We all know that the Christmas season is fast approaching. We have a few weeks to the month of Christmas and in that spirit, family, friends, and loved ones have already started their preparation.
And in that same spirit of Xmas, I decided to get some decoration done.
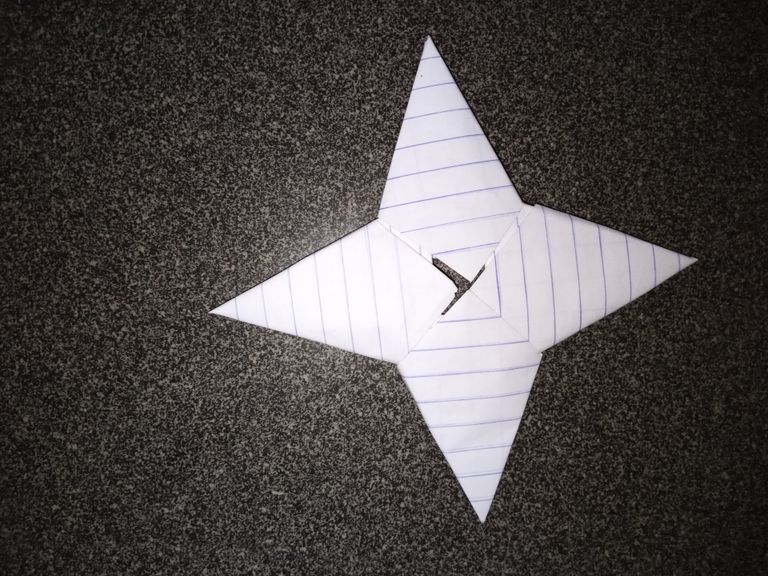
I made Xmas Stars with papers.
I used an exercise book plain sheet and I also used an empty biscuit pack to make the shiny on the stars.
I will show step by step processes of how I did this and how I got it done. I know you like it and also teach your little ones how to create a beautiful star from the raw sheet and even waste exercise books.
Materials
- Exercise book (plain sheet)
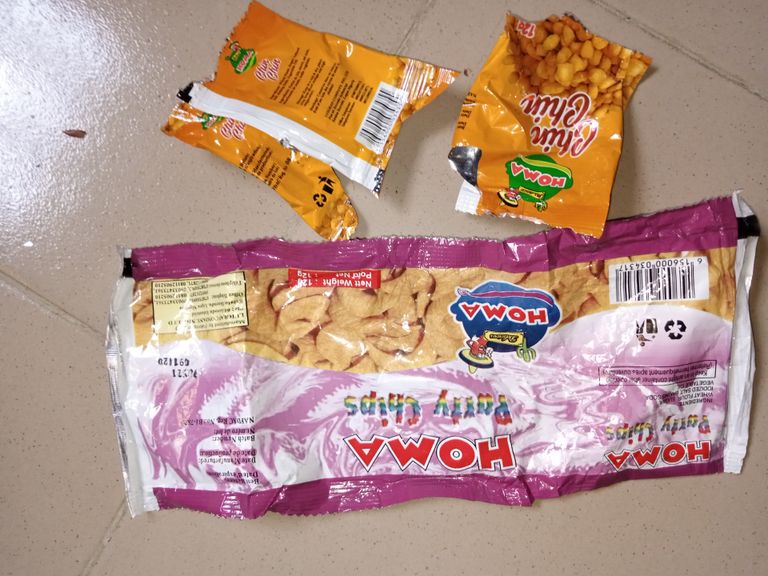
- Biscuit's pack
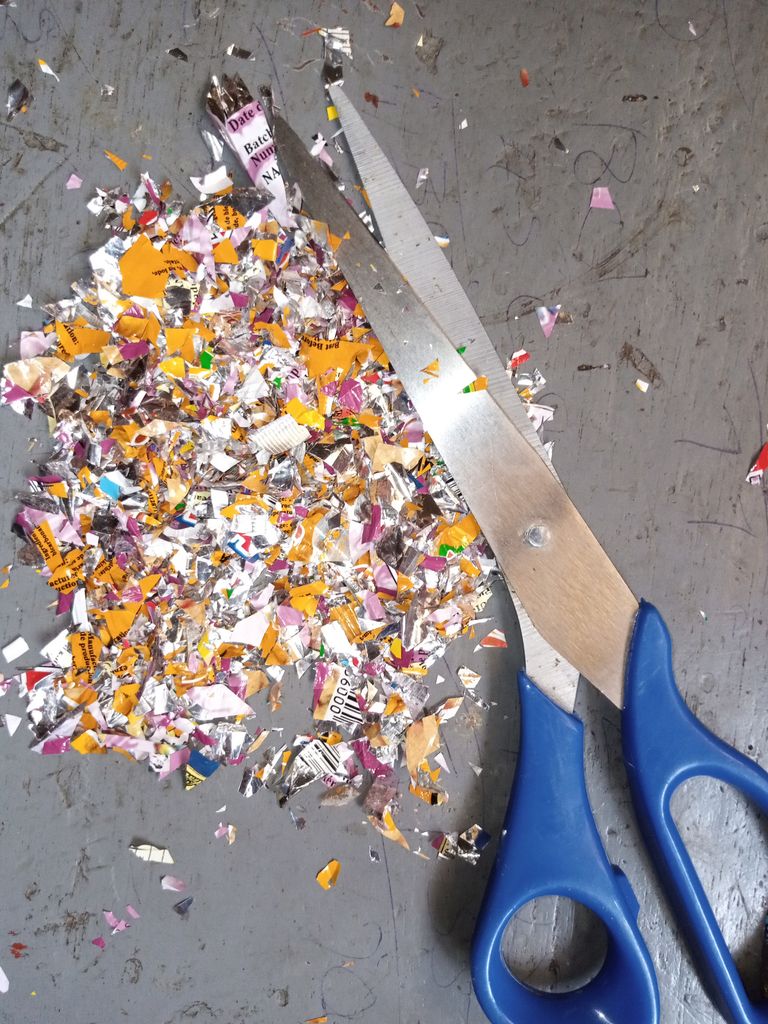
- Scissor
- Top bond gum
- Water
Steps and Procedures
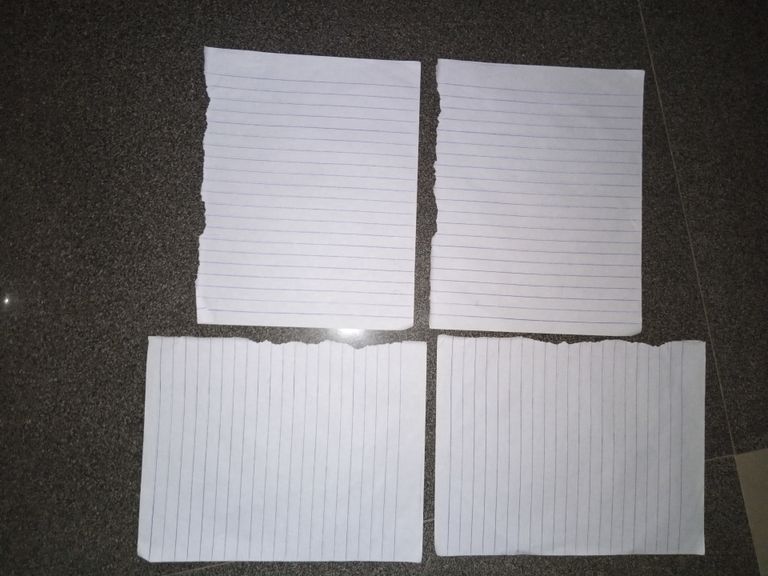
Cut out the exercise books in four different sheets.
Fold the topmost part of all the four sheets
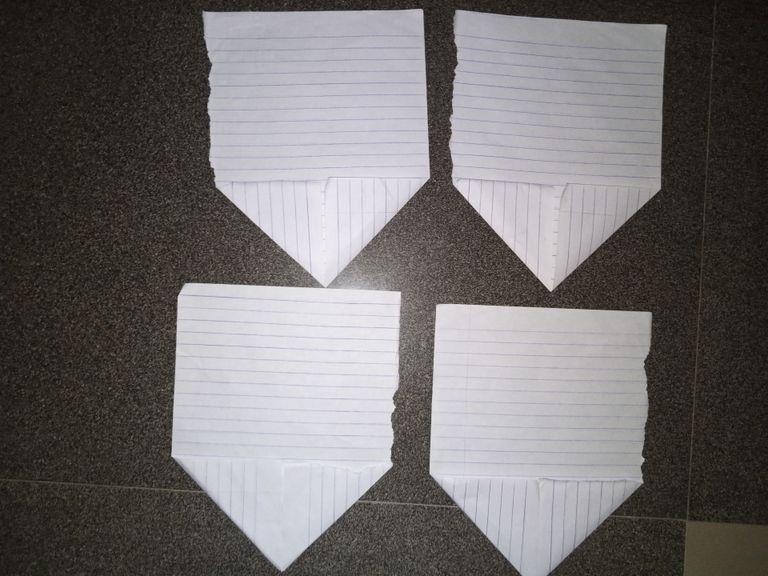
Fold the remaining part backward and then refold the upper side of the already fold part.
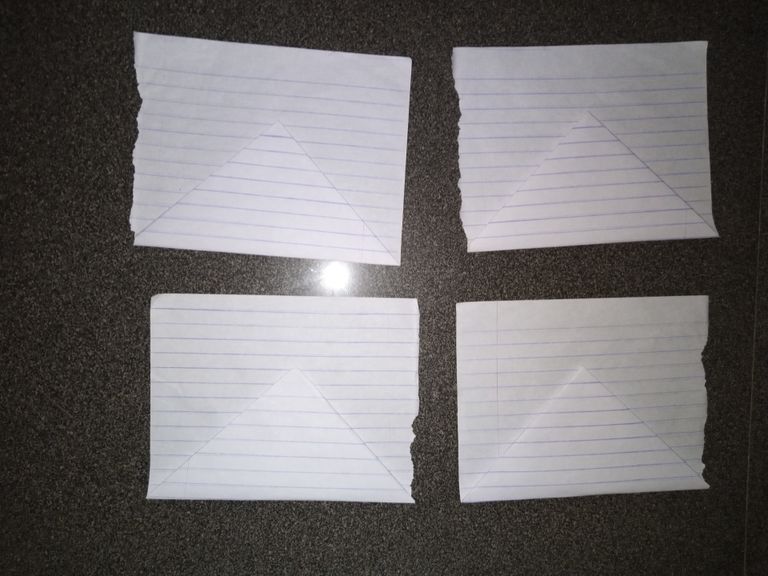
Spread out the folded wings and fold them again in a smaller size.
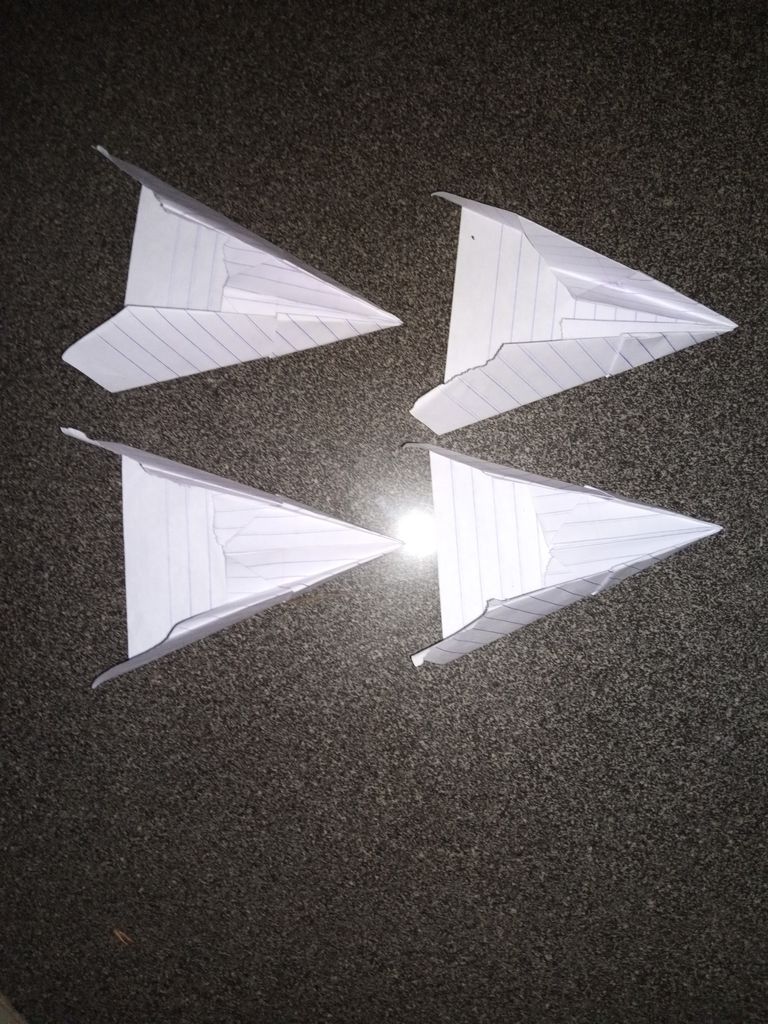
After folding into a smaller size. You refold it again as if you wanna make a kite or flying airplane.
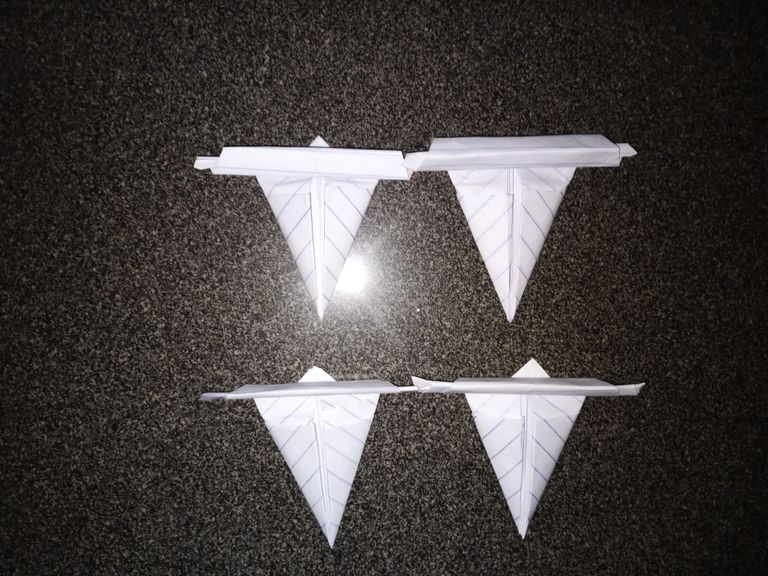
Then you bend and fold the down part. By now you will make it very small. Fold the down part like a stroke.
After folding all the four different sheets, you fix them altogether. First, you fix two of them and then you fix all the four parts.
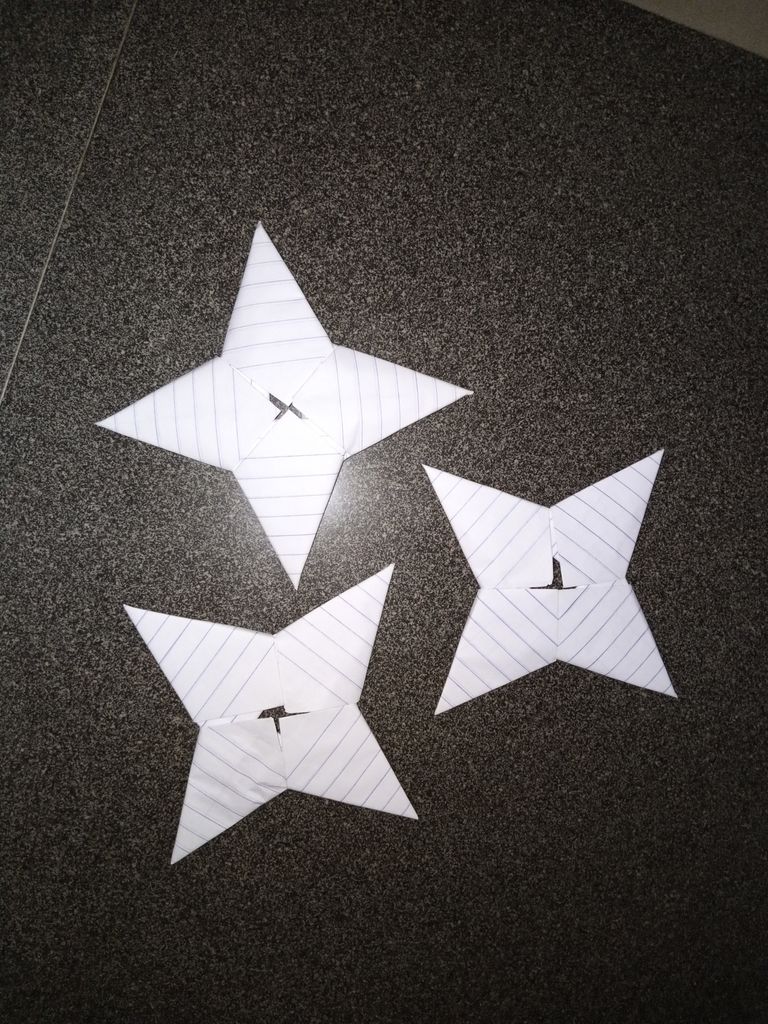
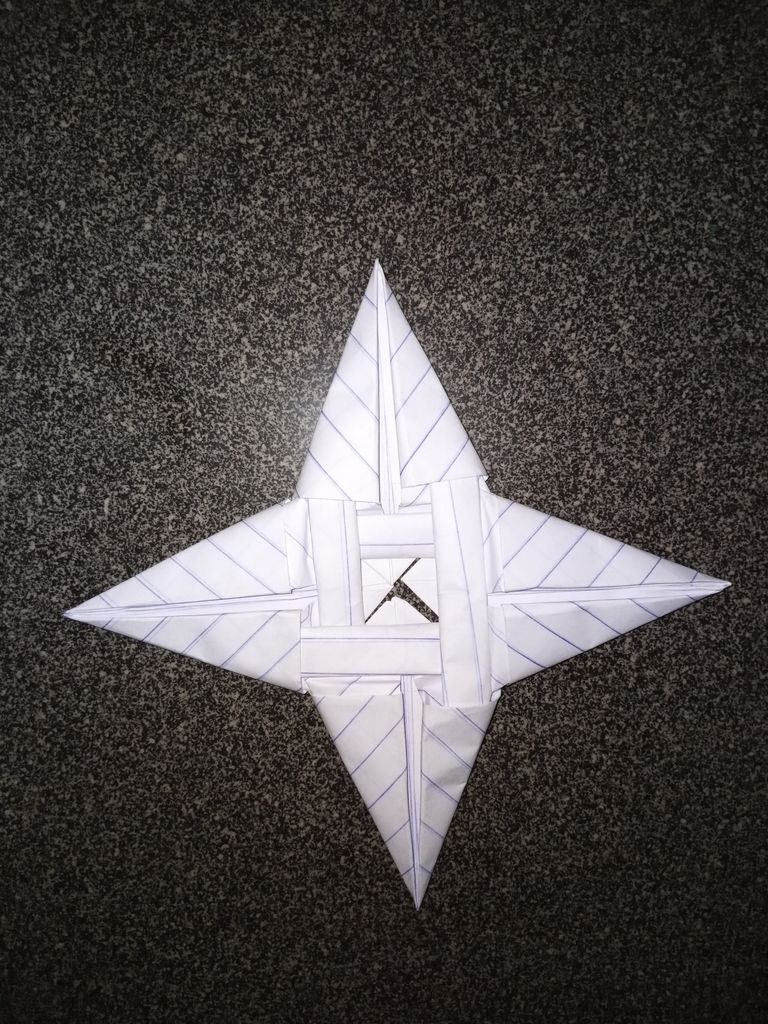
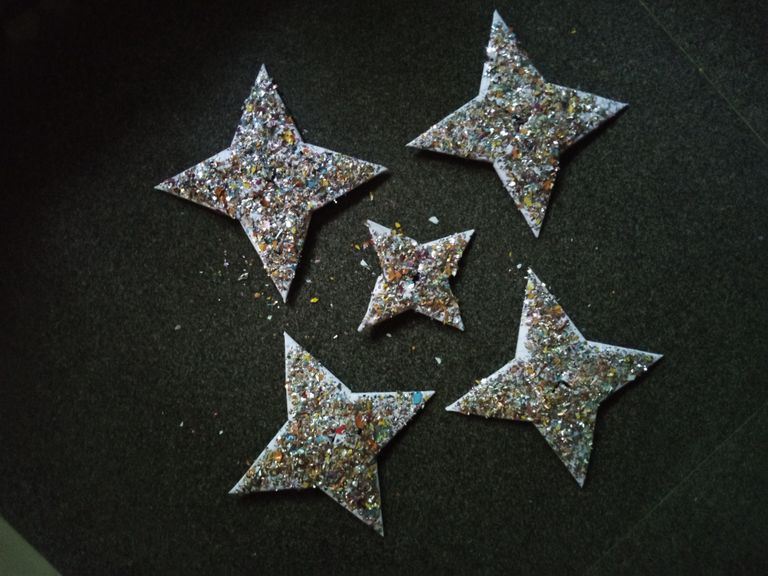
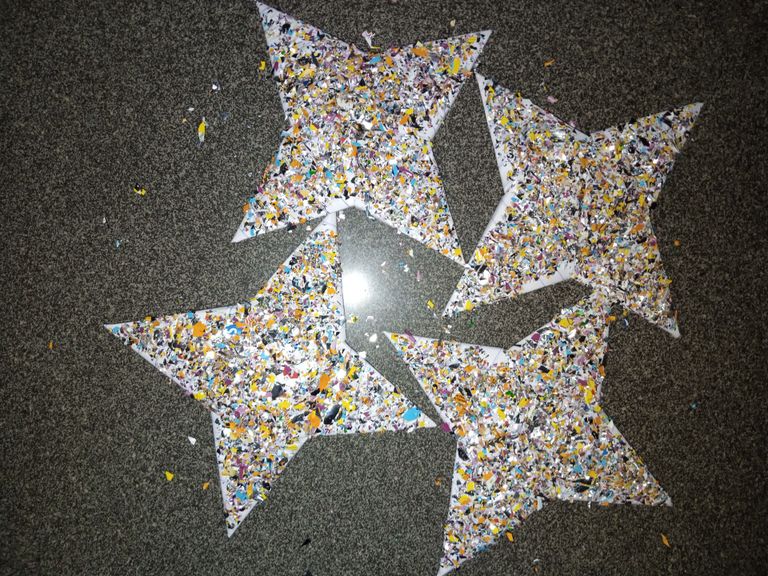
- This is the first final stage. You have your four-leg star.
You repeat all the steps with four different papers again each until you get your desired numbers of stars.
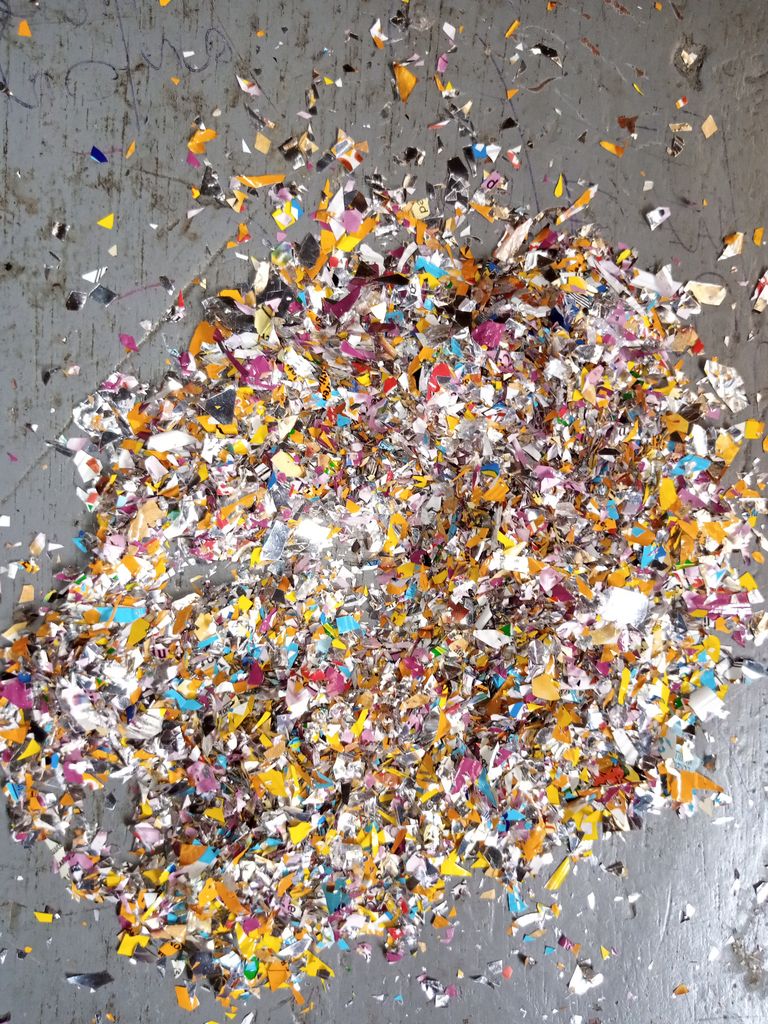
Then you cut out your waste biscuit package

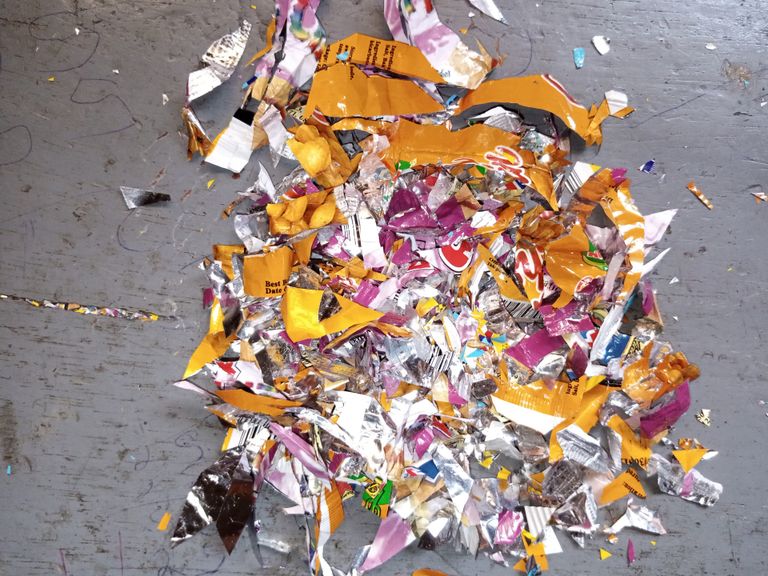
- Start cutting them into smaller pieces until it becomes very tiny and not really visible to the eyes. This is what will make it shiny and attractive.
- After that, you dilute your top bond gum a little and paste it on the body of the stars.
Spray the cut particles to it but after a bit.
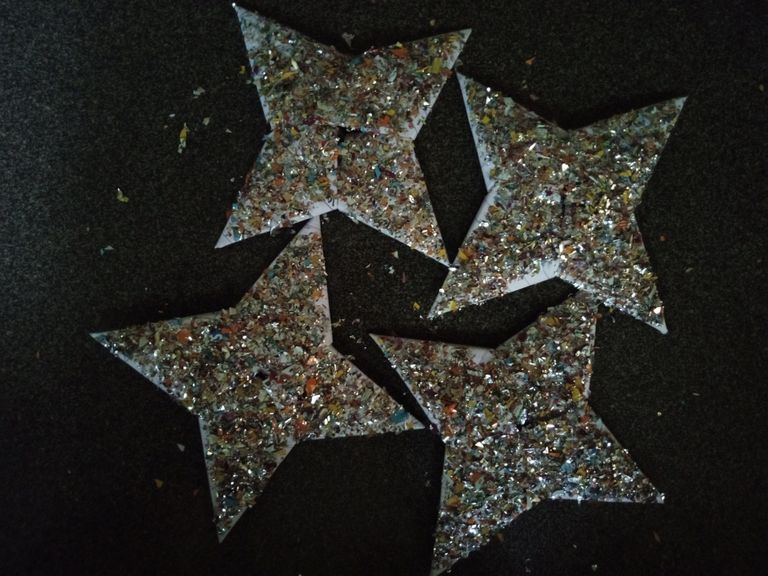
- Then you spray out all the shiny particles to make your stars look shiny.
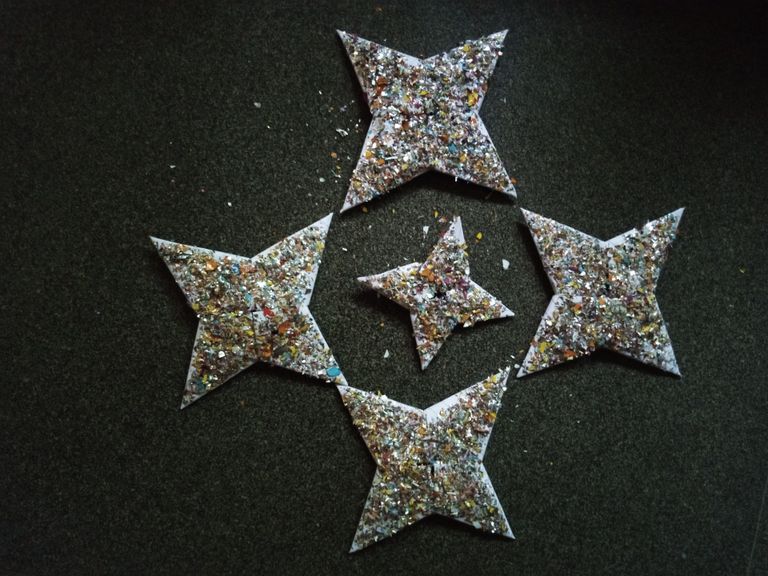
I made this at home and I took a shot of all the processes. You can easily do this at home as well.
All you need is to follow the process and you will get your Xmas stars done.
All photos are mine
Published Here
Your post has been manually curated by @freevoter !! Keep sharing your quality content in Blurt Blockchain heart
FreeVoter is a curation program which aim to support quality content creator in Blurt Blockchain.You can support us by delegating your BP to @freevoter !! We are sharing 90% curation reward to our Delegators.Learn more about FreeVoter and join Discord server.