Good morning!
Hope the night was splended.
I did say in my last post that my aim was to create a scenery and here we go. I did the shading off in the previous post and corrected that. Though to not am still in the process of learning light shades on human bodies so am not that accurate. Mostly its the shading that gives a 2D image the features of 3D
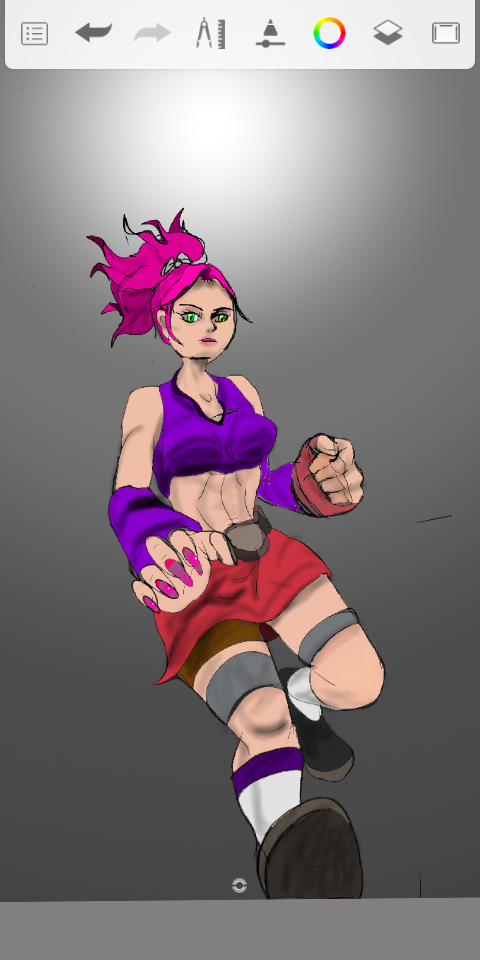
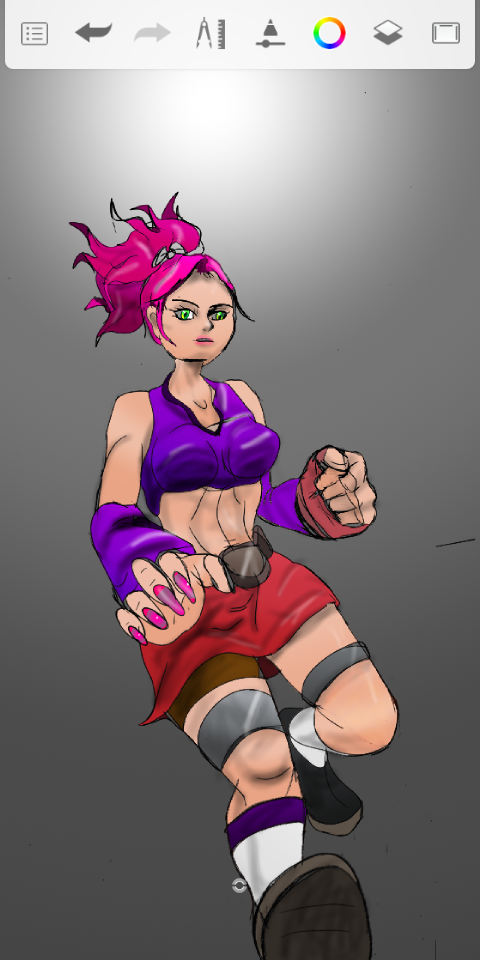
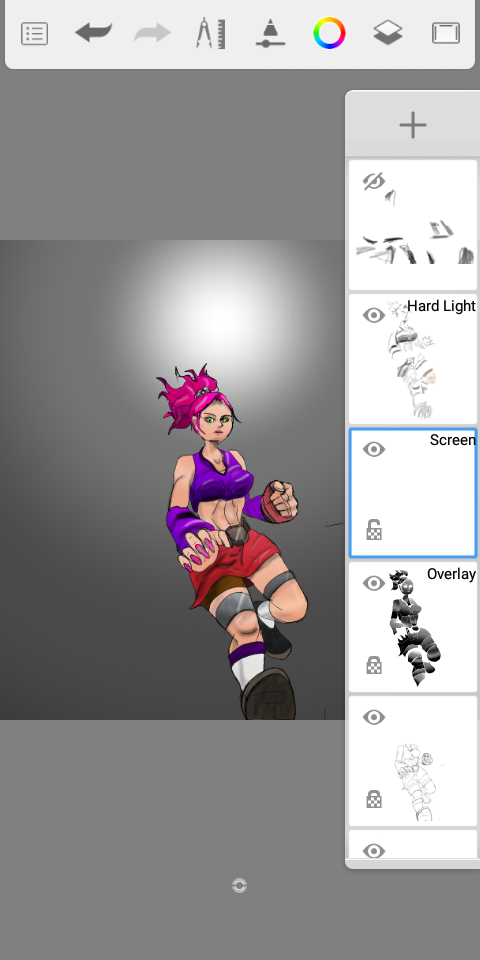
Proceeding ahead I used the wand tool to select a certain part and the fill tool in a new layer and set it overlay with the fill tool set to linear fill and filled the selected part while adjusting the ratio to create my lighting. I repeated the process for each block segment component in the drawing such as the lap, feet, skirt, hair segments., etc. And that made up the lighting layer.
Then the next was the shadow layer for shading which I created and did and added a layer for light reflection. And that was all for the character.
The main deal was next which was the scene and I could barely thinl of a simple background.
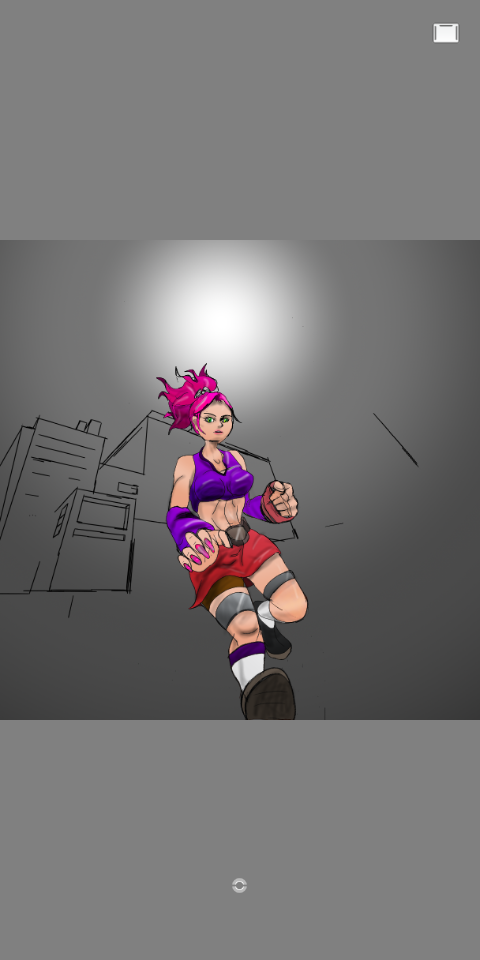
I started with the buildings in the far background so as to detail it was in a big city. Moving forward I did not want to add much details just to keep it simple for my try on a more 3D scene. Then the sky was next. Its a very important step as to decide the position of the light source which in this case being the sun. Especially in relation to the already drawn figure of the lady.
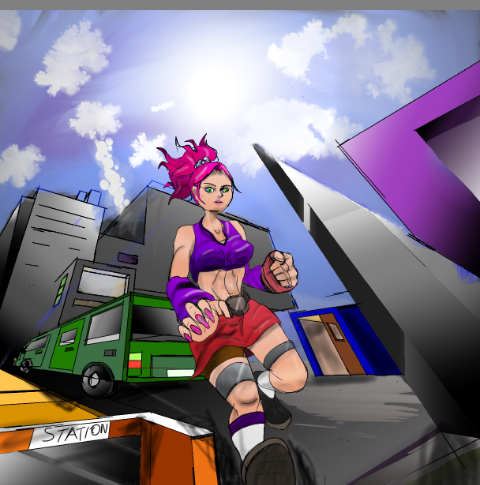
¡Buenos dias!
Espero que la noche haya sido espléndida.
Dije en mi última publicación que mi objetivo era crear un escenario y aquí vamos. Hice el sombreado en la publicación anterior y lo corregí. Aunque todavía no estoy en el proceso de aprender tonos claros en los cuerpos humanos, no soy tan preciso. Principalmente es el sombreado lo que le da a una imagen 2D las características de 3D
Continuando, utilicé la herramienta de varita para seleccionar una parte determinada y la herramienta de relleno en una nueva capa y la configuré superpuesta con la herramienta de relleno configurada en relleno lineal y rellené la parte seleccionada mientras ajustaba la proporción para crear mi iluminación. Repetí el proceso para cada componente del segmento de bloque en el dibujo, como el regazo, los pies, la falda, los segmentos de cabello, etc. Y eso formó la capa de iluminación.
Luego, la siguiente fue la capa de sombra para sombrear que creé e hice y agregué una capa para el reflejo de la luz. Y eso fue todo por el personaje.
El asunto principal era el siguiente, que era la escena y apenas podía pensar en un trasfondo simple.
Empecé con los edificios del fondo para detallar que estaba en una gran ciudad. En el futuro, no quería agregar muchos detalles solo para mantenerlo simple para mi intento en una escena más 3D. Luego el cielo fue el siguiente. Es un paso muy importante para decidir la posición de la fuente de luz que en este caso es el sol. Sobre todo en relación con la ya dibujada figura de la dama.
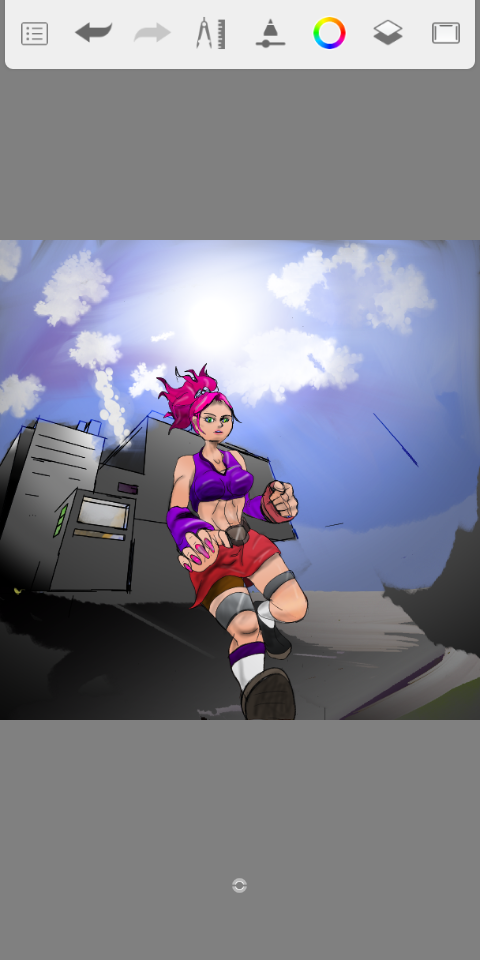
I used same trick I learned recently to draw the sky which in simple sence its to apply colors of varying luminance. And then blend with the blending brushes on low opacity. Use watercolor brush for clouds and then glow brush for the sun. Sounds pretty basic now😅.
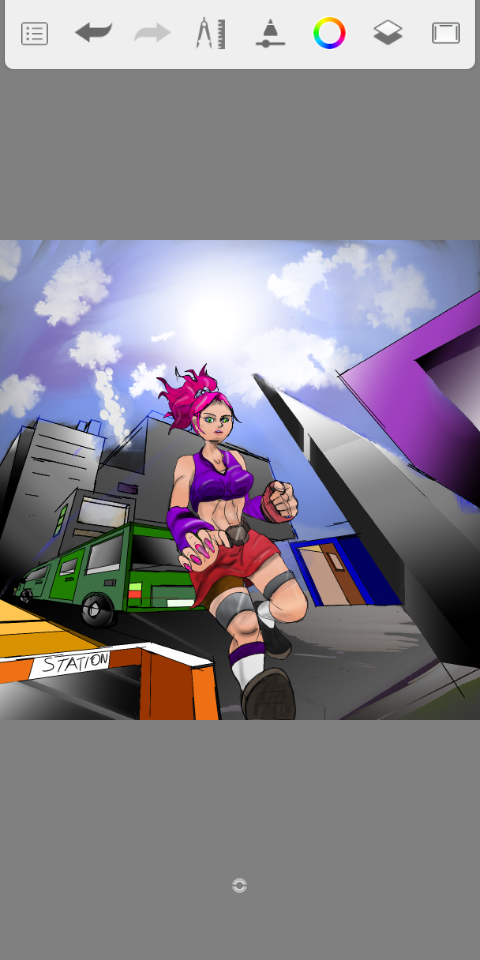
The next phase was the close environment and objects closest. Which consisted of vehicle i draw and road. Then the small door war or room by the left. And the wall in front of her. For the glasses on the cafe i used linear fill to get the effect. Since the side visible was opposite the direction of the light, I just used solid color fill for the body of the car of varying opacity. The wall was linear fill. As I extended the lines at the right side wondering what to put there, i ended up putting an underground or a subway station entry. The scene would have been more lively with people walking around but at a test run point. It figures to keep things simple with simple structures.
I guess thats it for this project. Athough am not sure when next I would be doing a 3 point perspective
Mostly just 2 for now. And a pause on the Village Saga while i practice doing 3D models and redesigning some earlier done avatar designs of my friends an more of character and poses drawings with scenery.
Usé el mismo truco que aprendí recientemente para dibujar el cielo, que en un sentido simple es para aplicar colores de luminancia variable. Y luego mezcle con los pinceles de mezcla en baja opacidad. Use un pincel de acuarela para las nubes y luego un pincel brillante para el sol. Suena bastante básico ahora 😅.
La siguiente fase fue el entorno cercano y los objetos más cercanos. El cual constaba de vehiculo i dibujo y carretera. Luego la puertecita guerra o cuarto por la izquierda. Y la pared frente a ella. Para los vasos del café usé relleno lineal para lograr el efecto. Dado que el lado visible era opuesto a la dirección de la luz, solo usé un relleno de color sólido para la carrocería del automóvil de opacidad variable. La pared era de relleno lineal. Mientras extendía las líneas en el lado derecho sin saber qué poner allí, terminé poniendo una entrada de metro o estación de metro. La escena habría sido más animada con gente caminando, pero en un punto de prueba. Supone mantener las cosas simples con estructuras simples.
Supongo que eso es todo para este proyecto. Aunque no estoy seguro de cuándo sería la próxima vez que haría una perspectiva de 3 puntos.
En su mayoría solo 2 por ahora. Y una pausa en Village Saga mientras practico haciendo modelos 3D y rediseñando algunos diseños de avatares hechos anteriormente de mis amigos y más dibujos de personajes y poses con paisajes.

Thanks for viewing
Blurt 🚀🚀🚀
Congratulations, your post has been upvoted by @phototalent curation account
Your Post Has Been Upvoted By THE FUZZ Curation Account