Hola que tal mis amigos, hoy quiero compartir con ustedes la elaboración de una linda bolsa de reglo hecha con materiales de provecho .
Hello, how are you my friends, today I want to share with you the elaboration of a beautiful gift bag made with useful materials.
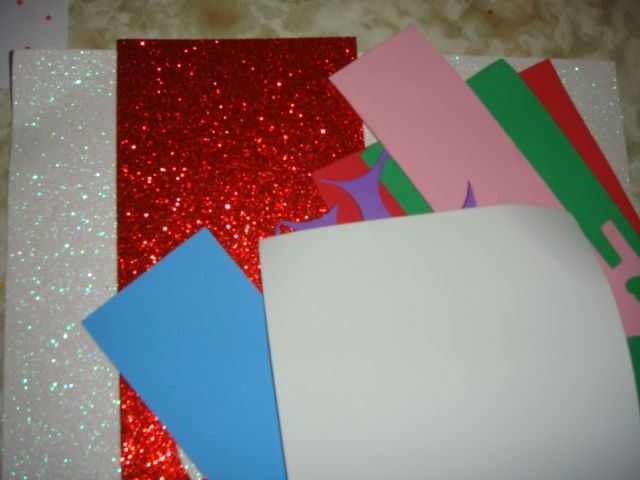
MATERIALESFoami sencillo y escarchado.Silicón.Tijera.Hojas blancas.Pintura al frio roja.
MATERIALS
Simple and frosty foami.
silicone.
Scissor.
White sheets.
Red cold paint.
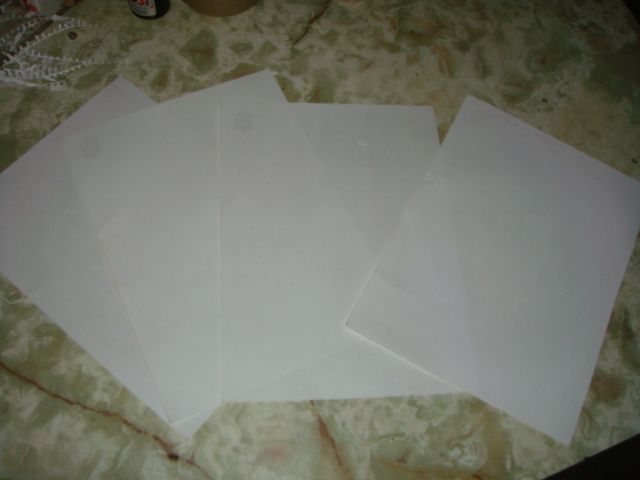
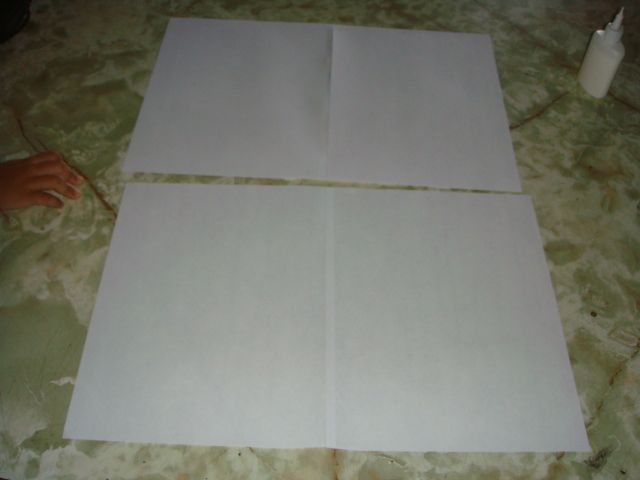
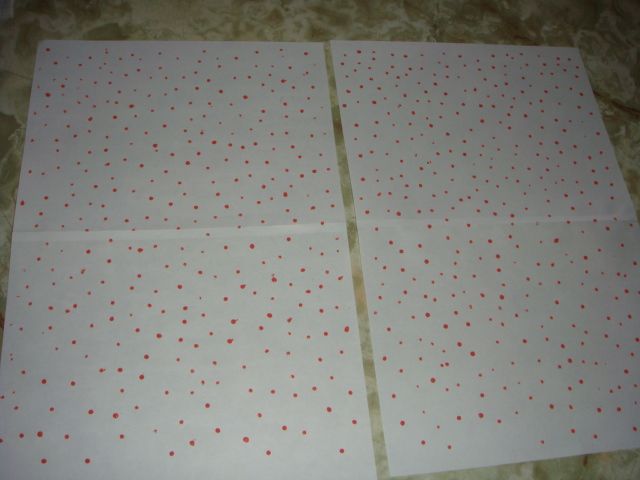
PASO A PASO.Para fabricar la bolsa de regalo, utilizaremos cuatro hojas blancas tipo carta, para cada cara utilizaremos dos hojas, las cuales uniremos por el lado más largo.
STEP BY STEP .
To make the gift bag, we will use four white letter-type sheets, for each side we will use two sheets, which we will join by the longest side.
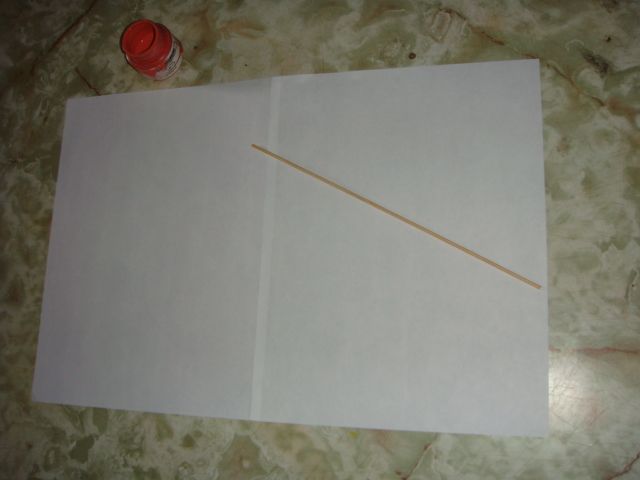
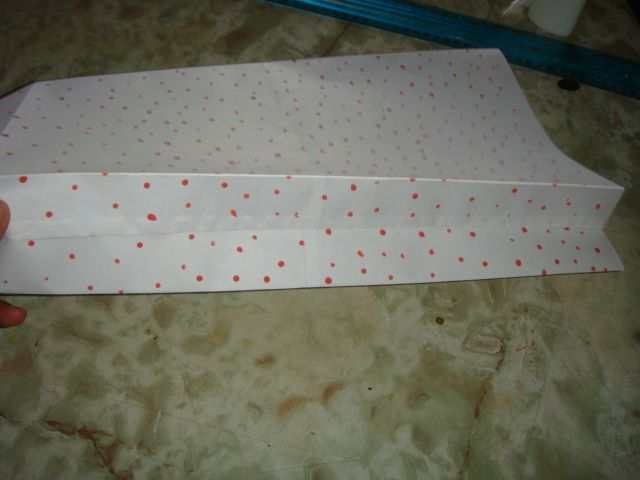
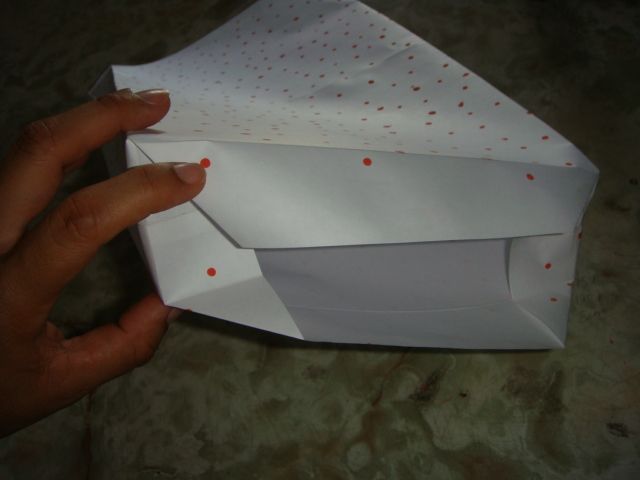
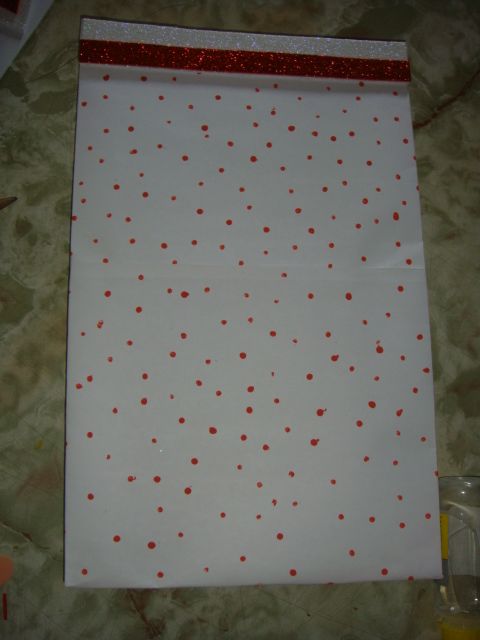
Al tener las dos caras formadas, con la ayuda de la pintura al frio y un palillo de altura, pondremos puntos en todo el papel, dejamos secar por diez minutos y luego procedemos armar la bolsa, uniendo ambas caras, le daremos la forma deseada.
By having both sides formed, with the help of cold paint and a height toothpick, we will put dots all over the paper, let it dry for ten minutes and then proceed to assemble the bag, joining both sides, we will give it the desired shape.

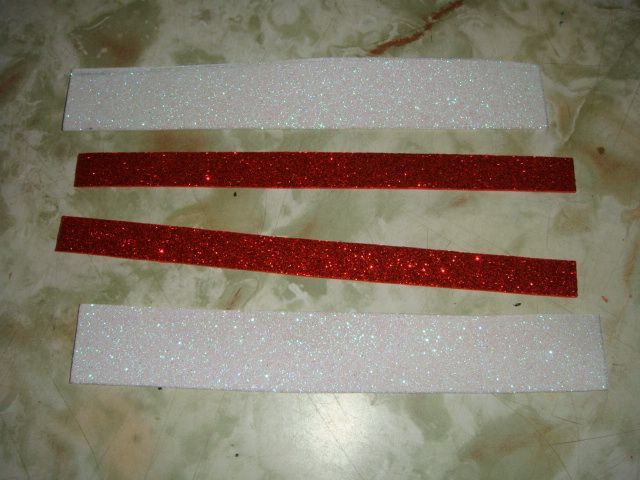
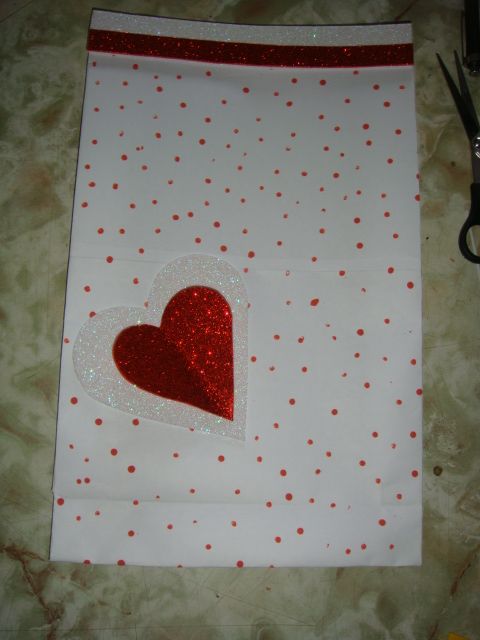
lista la bolsa, procedemos a decorarla y para ello utilizaremos foami. sacaremos dos tiras de 20 x 3 cm en blanco escarchado y dos de 20 x 1.5 cm en rojo escarchado, también sacaremos un corazón grande en foami blanco escarchado y uno más pequeño en foami rojo también escarchado.
ready the bag, we proceed to decorate it and for this we will use foami. We will take out two 20 x 3 cm strips in frosty white and two 20 x 1.5 cm in frosty red, we will also take out a large heart in frosty white foami and a smaller one in red foami, also frosty.

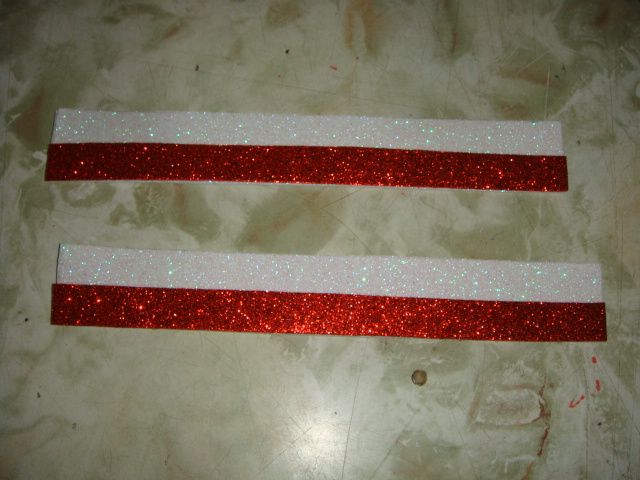
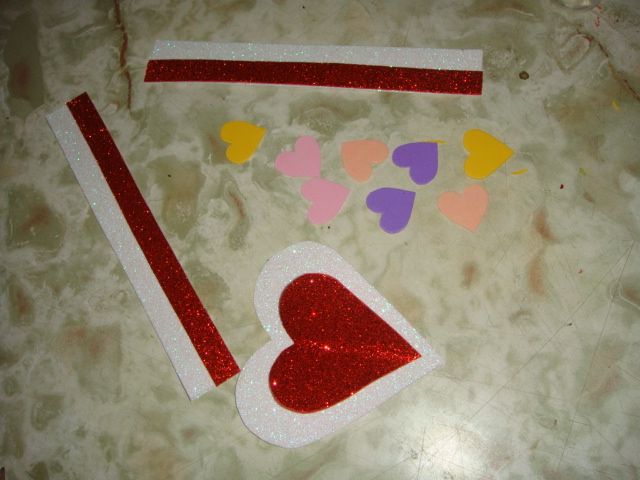
La tira roja la pegaremos sobre la blanca para que se note los dos colores y el corazón rojo va unido al blanco solo en el centro, sacaremos también ocho corazones pequeños en foami sencillo rosado, lila, amarillo y color carne.
We will stick the red strip on the white one so that the two colors can be seen and the red heart is attached to the white only in the center, we will also take out eight small hearts in simple pink, lilac, yellow and flesh-colored foami.
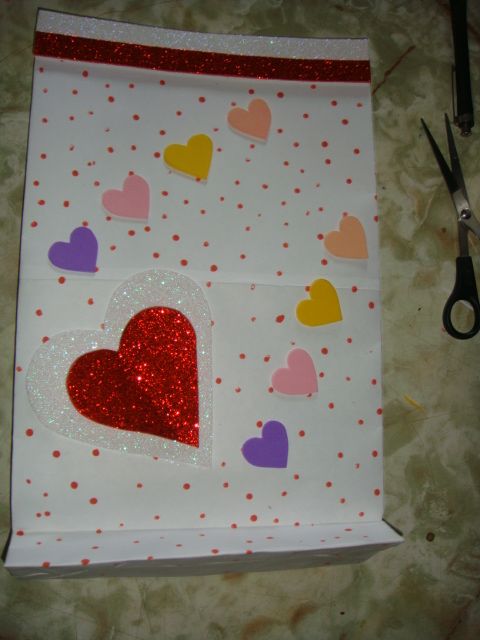
Al tener todas las piezas listas, comenzamos a decorar la bolsa y lo primer qué haremos será pegar las tiras por ambos lados de la bolsa, esto con el propósito de tener más soporte a la hora de poner las asas, luego pegaremos el corazón grande, seguido de los más pequeños y para terminar haremos los huecos para ponerle las asas.
Having all the pieces ready, we begin to decorate the bag and the first thing we will do is glue the strips on both sides of the bag, this with the purpose of having more support when putting the handles, then we will glue the big heart, followed by the smallest ones and to finish we will make the holes to put the handles.

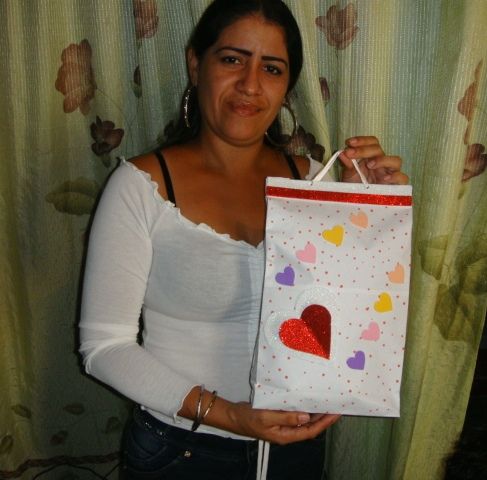
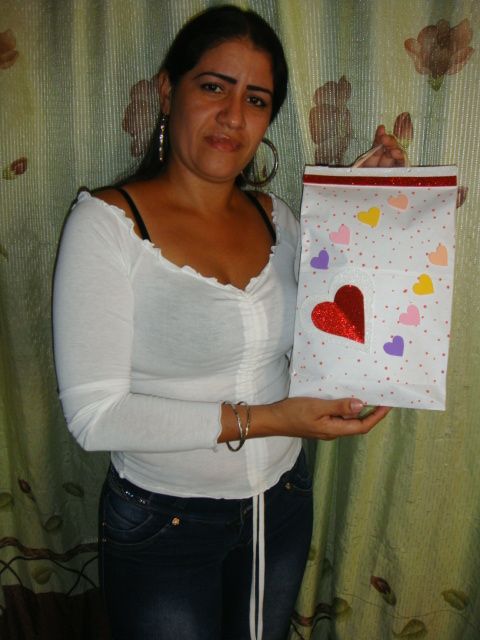
Como resultado final tenemos una linda bolsa de regalo decorada con corazones, espero les haya gustado.
As a final result we have a nice gift bag decorated with hearts, I hope you liked it.
Hola amigo @eley03, te invito (si así lo deseas) a configurar tus publicaciones al 15% para @cotina y así brindarte un voto a favor con esta cuenta.
Si lo realizas puedes etiquetarme y así darte el apoyo.
Bendiciones.