In my previous posts, I’ve been showcasing most of my 3d works that are focused on the exterior of the 3d scene. And I have to admit that I prefer doing exterior views since I find them more interesting. I think one of the reasons why I’m less interested in interiors is the fact that it’s bounded by walls and it constricts my imagination at some point.
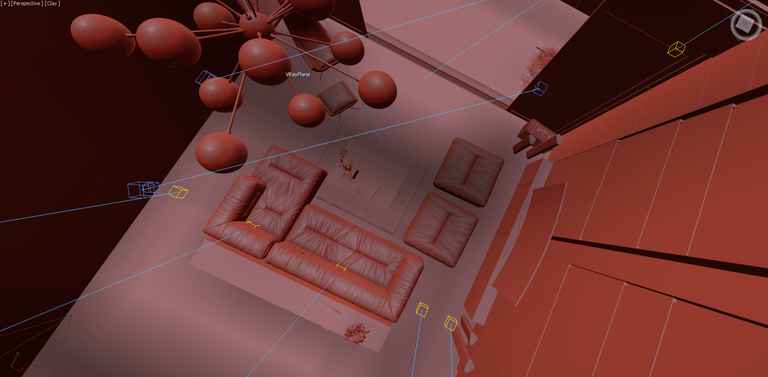
Even so, I still managed to accomplish an interior scene that I’m really proud of. Although it's just a portion of a living room I think that it’s a good starting point to continue exploring my skills in creating a 3d interior scene.

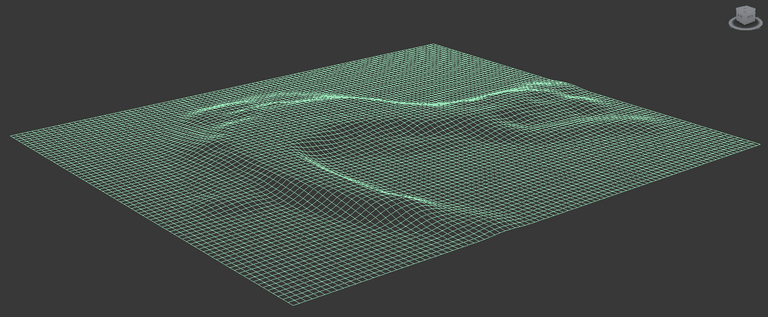
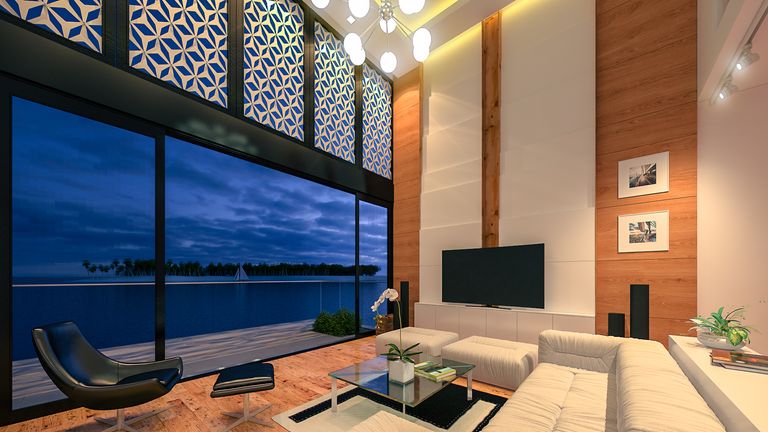
In this project, I imagined a contemporary loft living that’s situated beside an ocean overlooking a small island. The overall scene is a combination of my own 3d models and some 3d assets as well. The ocean was simulated using a Vray plane which is very helpful.
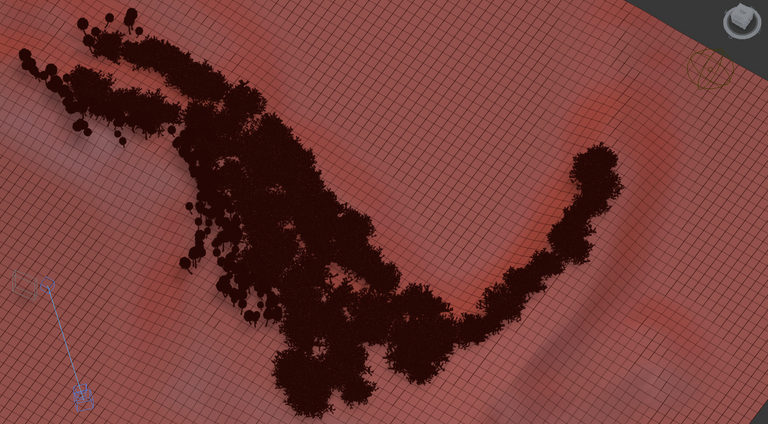
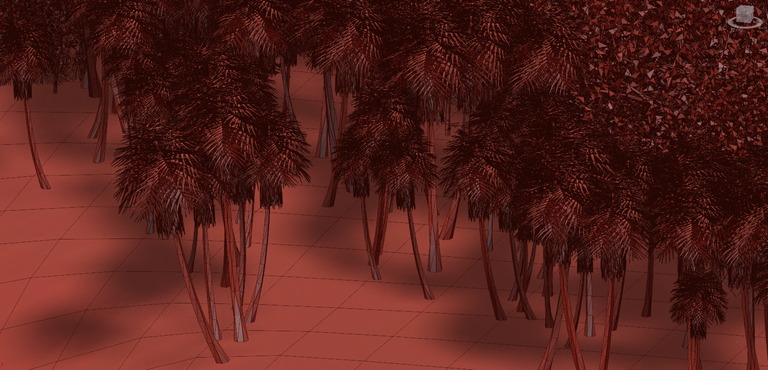
While the island is completely modeled from scratch (by me) using a 3d plane modified using 3d sculpting tools to create the mounds.
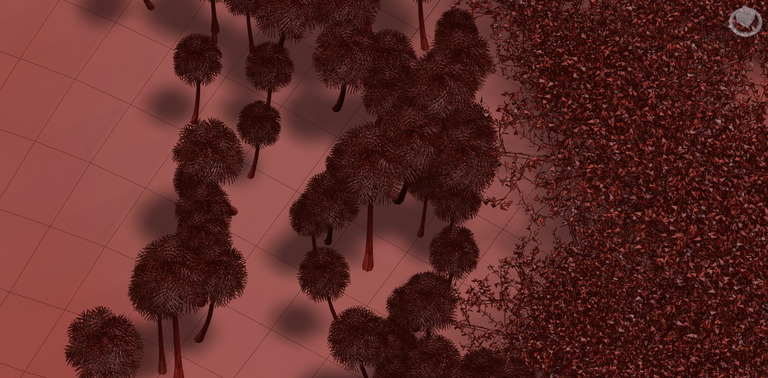
The trees are manually set up using a script that allows me to hand paint the position, size, and orientation in a playful manner. It’s a very helpful script and enjoys using it when creating a realistic landscape layout.
In this 3d scene, I rendered a single view but in two different moods, one is daylight while the other is night time.
The daylight is quite simple since I only used a dome “HDRI” lighting. It’s a simple off the shelf HDRI image and the only thing I did is to orient the position of the sun.
The complicated part is lighting design. Although the design is simple, the balancing of different lighting setup is the one that gave me the difficulty.
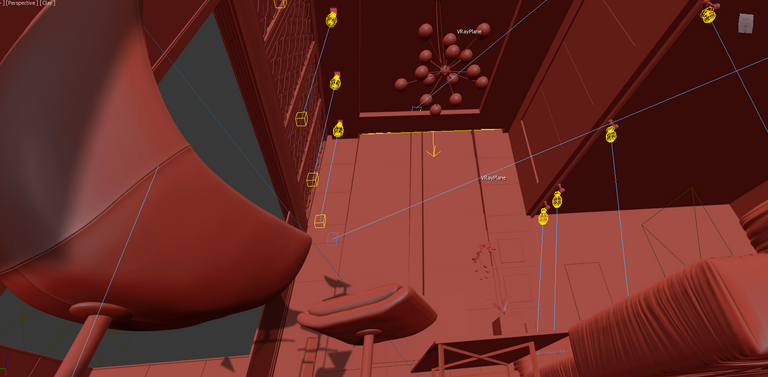
Since I’m not an expert in lighting design, I basically guessed the intensity of each light based on what I think is realistic. I started on the settings of the chandelier which I think should have the most intense and then the rest just follow through.
Here is the final image after some editing using photoshop.
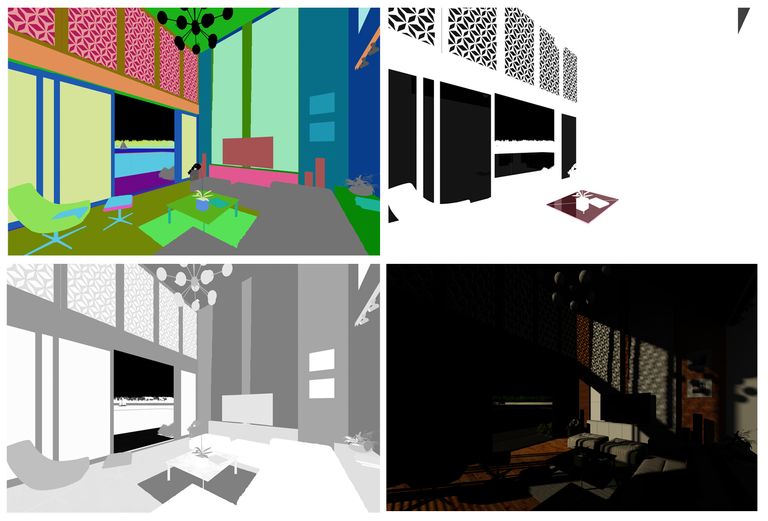
Below are some of the render breakdown:
I hope you enjoy reading through my experience for this 3d project.
Thank you for your time reading my post!