¡Hola a todos! 👋
Hoy quiero compartir con ustedes un proyecto que terminé hace algunos meses y que me tiene muy orgullosa. La pieza central de esta creación es una lana tipo chenille que encontré de casualidad en una pequeña tienda. Su textura gruesa y su suavidad me enamoraron al instante; era perfecta para lo que tenía en mente.
El proceso fue desafiante. Trabajar con lana chenille, aunque agradable por su suavidad, también requiere paciencia y precisión, especialmente al definir las formas y volúmenes que caracterizan a un amigurumi. Pero cada puntada, cada vuelta, y cada pieza que tomaba forma me recordaban por qué amo lo que hago, aunque sé que es muchísimo trabajo 🤷🏻♀️.
Así que, después de esta pequeña introducción, ¡vamos al grano!
Hi everyone! 👋
Today, I want to share with you a project I finished a few months ago and one that I'm very proud of. The centerpiece of this creation is a chenille yarn that I found by chance in a small shop. Its thick texture and softness captivated me instantly; it was perfect for what I had in mind.
The process was challenging. Working with chenille yarn, although pleasant due to its softness, also requires patience and precision, especially when defining the shapes and volumes that characterize an amigurumi. But each stitch, each round, and each piece that took shape reminded me why I love what I do, even though I know it’s a lot of work 🤷🏻♀️.
So, after this little introduction, let’s get to it!
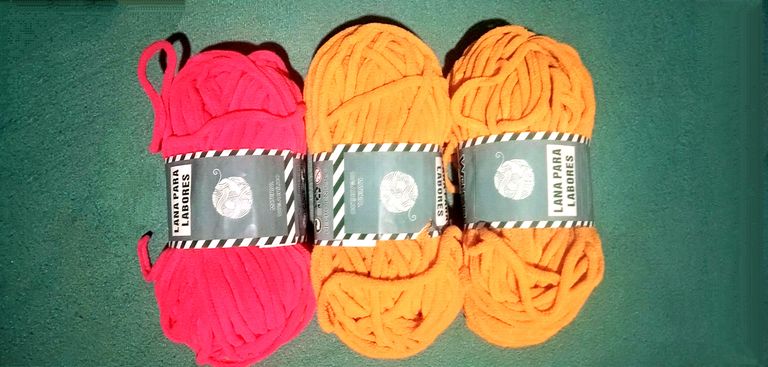
Materiales / Materials
|

|
- Lanas tipo chenille
- Crochet de 4 mm
- Algodón sintético
- Tijeras
- Aguja
- Ojos de seguridad
- Lana negra
- Chenille yarn
- 4 mm crochet hook
- Synthetic cotton
- Scissors
- Needle
- Safety eyes
- Black yarn
Instrucciones / Instructions
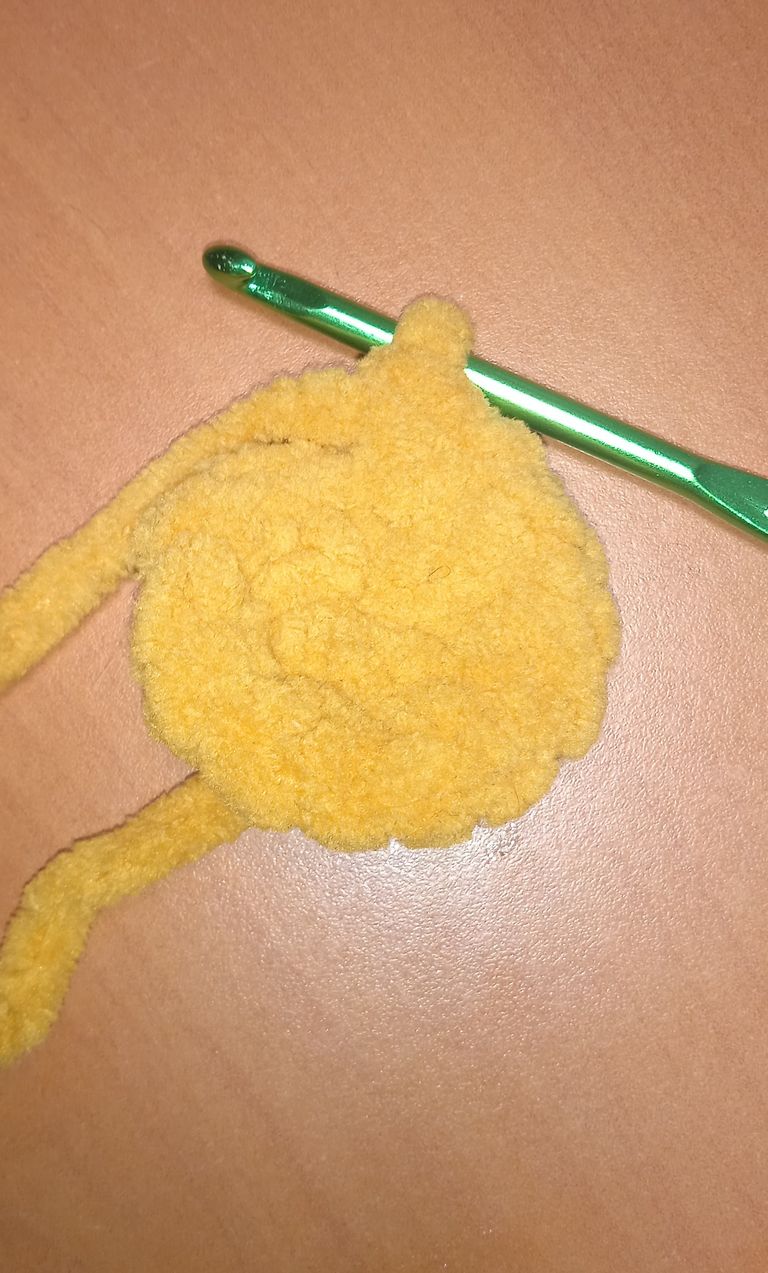
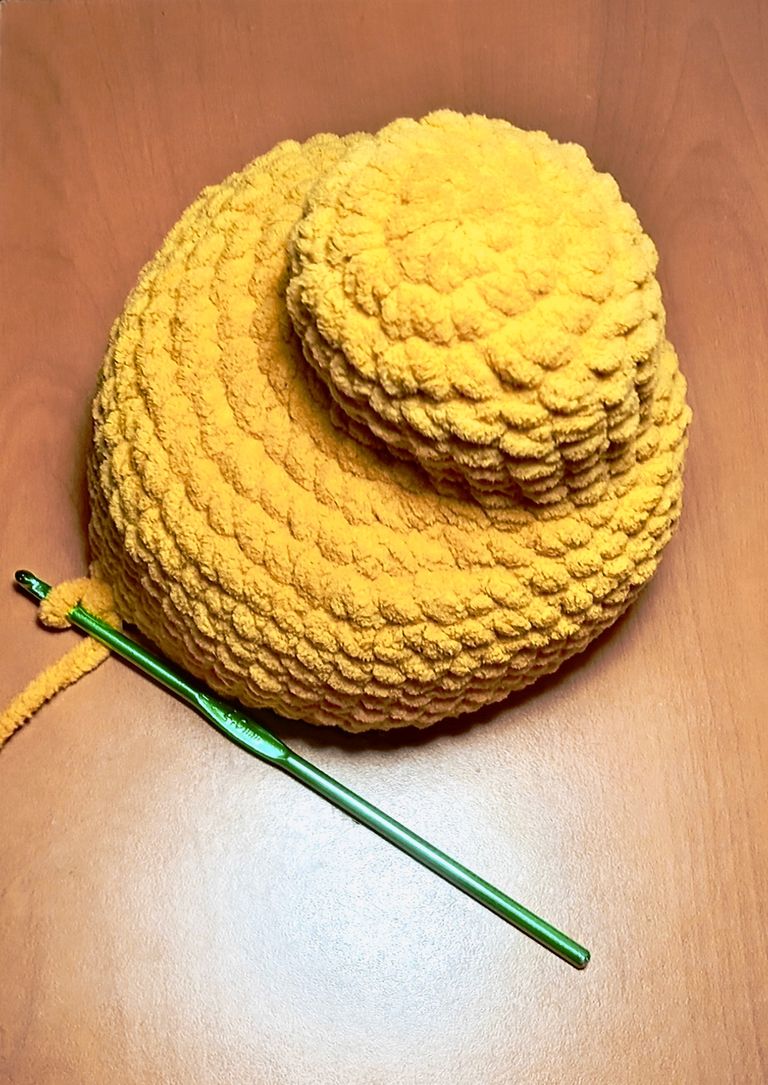
Cabeza del Osito
|
|
|
|
Con lana color mostaza
- Un anillo mágico con 7 puntos bajos.
- 7 aumentos. Total de puntos 14.
- Secuencia de 1 punto bajo, 1 aumento x7. Total de puntos 21.
- a 6. Solo puntos bajos. Total de puntos 21.
- Secuencia de 1 punto bajo, 1 aumento x4, 13 puntos bajos. Total de puntos 25.
- Secuencia de 2 puntos bajos, 1 aumento x4, 13 puntos bajos. Total de puntos 29.
- Secuencia de 3 puntos bajos, 1 aumento x4, 13 puntos bajos. Total de puntos 33.
- Secuencia de 3 puntos bajos, 1 aumento x8, 1 punto bajo. Total de puntos 41.
- Secuencia de 7 puntos bajos, 1 aumento x5. Total de puntos 46.
- Secuencia de 10 puntos bajos, 1 aumento x2. Total de puntos 50.
- a 19. Solo puntos bajos. Total de puntos 50.
- Secuencia de 8 puntos bajos, 1 disminución x5. Total de puntos 45.
- Secuencia de 3 puntos bajos, 1 disminución x9. Total de puntos 36.
- Secuencia de 4 puntos bajos, 1 disminución x6. Total de puntos 30.
- Secuencia de 3 puntos bajos, 1 disminución x6. Total de puntos 24.
Colocar el relleno y los ojos de seguridad.
- Secuencia de 2 puntos bajos, 1 disminución x6. Total de puntos 18.
- Secuencia de 1 punto bajo, 1 disminución x6. Total de puntos 12.
- 6 disminuciones. Total de puntos 6.
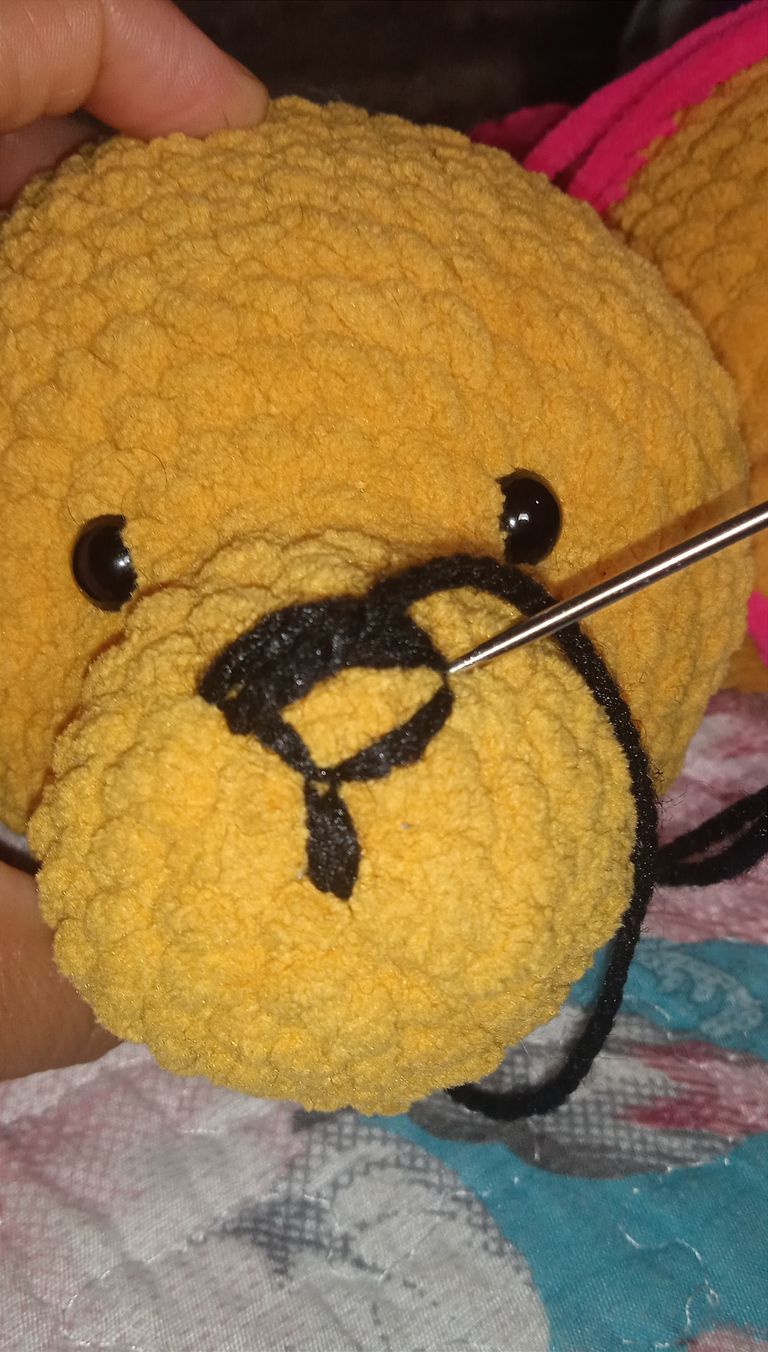
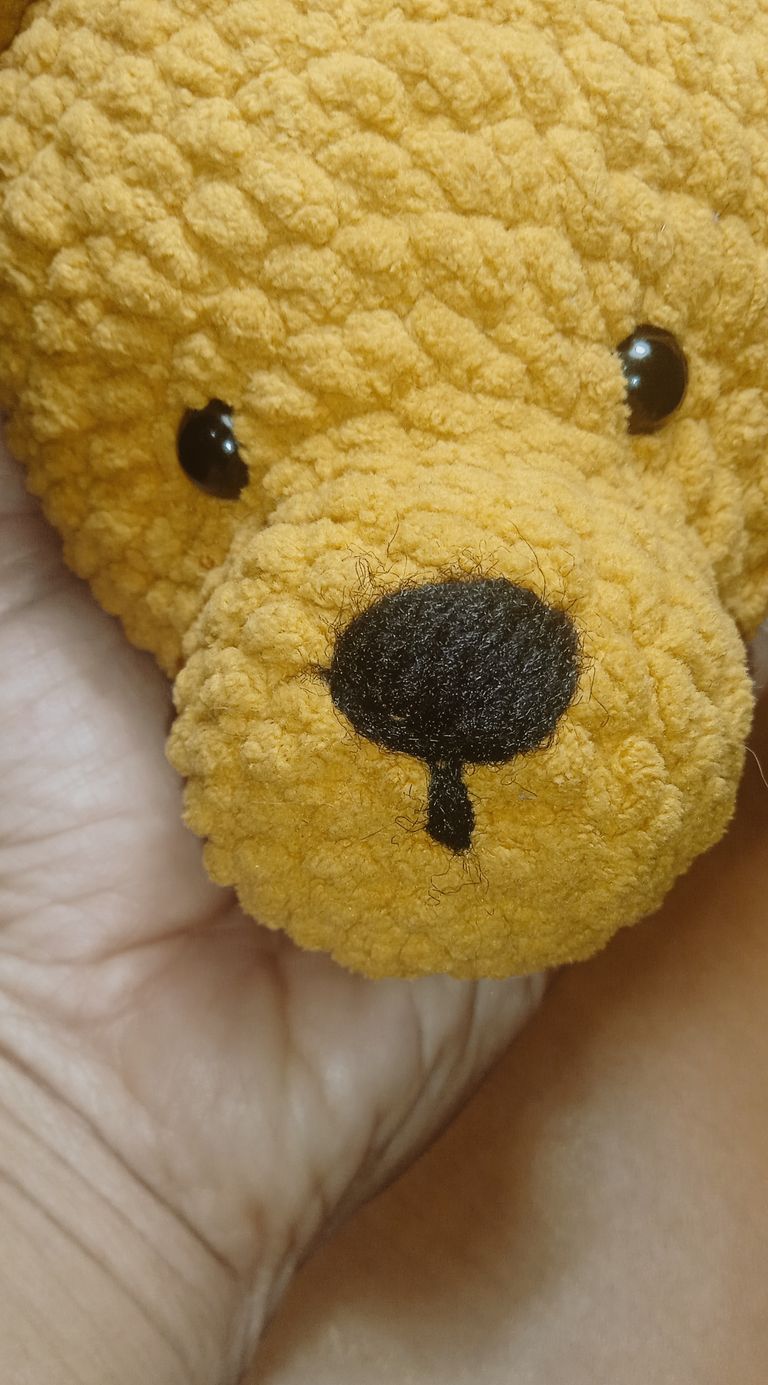
Bordar la nariz con lana negra.
Bear's Head
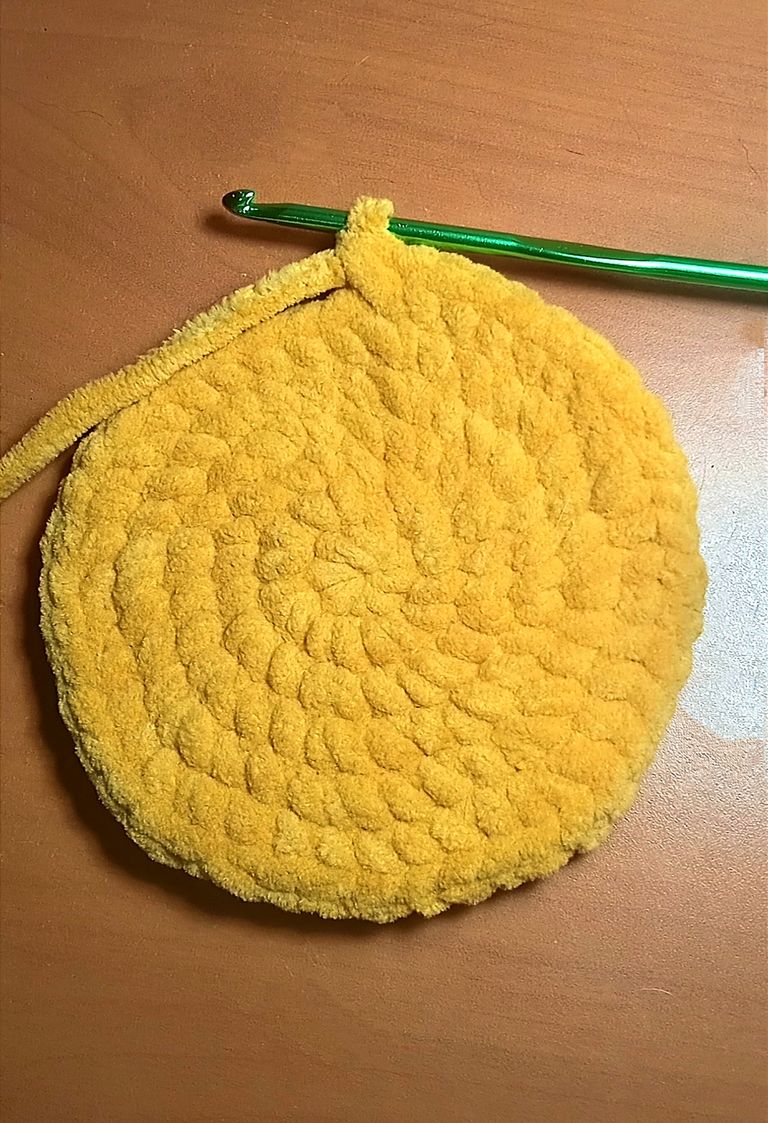
With mustard-colored yarn:
- Make a magic ring with 7 single crochet stitches.
- 7 increases. Total of 14 stitches.
- Sequence of 1 single crochet stitch, 1 increase repeated 7 times. Total of 21 stitches.
- to 6. Single crochet stitches only. Total of 21 stitches.
- Sequence of 1 single crochet stitch, 1 increase repeated 4 times, followed by 13 single crochet stitches. Total of 25 stitches.
- Sequence of 2 single crochet stitches, 1 increase repeated 4 times, followed by 13 single crochet stitches. Total of 29 stitches.
- Sequence of 3 single crochet stitches, 1 increase repeated 4 times, followed by 13 single crochet stitches. Total of 33 stitches.
- Sequence of 3 single crochet stitches, 1 increase repeated 8 times, followed by 1 single crochet stitch. Total of 41 stitches.
- Sequence of 7 single crochet stitches, 1 increase repeated 5 times. Total of 46 stitches.
- Sequence of 10 single crochet stitches, 1 increase repeated 2 times. Total of 50 stitches.
- to 19. Single crochet stitches only. Total of 50 stitches.
- Sequence of 8 single crochet stitches, 1 decrease repeated 5 times. Total of 45 stitches.
- Sequence of 3 single crochet stitches, 1 decrease repeated 9 times. Total of 36 stitches.
- Sequence of 4 single crochet stitches, 1 decrease repeated 6 times. Total of 30 stitches.
- Sequence of 3 single crochet stitches, 1 decrease repeated 6 times. Total of 24 stitches.
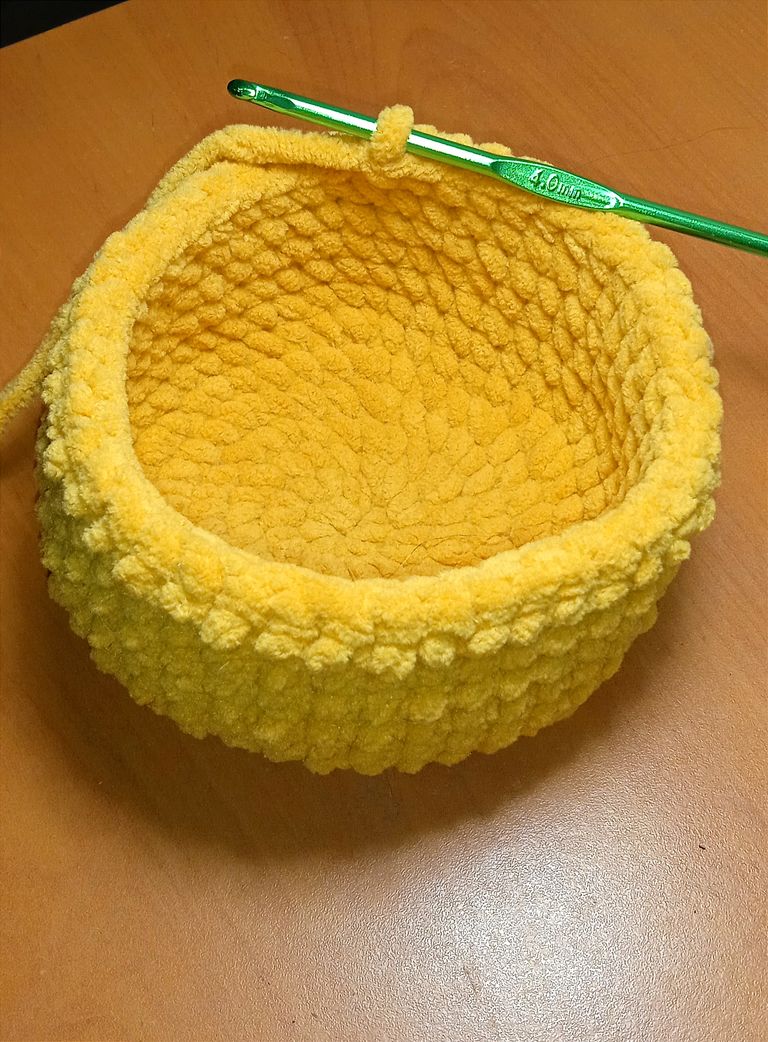
Place the stuffing and safety eyes.
- Sequence of 2 single crochet stitches, 1 decrease repeated 6 times. Total of 18 stitches.
- Sequence of 1 single crochet stitch, 1 decrease repeated 6 times. Total of 12 stitches.
- 6 decreases. Total of 6 stitches.
Embroider the nose with black yarn.
Cuerpo del Osito
|
|
|
|
Lana color mostaza
- Un anillo mágico con 8 puntos bajos.
- 8 aumentos. Total de puntos 16.
- Secuencia de 1 punto bajo, 1 aumento x8. Total de puntos 24.
- Secuencia de 2 puntos bajos, 1 aumento x8. Total de puntos 32.
- Secuencia de 3 puntos bajos, 1 aumento x8. Total de puntos 40.
- Secuencia de 7 puntos bajos, 1 aumento x5. Total de puntos 45.
- a 12. Solo puntos bajos. Total de puntos 45.
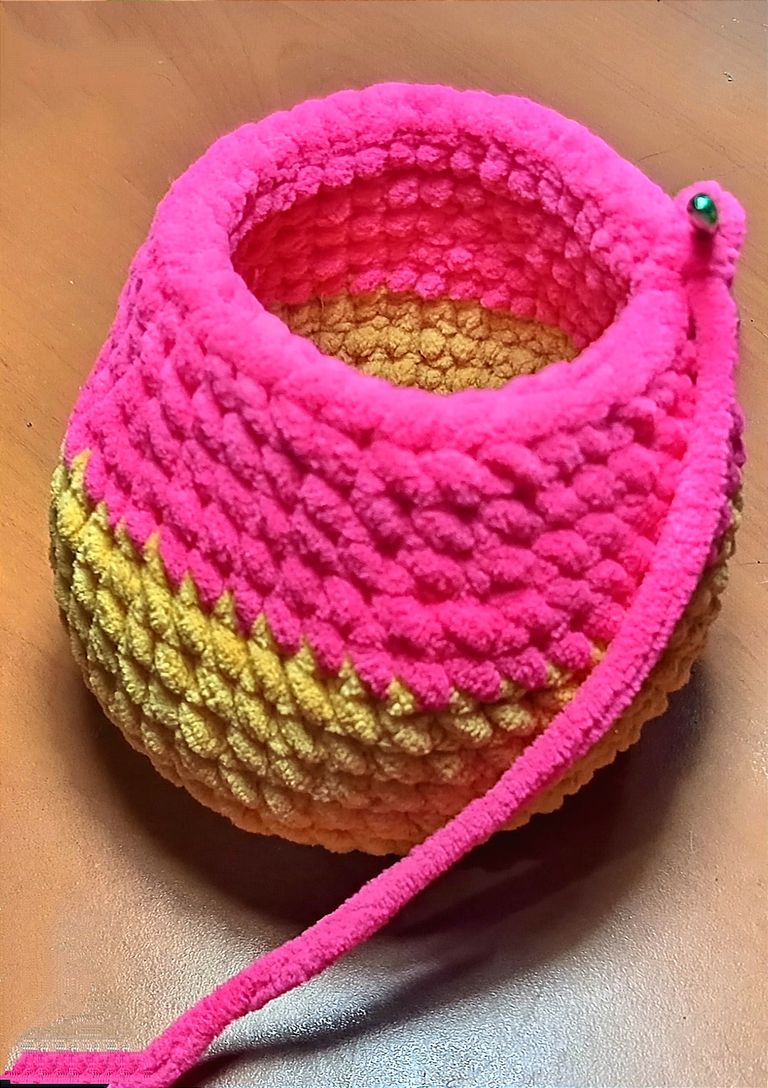
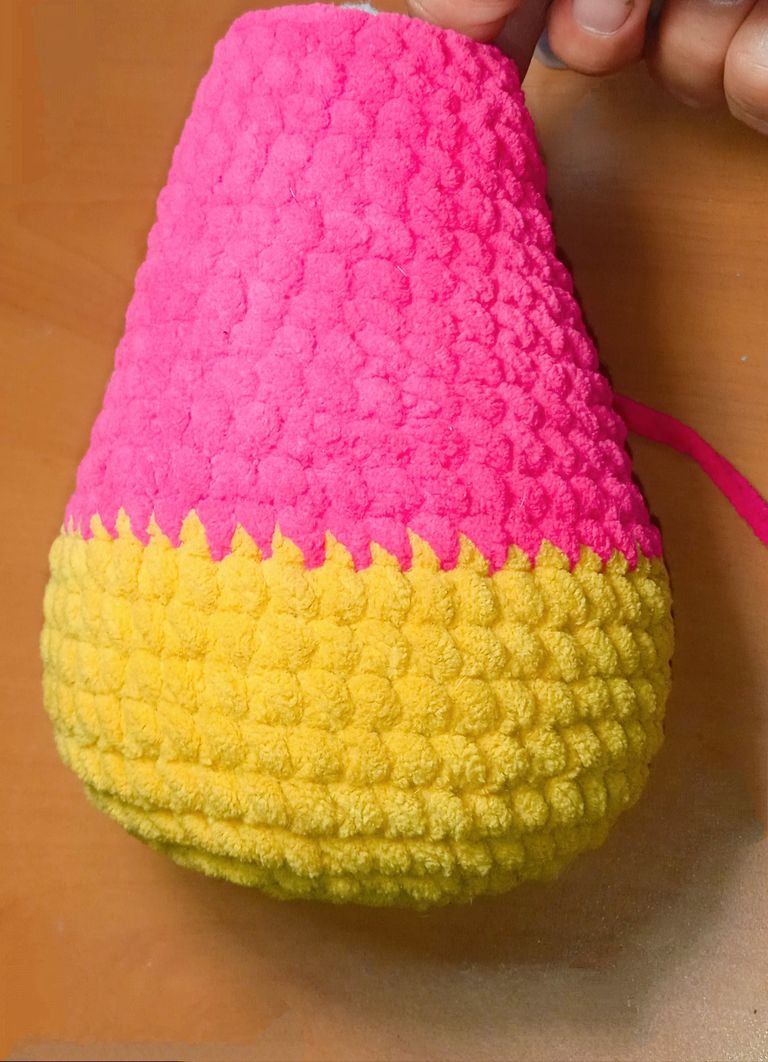
Cambiar a lana color fucsia
- Secuencia de 7 puntos bajos, 1 disminución x5. Total de puntos 40.
- Solo puntos bajos. Total de puntos 40.
- Secuencia de 6 puntos bajos, 1 disminución x5. Total de puntos 35.
- a 17. Solo puntos bajos. Total de puntos 35.
- Secuencia de 5 puntos bajos, 1 disminución x5. Total de puntos 30.
- a 20. Solo puntos bajos. Total de puntos 30.
- Secuencia de 4 puntos bajos, 1 disminución x5. Total de puntos 25.
- a 23. Solo puntos bajos. Total de puntos 25.
- Secuencia de 3 puntos bajos, 1 disminución x5. Total de puntos 20.
- Solo puntos bajos. Total de puntos 20.
Rellenar el cuerpo y dejar una hebra larga de lana para coserlo después.
Bear's Body
Mustard-colored yarn
- Make a magic ring with 8 single crochet stitches.
- 8 increases. Total of 16 stitches.
- Sequence of 1 single crochet stitch, 1 increase repeated 8 times. Total of 24 stitches.
- Sequence of 2 single crochet stitches, 1 increase repeated 8 times. Total of 32 stitches.
- Sequence of 3 single crochet stitches, 1 increase repeated 8 times. Total of 40 stitches.
- Sequence of 7 single crochet stitches, 1 increase repeated 5 times. Total of 45 stitches.
- to 12. Single crochet stitches only. Total of 45 stitches.
Switch to fuchsia-colored yarn
- Sequence of 7 single crochet stitches, 1 decrease repeated 5 times. Total of 40 stitches.
- Single crochet stitches only. Total of 40 stitches.
- Sequence of 6 single crochet stitches, 1 decrease repeated 5 times. Total of 35 stitches.
- to 17. Single crochet stitches only. Total of 35 stitches.
- Sequence of 5 single crochet stitches, 1 decrease repeated 5 times. Total of 30 stitches.
- to 20. Single crochet stitches only. Total of 30 stitches.
- Sequence of 4 single crochet stitches, 1 decrease repeated 5 times. Total of 25 stitches.
- to 23. Single crochet stitches only. Total of 25 stitches.
- Sequence of 3 single crochet stitches, 1 decrease repeated 5 times. Total of 20 stitches.
- Single crochet stitches only. Total of 20 stitches.
Stuff the body and leave a long strand of yarn to sew it later.
Brazos y Piernas
|
|
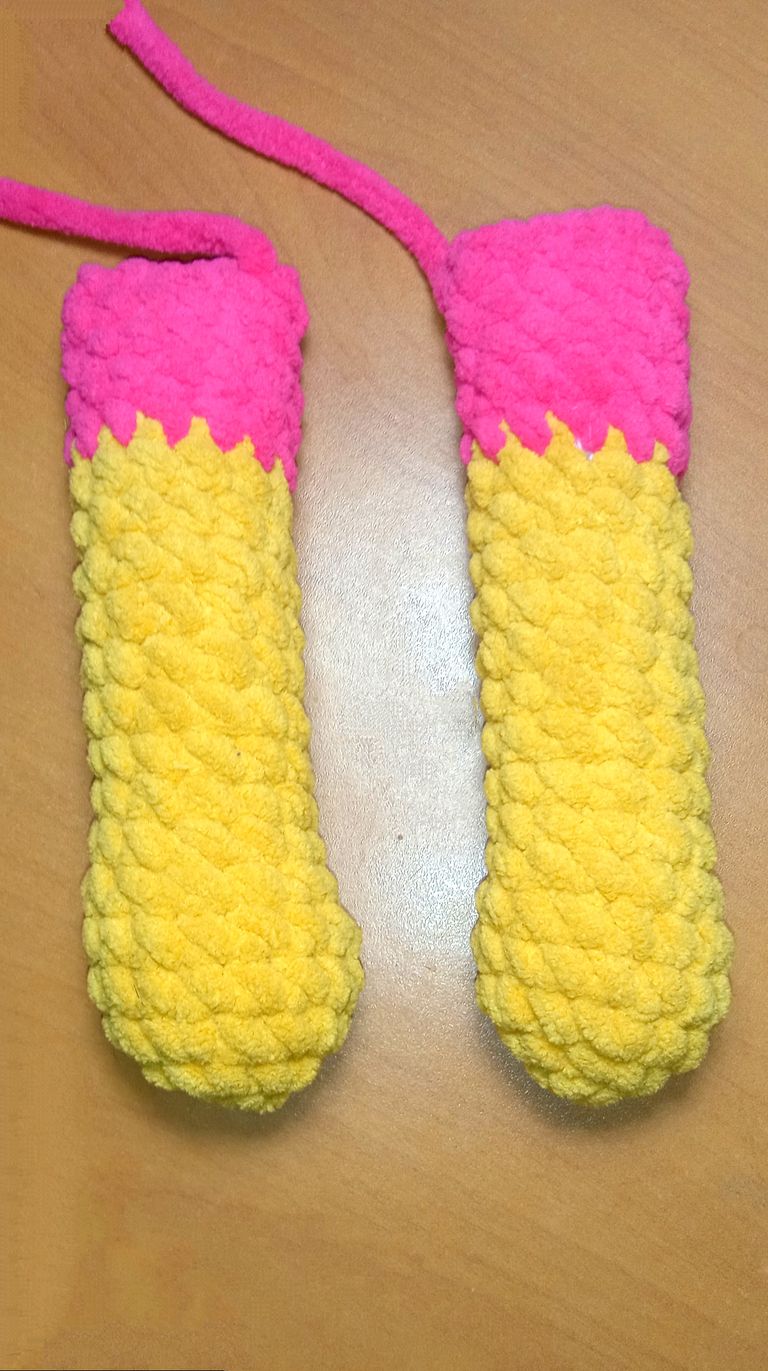
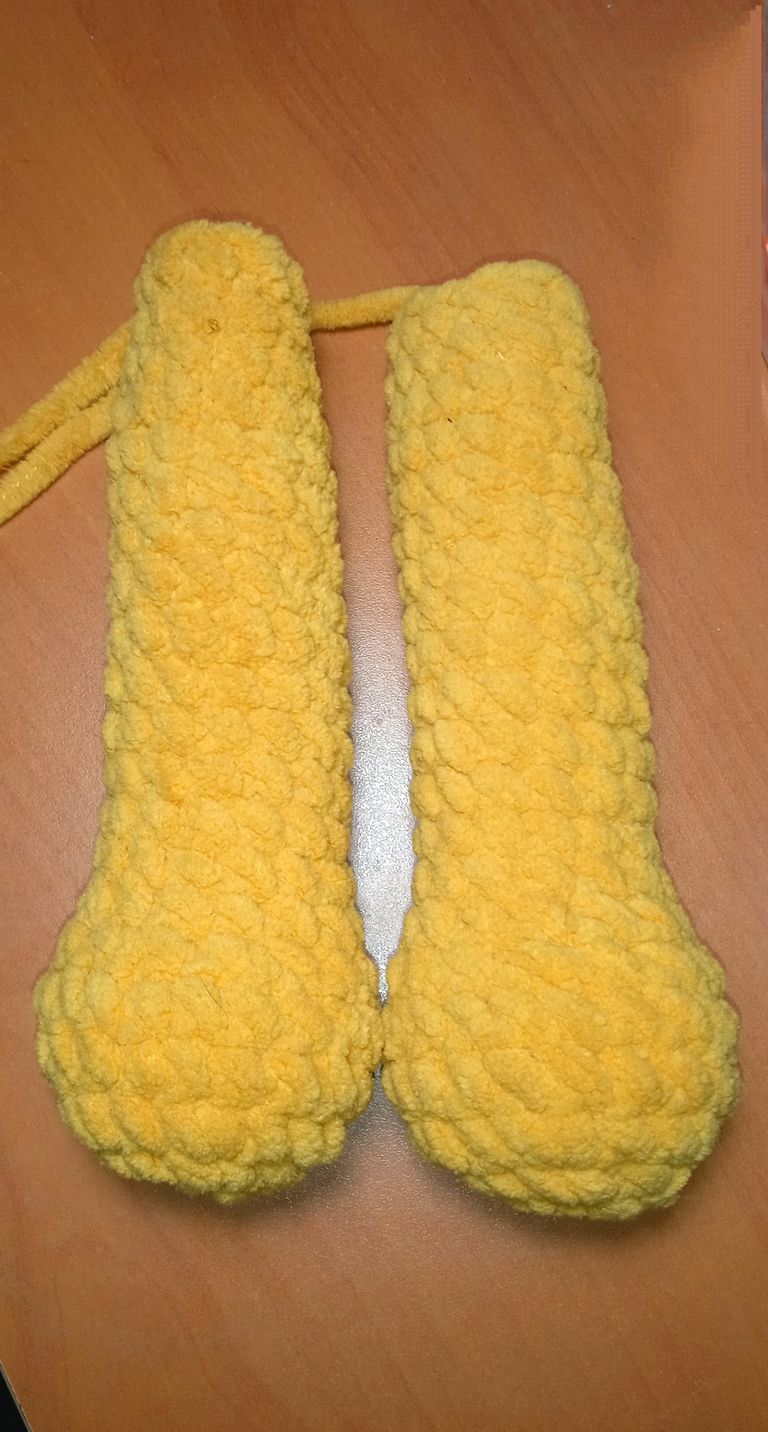
Para los brazos y las piernas utilicé el mismo patrón, pero empecé el anillo mágico con 5 puntos bajos para los brazos y 7 para las piernas. En los brazos cambié de color mostaza a fucsia a partir de la vuelta 14.
- Anillo mágico con 5 puntos bajos.
- 5 aumentos.
- Secuencia de 1 punto bajo, 1 aumento. Total de puntos 15.
- a 5. Solo puntos bajos.
- Secuencia de 3 puntos bajos, 1 disminución x3. Total de puntos 12.
- a 18. Solo puntos bajos.
Hacer un punto deslizado, dejar una hebra larga para coser, rellenar y listo.
For the arms and legs, I used the same pattern, but I started the magic ring with 5 single crochet stitches for the arms and 7 for the legs. For the arms, I changed from mustard to fuchsia color starting from round 14.
- Make a magic ring with 5 single crochet stitches.
- 5 increases.
- Sequence of 1 single crochet stitch, 1 increase. Total of 15 stitches.
- to 5. Single crochet stitches only.
- Sequence of 3 single crochet stitches, 1 decrease repeated 3 times. Total of 12 stitches.
- to 18. Single crochet stitches only.
Make a slip stitch, leave a long strand for sewing, stuff, and you're done.
Orejas
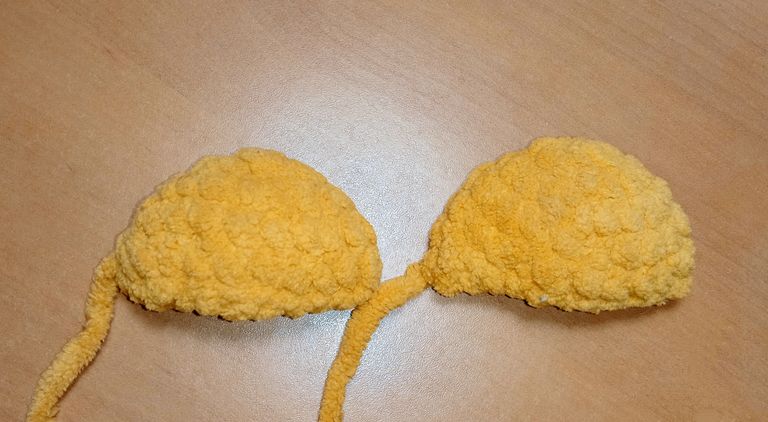
Usé el mismo patrón de tejido en espiral y luego doblé por la mitad.
- Un anillo mágico con 7 puntos bajos.
- 7 aumentos. Total de puntos 14.
- Secuencia de 1 punto bajo, 1 aumento x7. Total de puntos 21.
- Solo puntos bajos. Total de puntos 21.
Ears
I used the same spiral knitting pattern and then folded it in half.
- Make a magic ring with 7 single crochet stitches.
- 7 increases. Total of 14 stitches.
- Sequence of 1 single crochet stitch, 1 increase repeated 7 times. Total of 21 stitches.
- Single crochet stitches only. Total of 21 stitches.
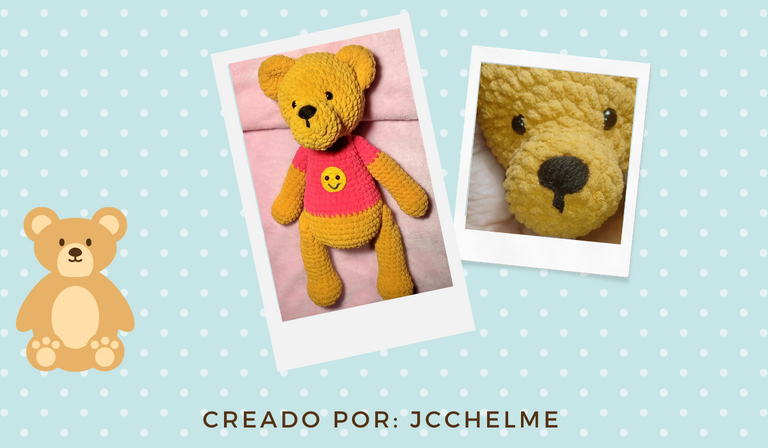
Resultado / Result
|
|
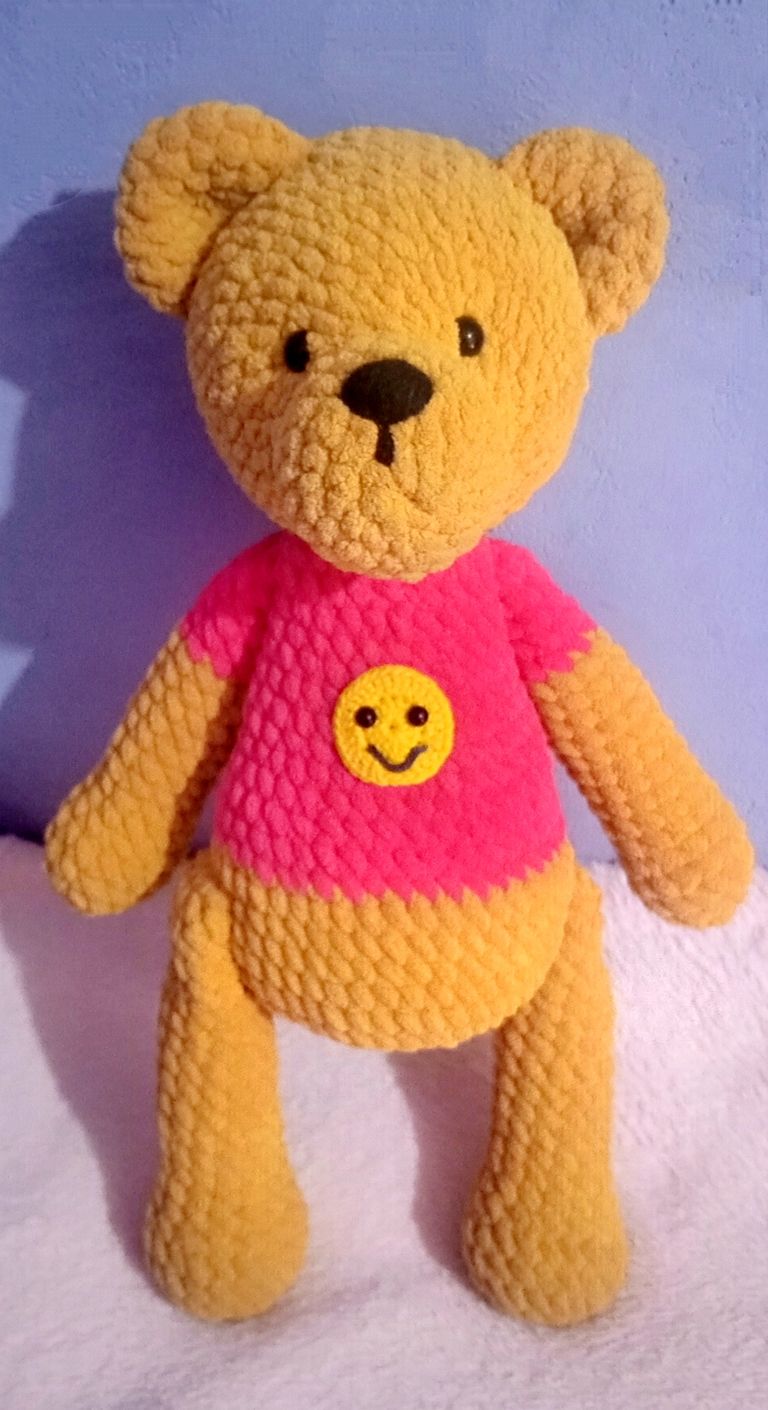
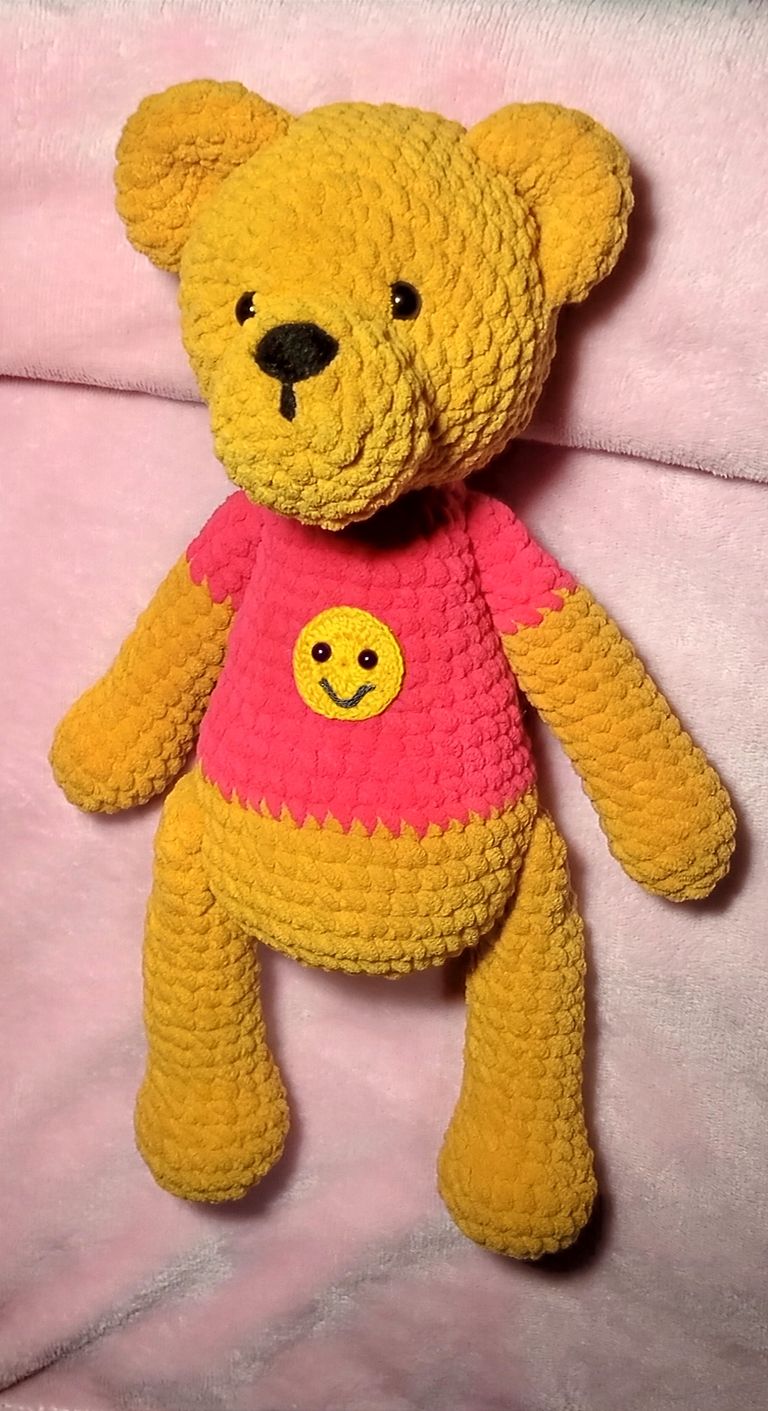
Todas las piezas fueron cosidas y este es el resultado. Le agregué en la parte frontal un aplique que ya tenía hecho de un trabajo anterior, quedó bastante bonito, como si fuera un diseño en la polera del oso.
All the pieces were sewn together, and here is the result. I added an appliqué on the front that I had made from a previous project, and it turned out quite beautiful, almost like a design on the bear's shirt.

Upvoted. Thank You for sending some of your rewards to @null. Get more BLURT:
@ mariuszkarowski/how-to-get-automatic-upvote-from-my-accounts@ blurtbooster/blurt-booster-introduction-rules-and-guidelines-1699999662965@ nalexadre/blurt-nexus-creating-an-affiliate-account-1700008765859@ kryptodenno - win BLURT POWER delegationNote: This bot will not vote on AI-generated content