Hoy voy a compartir con ustedes un trabajo en crochet que realicé hace algún tiempo. Se trata de un amigurumi de un guanaco, una especie emblemática de mi región. Quise recrearlo en crochet para celebrar nuestra fauna local y compartir un pedacito de nuestro entorno natural a través del arte de las manualidades. Espero que disfruten tanto como yo disfruté creándolo.
Today, I am going to share with you a crochet project that I completed some time ago. It is an amigurumi of a guanaco, an emblematic species from my region. I wanted to recreate it in crochet to celebrate our local fauna and to share a piece of our natural environment through the art of crafts. I hope you enjoy it as much as I enjoyed creating it.
Materiales / Materials
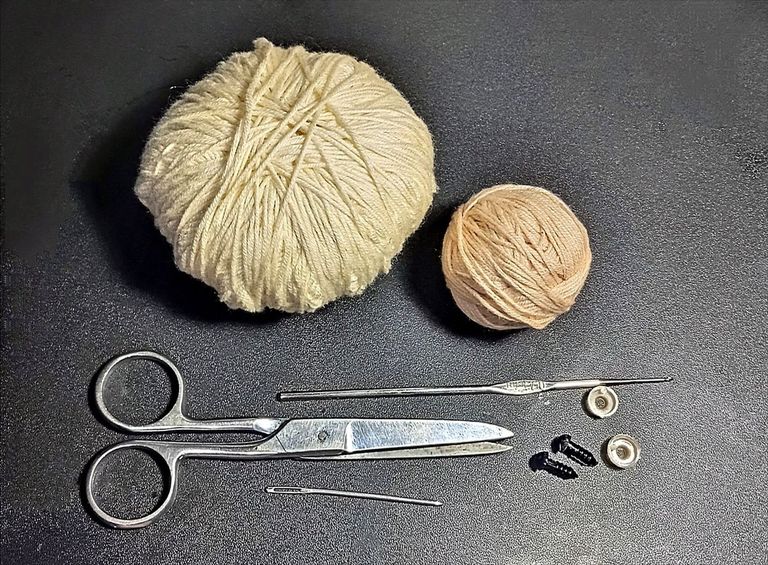
- Hilo color crema
- hilo beige
- Hilo gris
- Crochet de 0.75 mm
- algodón sintético
- Tijeras
- aguja
- Ojos de seguridad o hilo negro de bordar
- Cream-colored yarn
- Beige yarn
- Gray yarn
- 0.75 mm crochet hook
- Synthetic cotton
- Scissors
- Needle
- Safety eyes or black embroidery thread
Elaboración / Elaboration
|
|
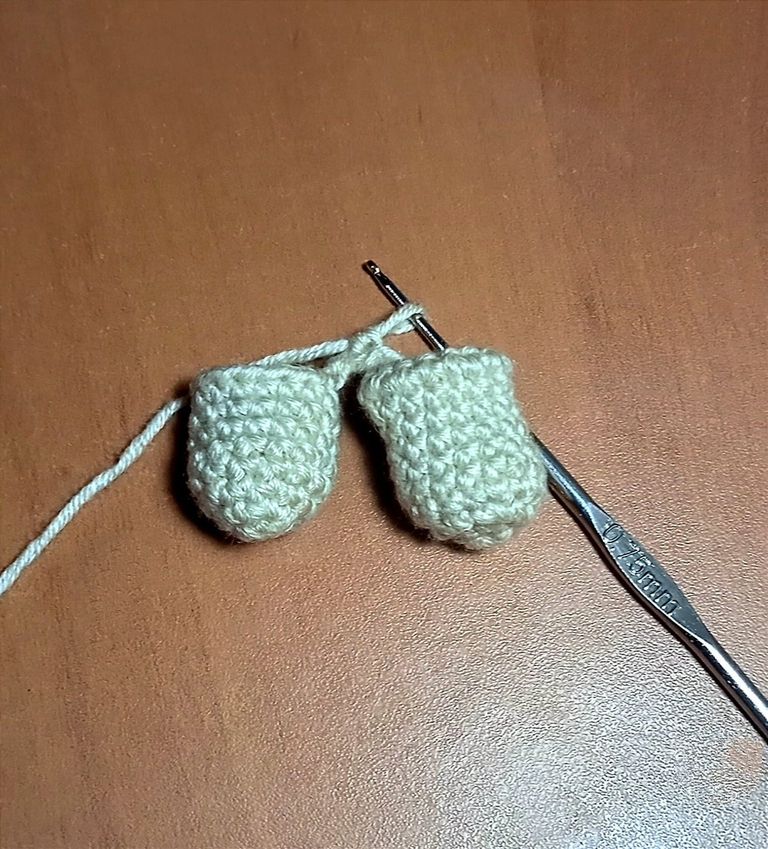
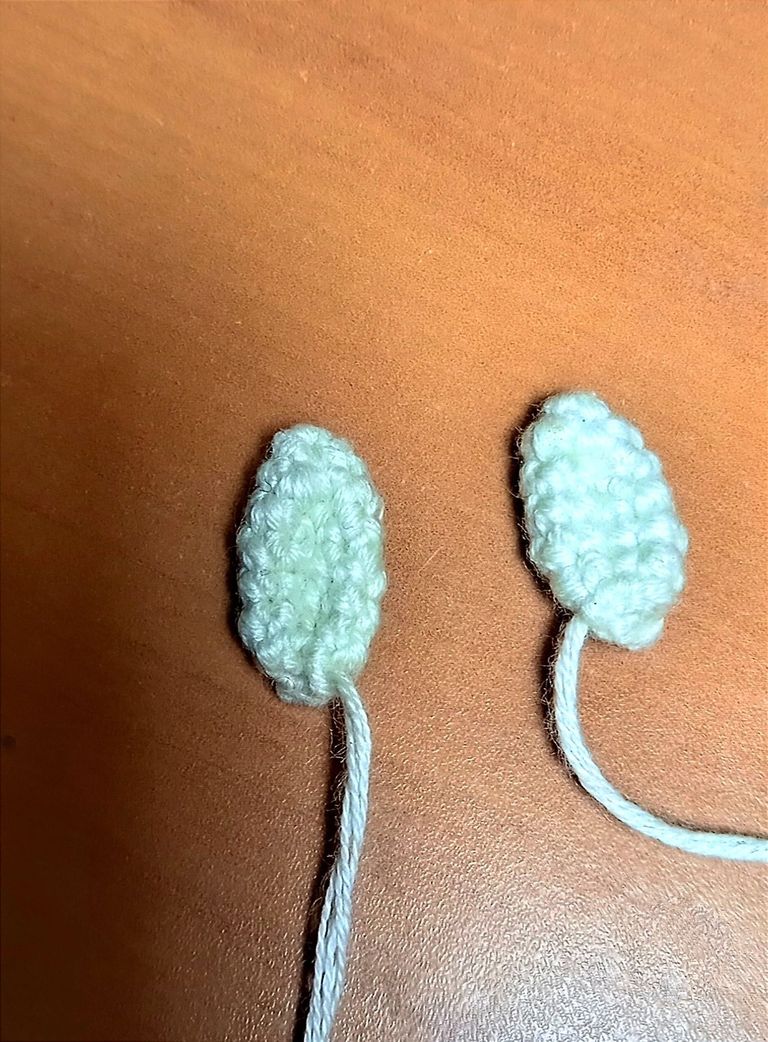
Patas
Vuelta 1: 6 puntos bajos en un anillo mágico (6)
Vuelta 2: 6 aumentos (12)
Vuelta 3: 3 puntos bajos, 1 aumento repetir toda la vuelta (15)
De la vuelta 4 a 8: 15 puntos bajos
Repite este patrón para hacer la segunda pata delantera. No cortes el hilo al terminar la segunda pata.
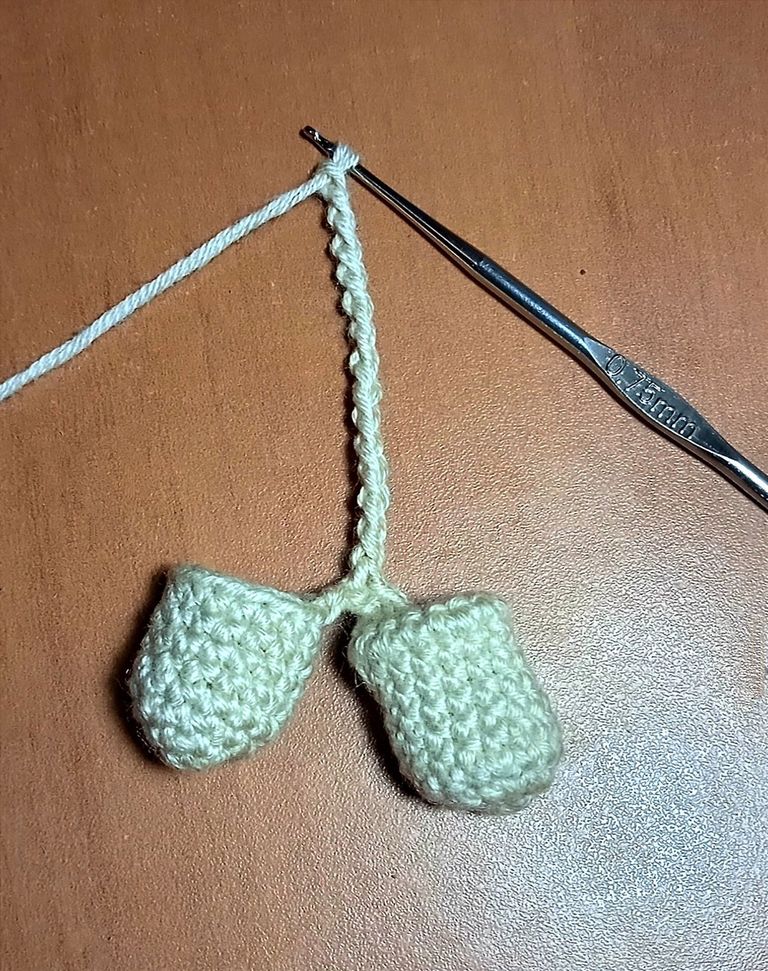
- Después de terminar la segunda pata, haz 3 cadenas.
- Une con un punto deslizado a la primera pata en el punto de inicio (donde terminaste la primera pata).
- Teje puntos bajos alrededor de la primera pata hasta llegar a la cadena de 3 puntos que hiciste.
- Teje 1 punto bajo en cada una de las 3 cadenas.
- Levanta 14 cadenas para formar la base del cuerpo del guanaco.
- Une la última cadena con un punto deslizado a la primera pata (en el punto donde terminaste de tejer los puntos bajos alrededor de la primera patas)
Round 1: 6 single crochets in a magic ring (6)
Round 2: 6 increases (12)
Round 3: 3 single crochets, 1 increase repeat around (15)
Rounds 4 to 8: 15 single crochets
Repeat this pattern to make the second front leg. Do not cut the yarn after finishing the second leg.
- After finishing the second leg, make 3 chains.
- Join with a slip stitch to the first leg at the starting point (where you finished the first leg).
- Crochet single crochets around the first leg until you reach the 3 chains you made.
- Crochet 1 single crochet in each of the 3 chains.
- Chain 14 to form the base of the guanaco's body.
- Join the last chain with a slip stitch to the first leg (at the point where you finished crocheting single crochets around the first leg).
|
|
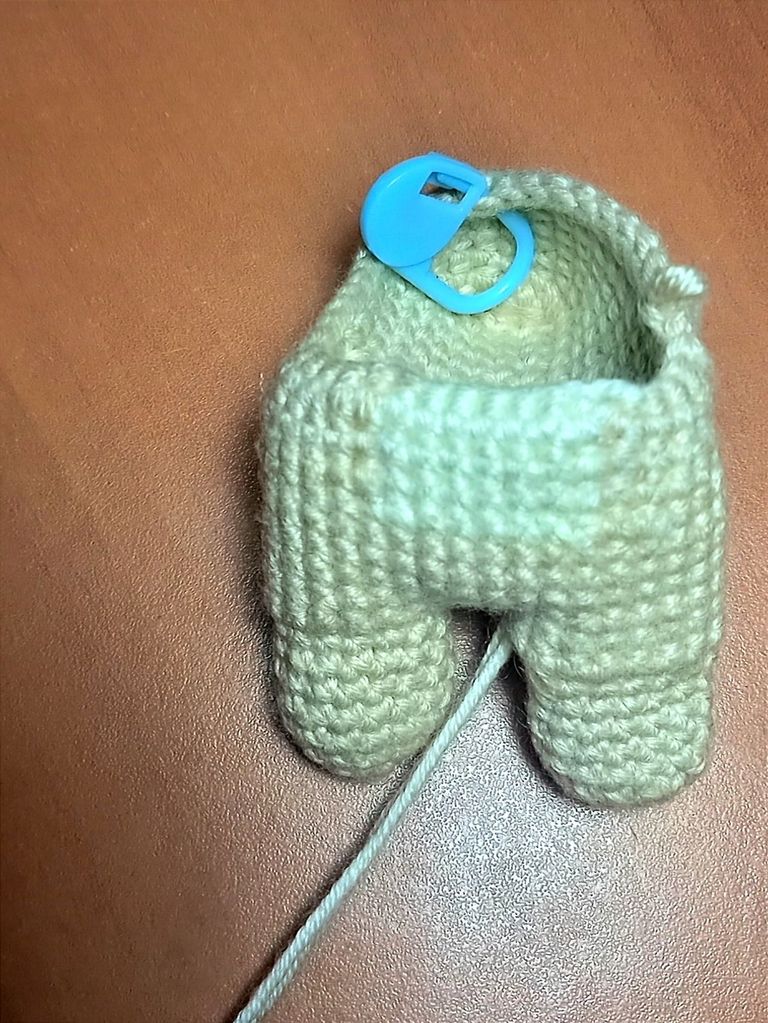
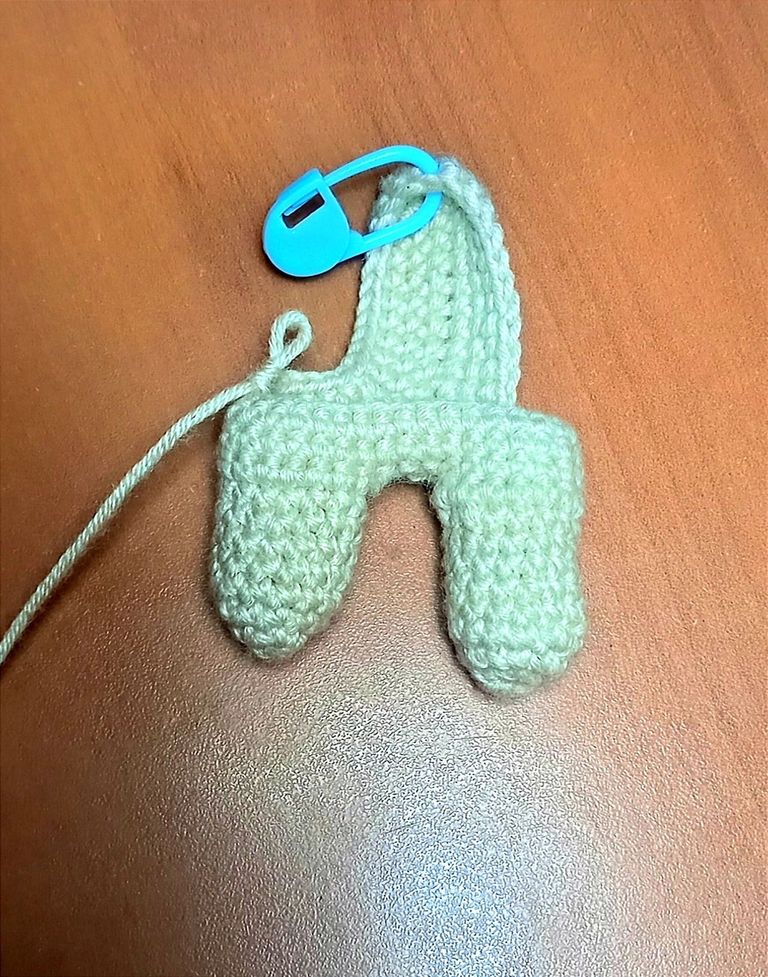
1- Tejí puntos bajos alrededor de las patas y de las 14 cadenas. En los extremos de las cadenas, hice 1 disminución en cada vuelta. Repetí esto durante 14 vueltas.
2- Tejí 4 vueltas de puntos bajos.
1- I crocheted single crochets around the legs and the 14 chains. At the ends of the chains, I made one decrease in each round. I repeated this for 14 rounds.
2- I crocheted 4 rounds of single crochets.
|
|
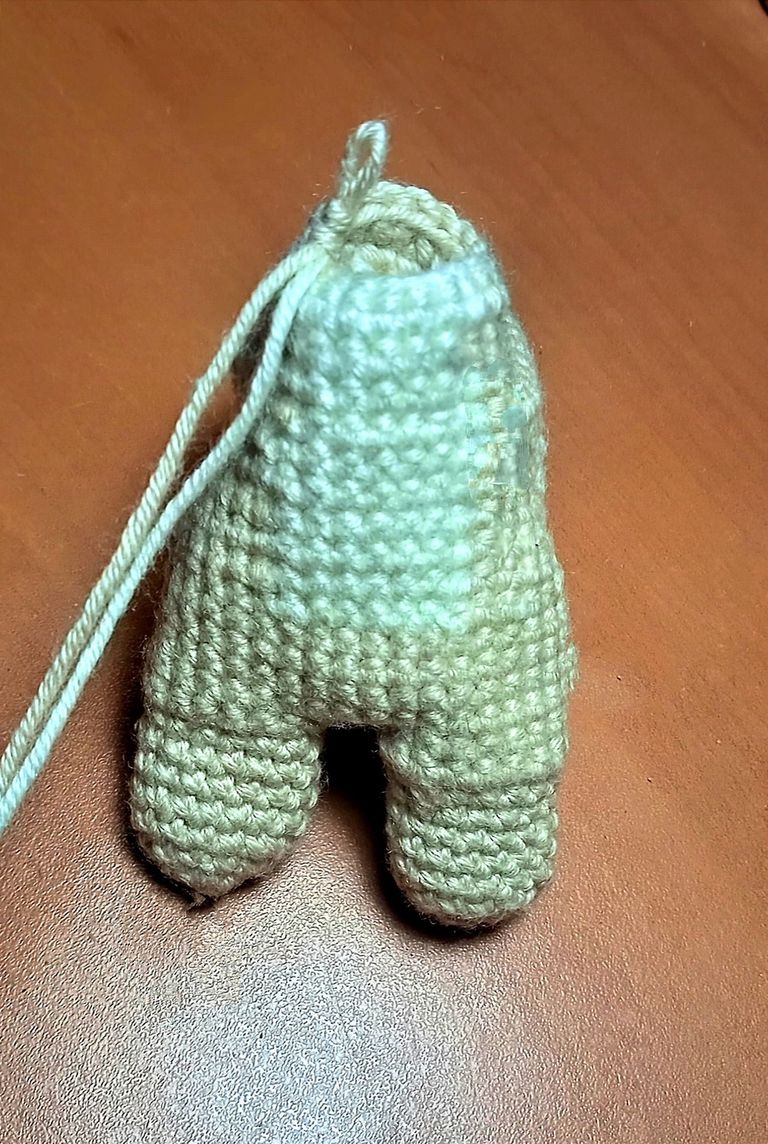
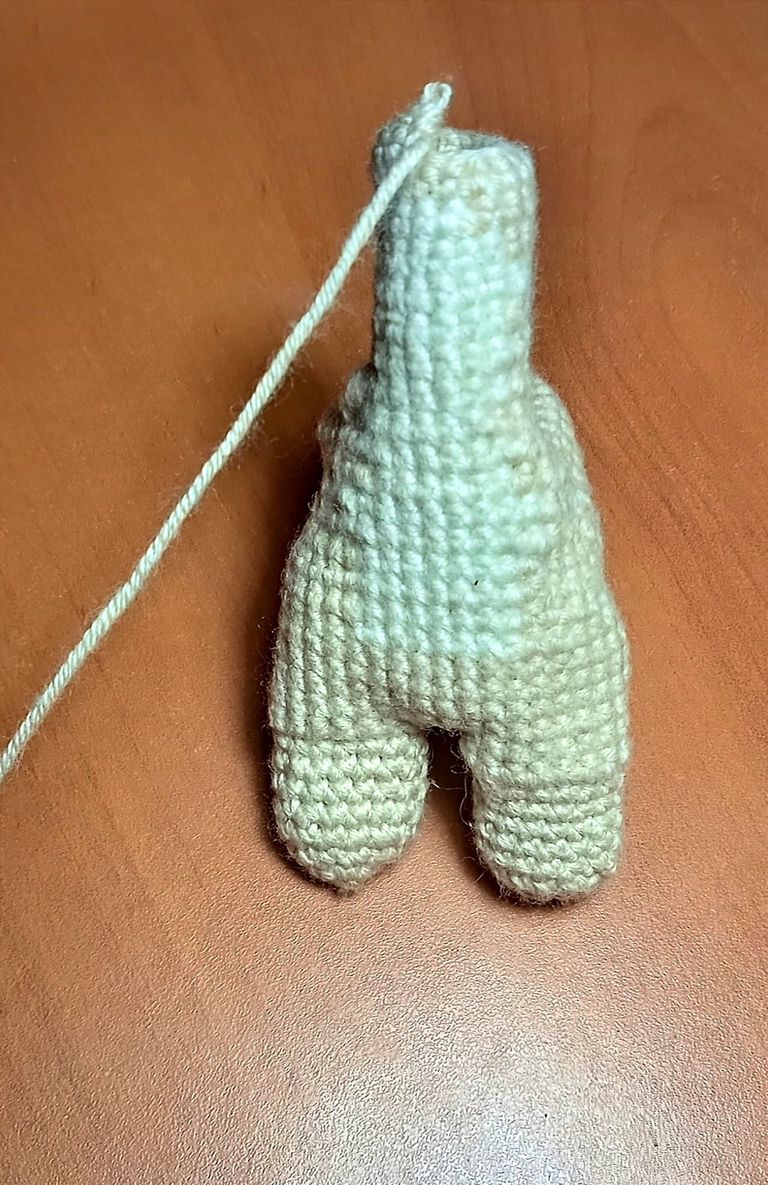
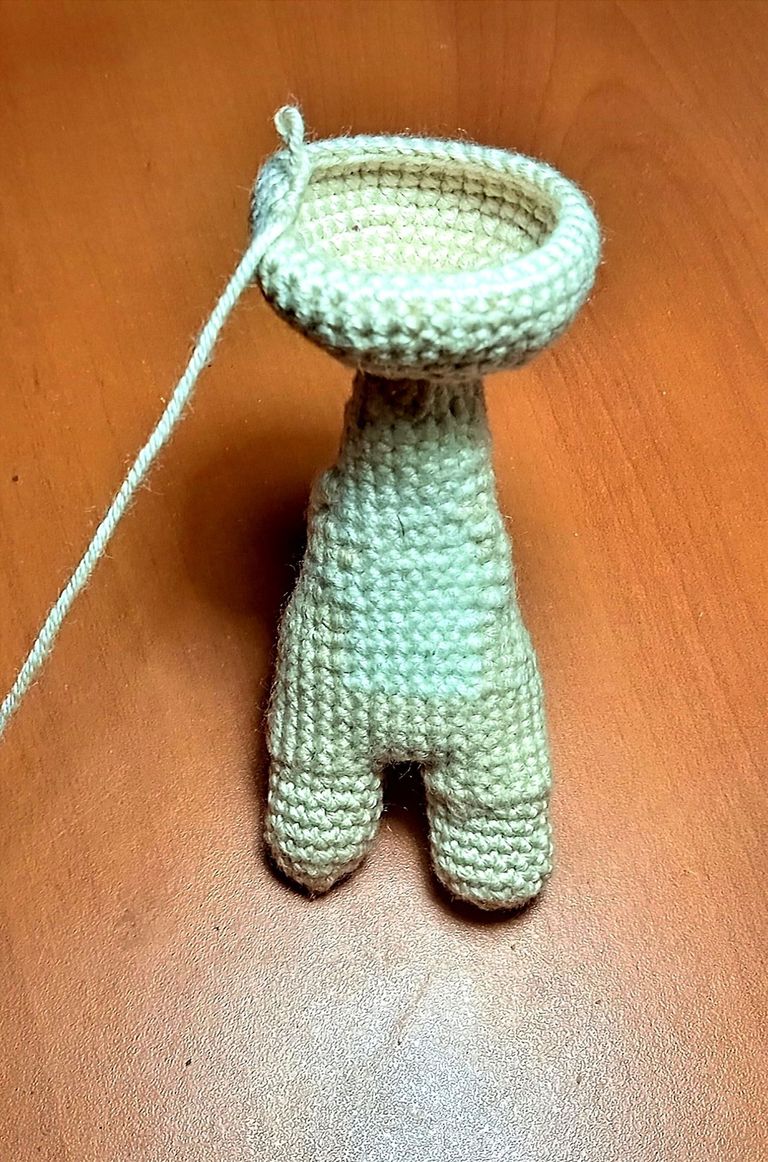
1- Separé 12 puntos al frente, hice 6 cadenas y las uní al primer punto de los 12 separados. Esto crea una sección distinta.
2- Luego, tejí alrededor de esta sección, realizando 15 vueltas de 18 puntos bajos.
1- I separated 12 stitches at the front, chained 6, and joined to the first of the separated stitches. This creates a distinct section.
2- Then, I crocheted around this section, making 15 rounds of 18 single crochets.
|
|
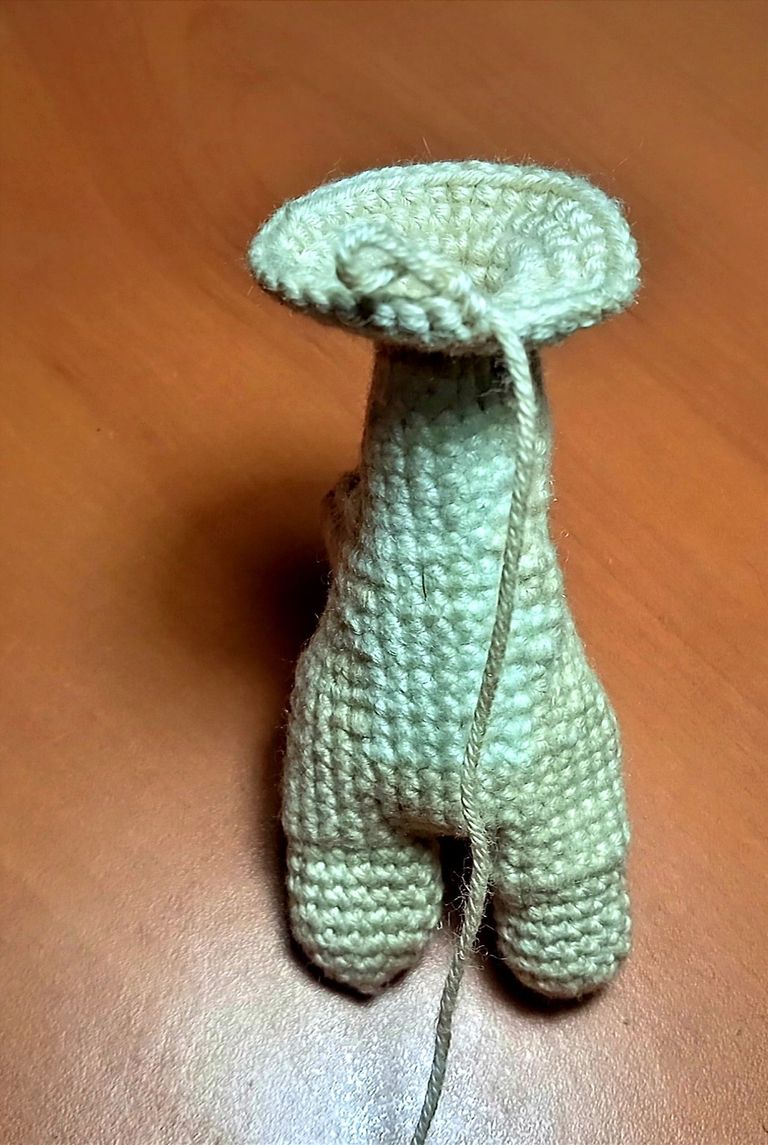
1- Sin cortar el hilo al terminar el cuello, continúa con aumentos y sigue con una vuelta de puntos bajos.
2- Teje 5 puntos bajos, 1 aumento y luego 6 vueltas de puntos bajos.
3- Teje 5 puntos bajos, 1 disminución y sigue con una vuelta de puntos bajos.
4- Teje 4 puntos bajos, 1 disminución y sigue con una vuelta de puntos bajos.
5- Es momento de rellenar.
6- Teje 3 puntos bajos, 1 disminución
7- Teje 2 puntos bajos, 1 disminución
8- Teje 1 punto bajo, 1 disminución
9- Termina con 6 disminuciones.
1- Without cutting the yarn after finishing the neck, continue with increases and then one round of single crochets.
2- Crochet 5 single crochets, 1 increase and then 6 rounds of single crochets.
3- Crochet 5 single crochets, 1 decrease and follow with one round of single crochets.
4- Crochet 4 single crochets, 1 decrease and follow with one round of single crochets.
5- It's time to stuff.
6- Crochet 3 single crochets, 1 decrease
7- Crochet 2 single crochets, 1 decrease
8- Crochet 1 single crochet, 1 decrease
9- Finish with 6 decreases.
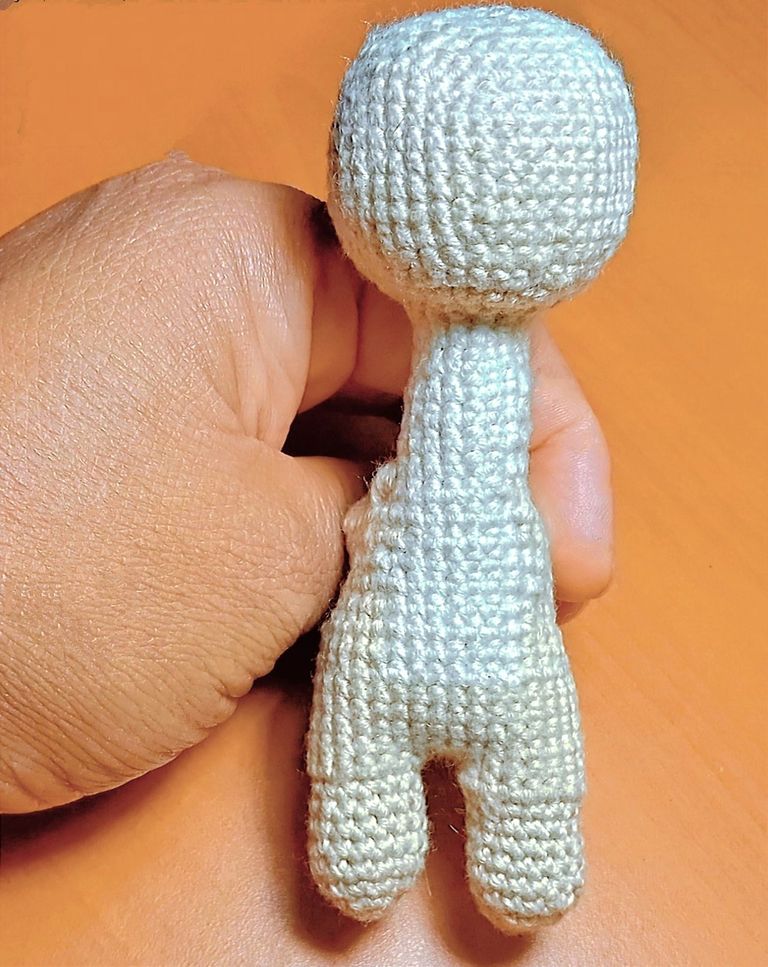
1- Teje 15 puntos bajos, 3 disminuciones.
2- Teje 15 puntos bajos, repite esto 2 veces más.
3- Rellena el resto del cuerpo y el cuello antes de cerrar con la aguja tomando las hebras delanteras.
1- Crochet 15 single crochets, 3 decreases.
2- Crochet 15 single crochets, repeat this 2 more times.
3- Stuff the rest of the body and the neck before closing with the needle, working through the front loops.
1- Anillo mágico con 6 puntos bajos.
2- 6 aumentos (12 puntos en total).
3- 1 punto bajo, 1 aumento repetir alrededor (18 puntos en total).
4- Tejer 5 vueltas de puntos bajos.
1- Magic ring with 6 single crochets.
2- 6 increases (12 stitches total).
3- 1 single crochet, 1 increase repeat around (18 stitches total).
4- Crochet 5 rounds of single crochets.

1- Utilicé hilo gris para tejer un anillo mágico con 6 puntos bajos.
2- Tejí 6 aumentos (12 puntos en total).
3- 1 punto bajo, 1 aumento repetir alrededor (18 puntos en total).
Con hilo de bordar negro le hice unas líneas para la nariz.
1- I used grey yarn to crochet a magic ring with 6 single crochets.
2- I made 6 increases (12 stitches total).
3- 1 single crochet, 1 increase repeat around (18 stitches total).
I used black embroidery thread to make some lines for the nose.
|
|
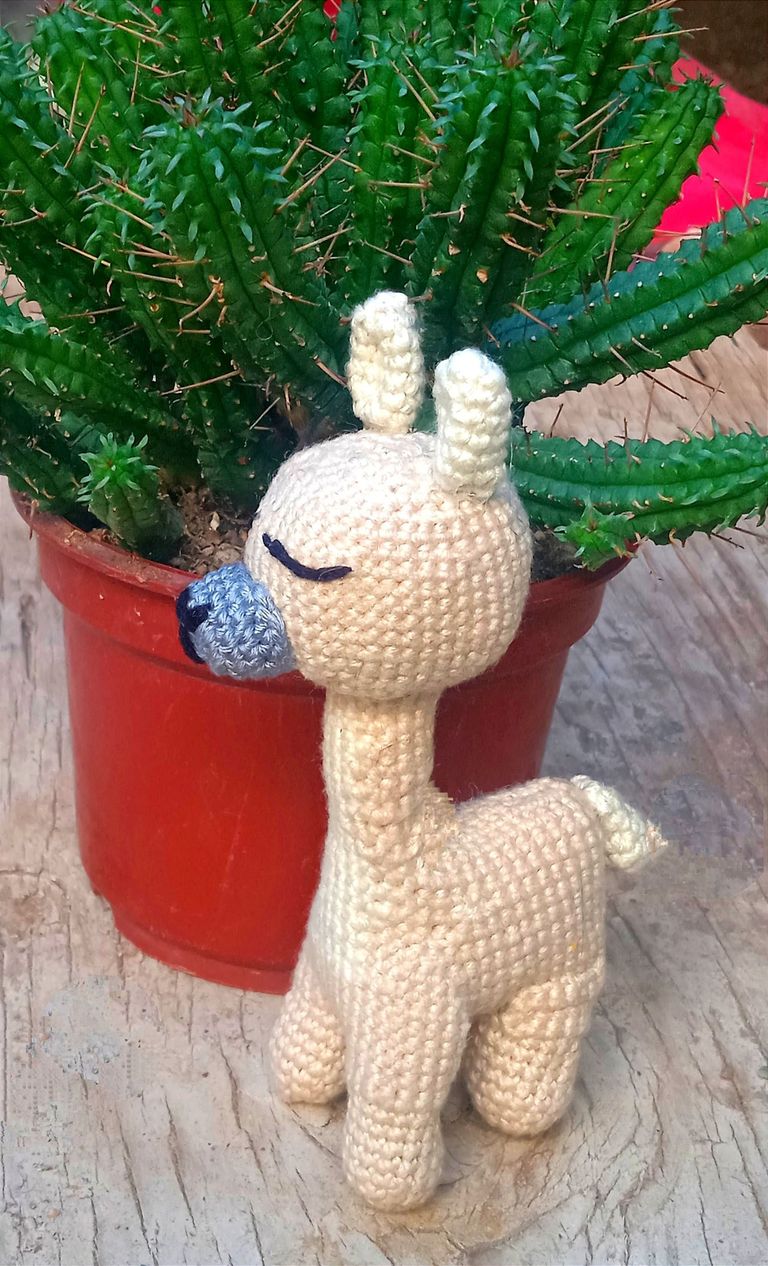
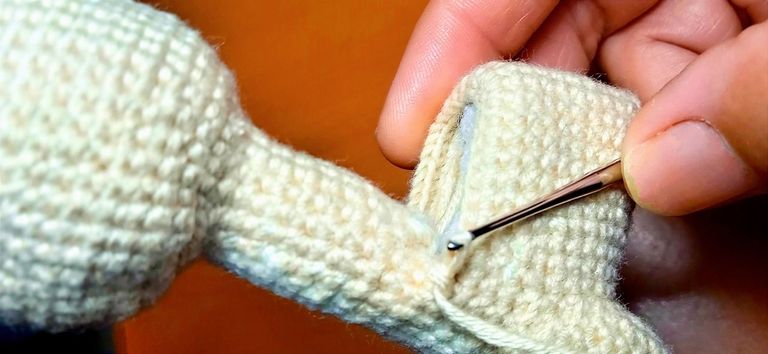
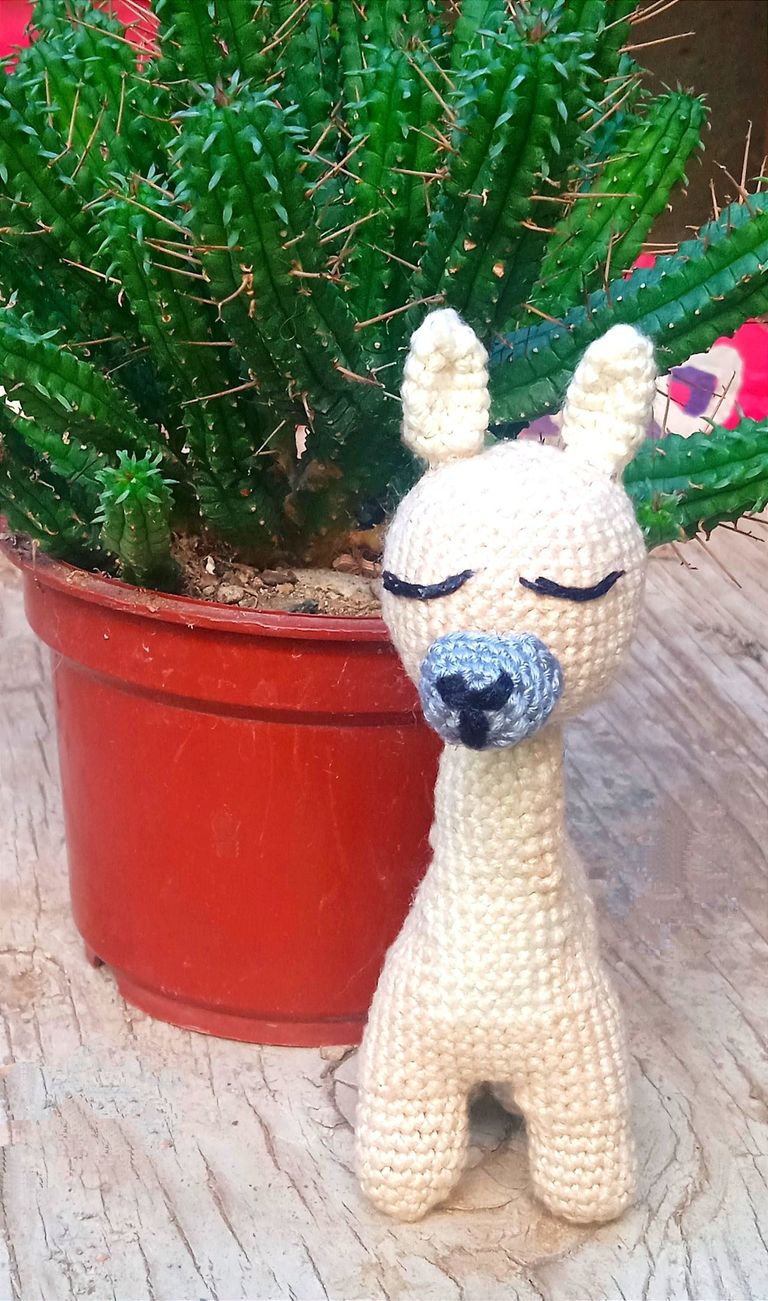
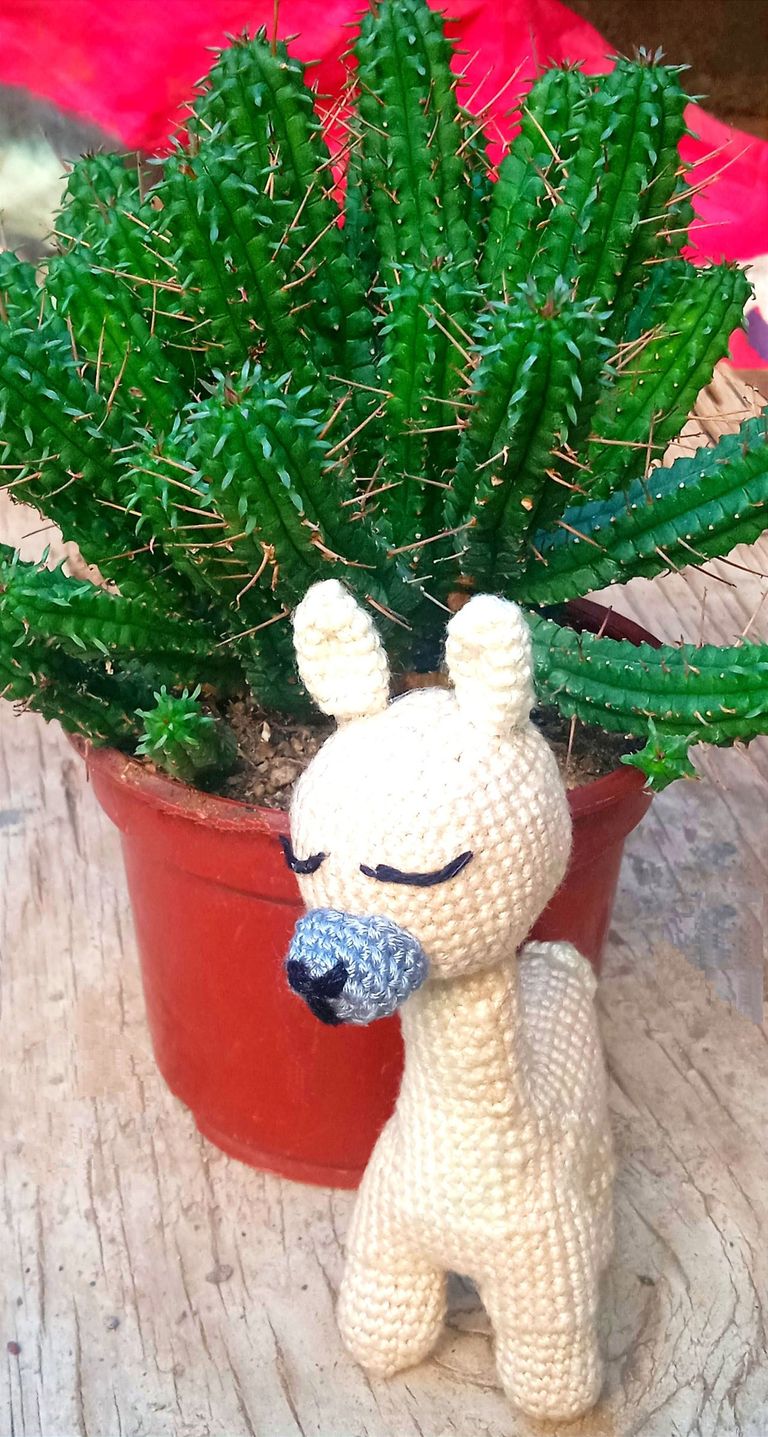
Cosí las orejas, la cola y las dos patas traseras al cuerpo. Utilicé dos colores, ya que el pecho lo hice de color crema para representar el vientre y el pecho blancos característicos de los guanacos. Para representar su cara gris, utilicé ese color para la cabeza y el rostro del guanaco.
I sewed the ears, tail, and two hind legs to the body. I used two colors; I made the chest cream-colored to represent the white belly and chest characteristic of guanacos. To represent its gray face, I used that color for the head and face of the guanaco.