"Bismillahir Rahmanir Raheem"
This is @tammanna from #Bangladesh.
 |
|---|
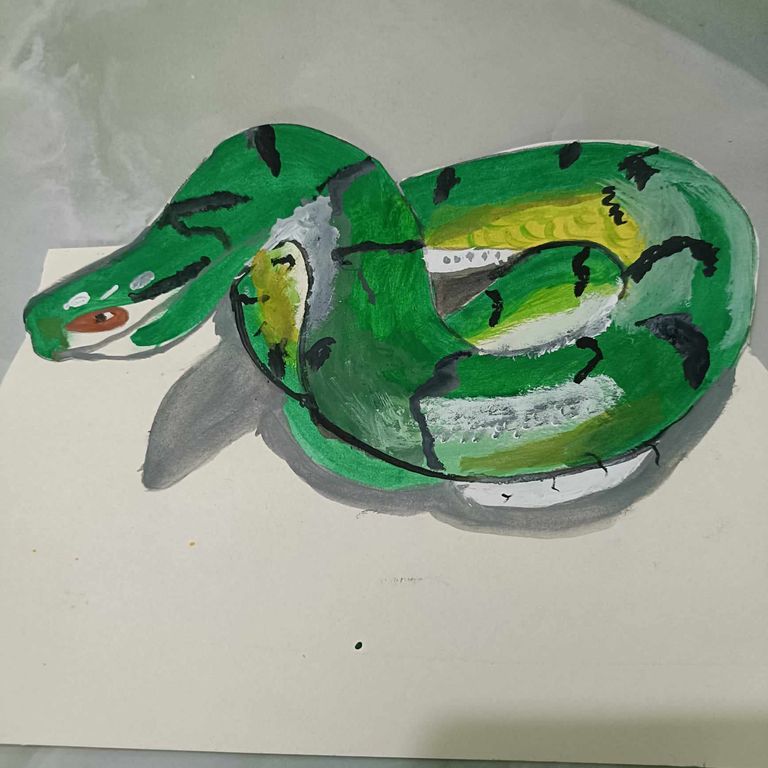
How are your friends? I hope everyone is well and I am fine too, Alhamdulillah. have to draw 3D pictures according to the topic and today I have come to draw a picture of a snake 3D. This picture is great.all 3D pictures are wonderful because these pictures are very nice to look at from top to bottom. The picture and the shadows of the picture combine to become a lovely picture, which I will try to present today through the picture of a snake 3D. I hope all my friends will like my picture, but let's start without further delay.

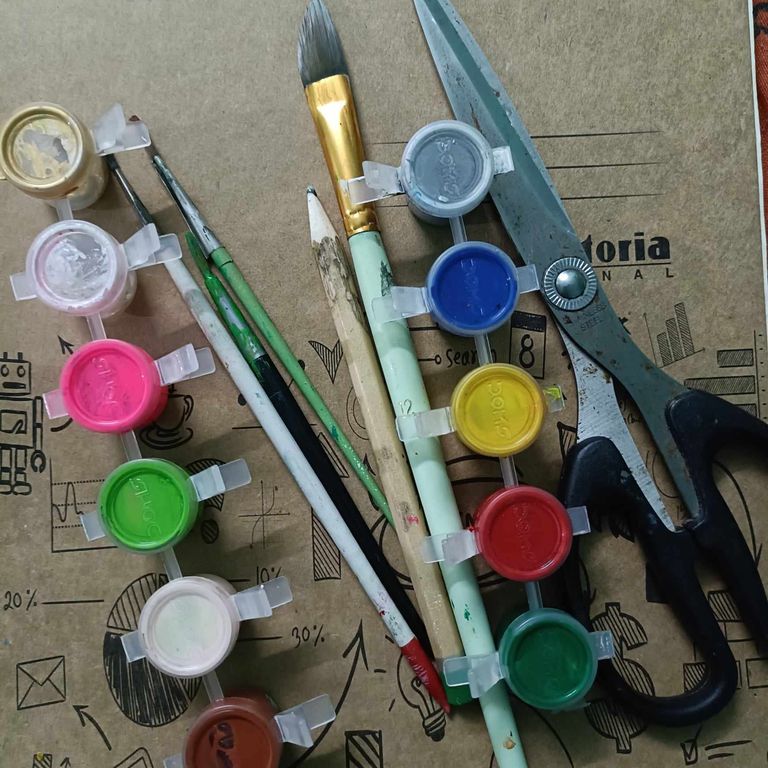
| Drawing tools 👇🏾 |
|---|
| 🟤Painting notebook |
| 🟤A scisser |
| 🟤A pencil |
| 🟤Watercolor |
| 🟤 Cotton brush |
 |
|---|
| Let's start with drawing: |
|---|
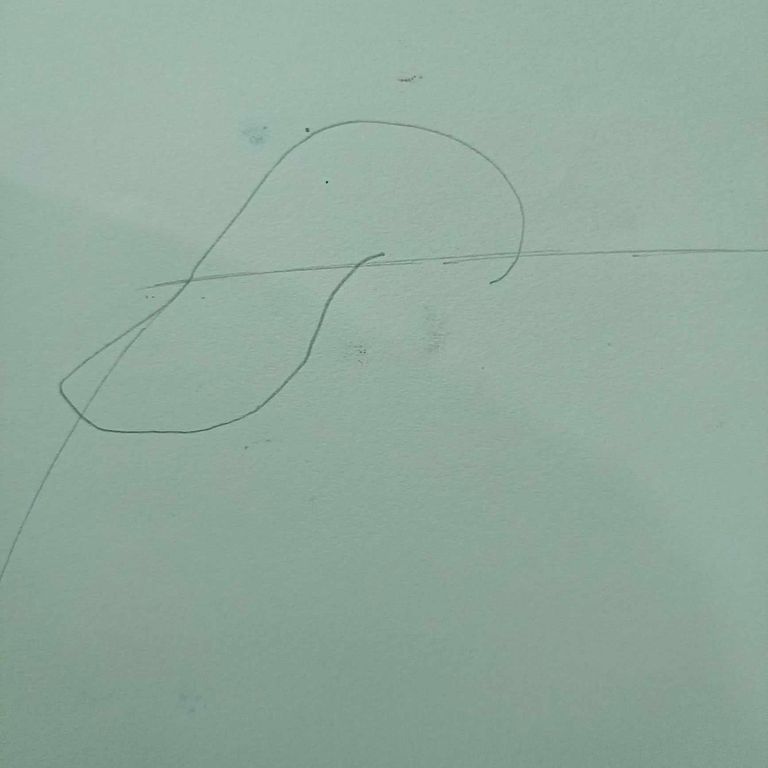
🟫 Step 01
- To start, I first drew a wide line in my drawing book and then drew a line on the side below it and drew the head of the snake above and some parts body it.
 |
|---|
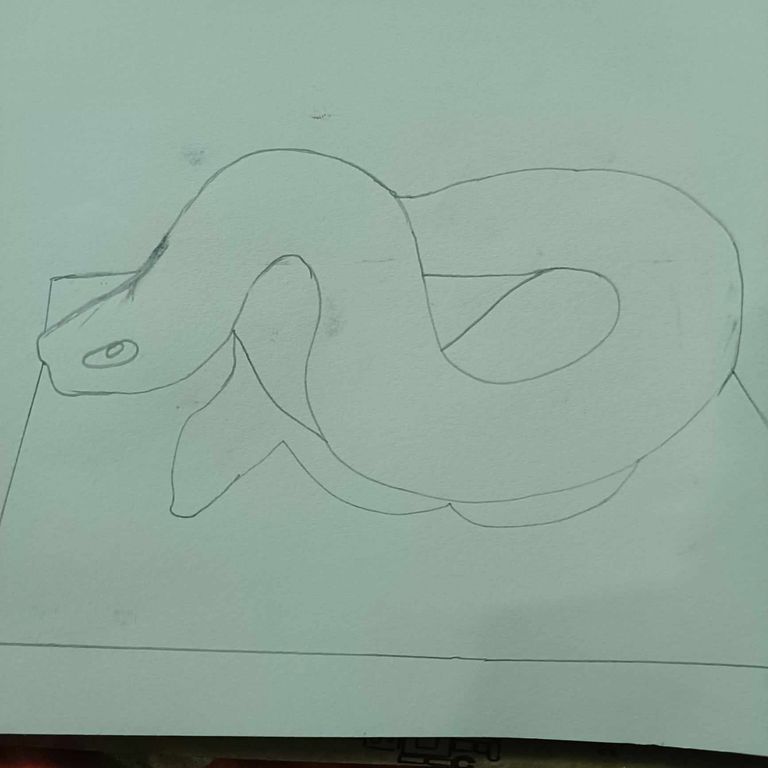
🟫 Step 02
- Then I completely drawing a coiled snake and drew a line on the side and below it.
 |
|---|

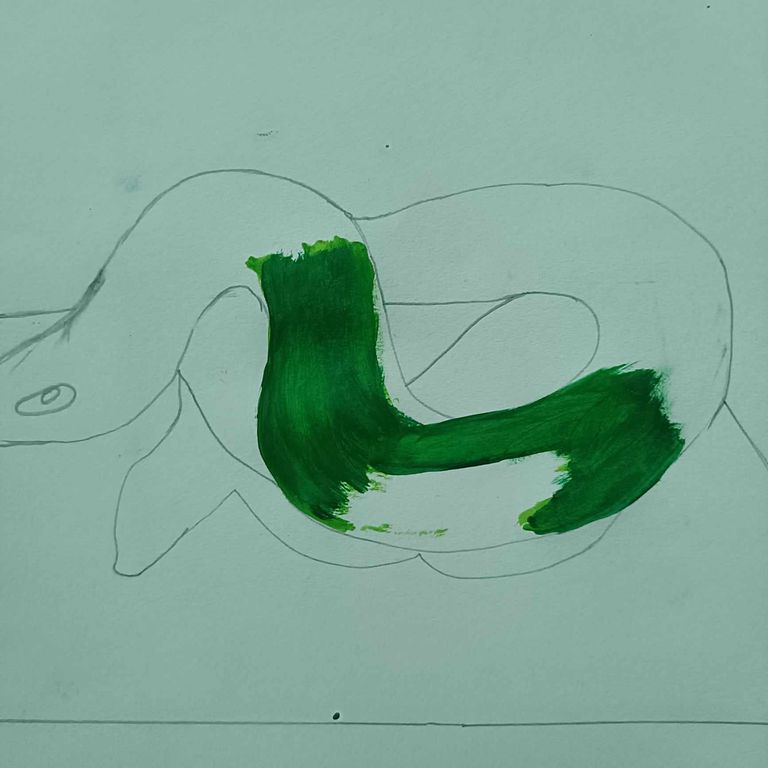
🟫 Step 03
- Then it's time to colour my picture. Here I used deep green colour first and started coloring the middle of the snake's body with green.
 |
|---|
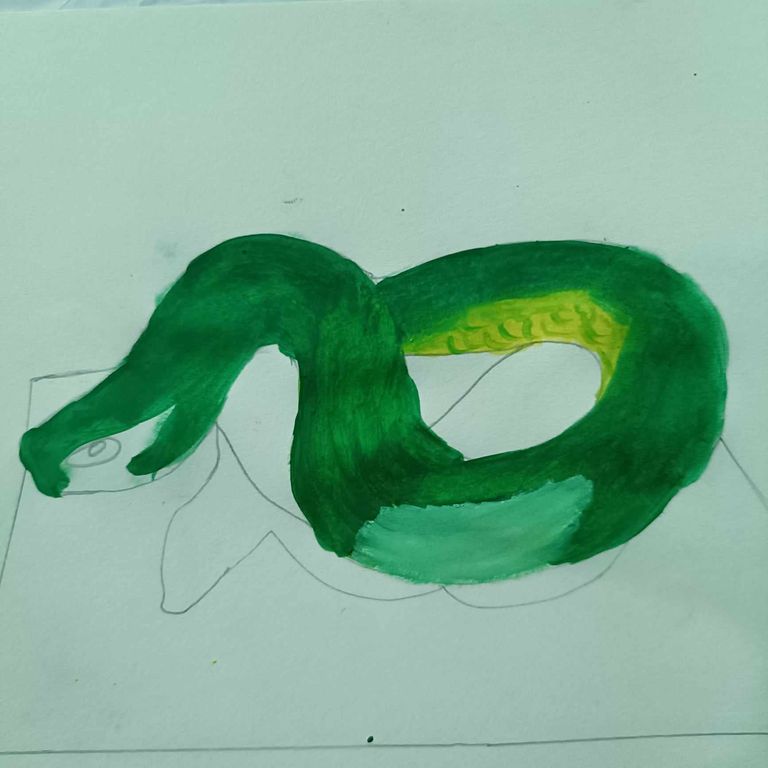
🟫 Step 04
- Then I coloured the entire body with some green and added a little light green in the middle and used some yellow colour towards the snake's tail.
 |
|---|
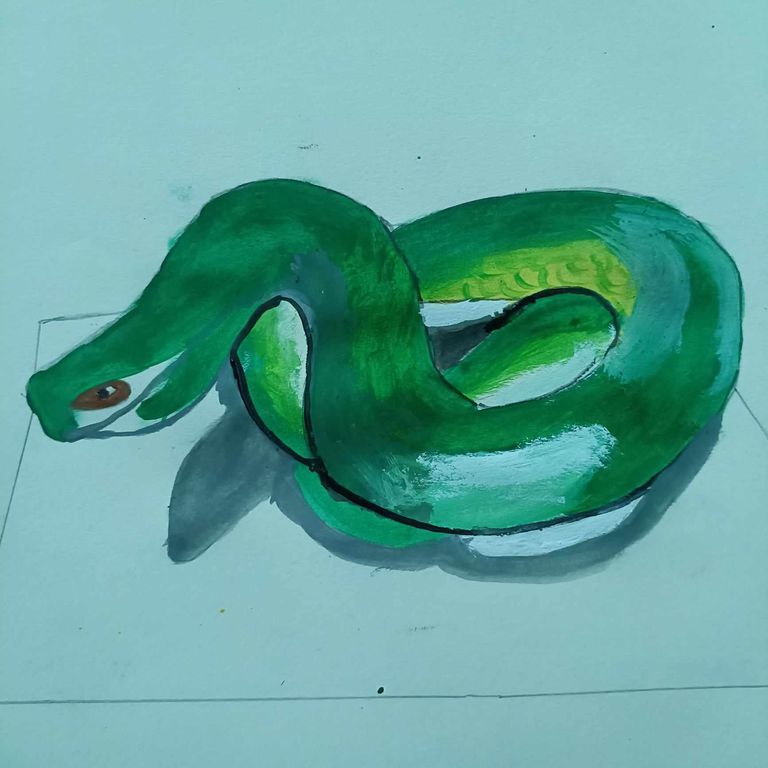
🟫 Step 05
- Then I gave brown colour to the snake's eyes and drew white and black eyeballs. I also drew some spots on the outside of the snake with black colour and in the middle, I used some white color. I also filled the lower shadow area with an ash colour.
 |
|---|
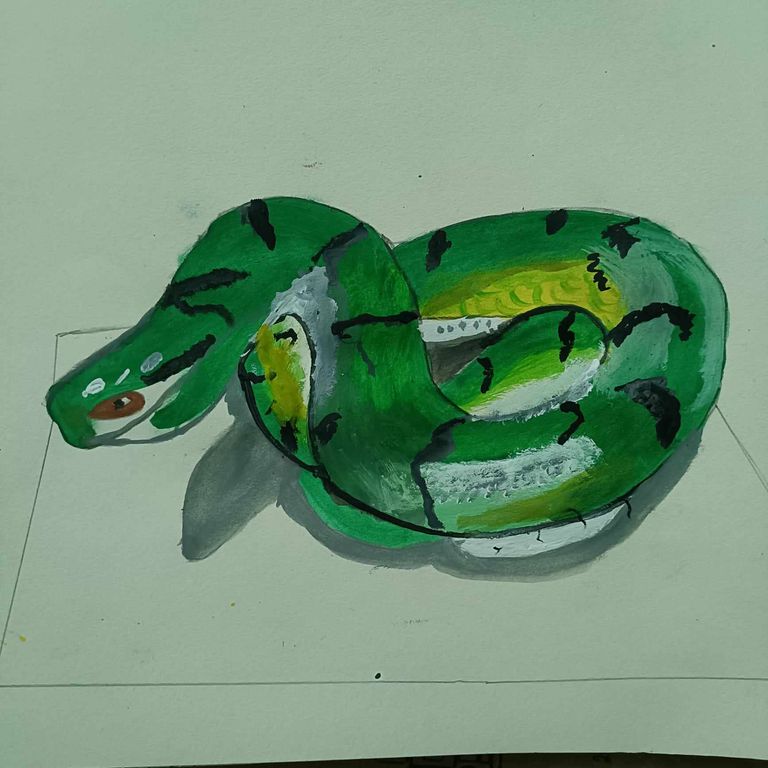
🟫 Step 06
- In the next stage, I drew some black stripes all over the body of the snake and I painted the whole picture one last time, carefully blending each color.
 |
|---|
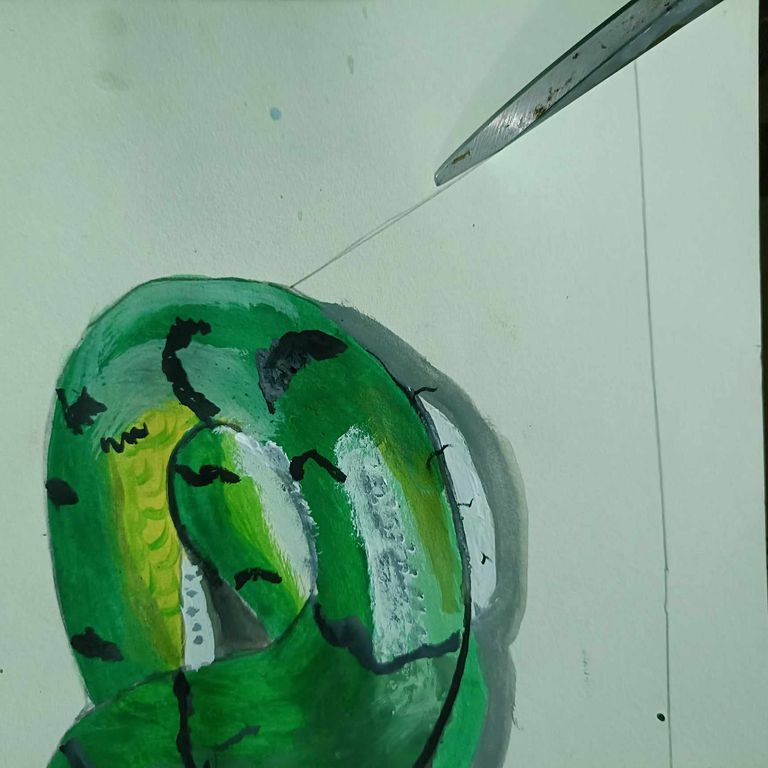
🟫 Step 07
- Then I cut along the two sides of the snake's lower spot and the lower spot with a scisser .
 |
|---|
🟫 Step 08
- Then I had to cut the image to size from all sides
 |
|---|
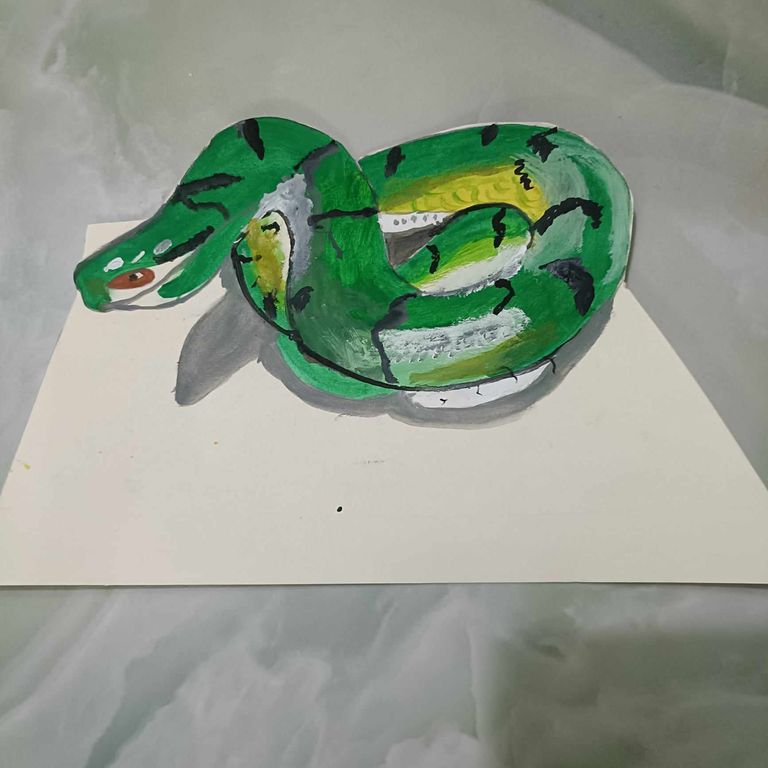
🟫 Step 09
and then my complete CD image drawing was complete.
|
|---|
Today, when I started drawing the picture, I didn't understand what the final shape of the picture would look like, but after drawing the picture, I saw it myself and it became much more detailed. The picture here looks beautiful and the last part of the picture looks much better, whereas as I said before, here I can see the picture and the shadow of picture it together, so it's a different kind of picture, I hope my friends like my picture today. See you soon for a new post. Everyone stays well and keeps me in everyone's prayers. I bid you farewell, wishing everyone well. May Allah protect you.
বন্ধুরা কেমন আছো? আশা করি সবাই ভালো আছো এবং আমিও ভালো আছি, আলহামদুলিল্লাহ। বিষয় অনুসারে 3D ছবি আঁকতে হবে এবং আজ আমি একটি সাপের 3D ছবি আঁকতে এসেছি। এই ছবিটি দারুন। সমস্ত 3D ছবিই অসাধারণ কারণ এই ছবিগুলি উপর থেকে নীচে পর্যন্ত দেখতে খুব সুন্দর। ছবিটি এবং ছবির ছায়া একত্রিত হয়ে একটি সুন্দর ছবি হয়ে ওঠে, যা আমি আজ একটি সাপের 3D ছবির মাধ্যমে উপস্থাপন করার চেষ্টা করব। আমি আশা করি আমার সমস্ত বন্ধুরা আমার ছবিটি পছন্দ করবে, তবে আর দেরি না করে শুরু করা যাক।
| অঙ্কন সরঞ্জাম 👇🏾 |
|---|
| 🟤পেন্টিং নোটবুক |
| 🟤একটি কাঁচি |
| 🟤একটি পেন্সিল |
| 🟤জলরঙ |
| 🟤 সুতির ব্রাশ |
🟫 ধাপ ০১
- শুরু করার জন্য, আমি প্রথমে আমার অঙ্কন বইয়ে একটি প্রশস্ত রেখা আঁকলাম এবং তারপর তার নীচের দিকে একটি রেখা আঁকলাম এবং উপরে সাপের মাথা এবং তার শরীরের কিছু অংশ আঁকলাম।
🟫 ধাপ ০২
- তারপর আমি একটি কুণ্ডলীকৃত সাপ সম্পূর্ণরূপে আঁকলাম এবং পাশে এবং নীচে একটি রেখা আঁকলাম।
🟫 ধাপ ০৩
- তারপর আমার ছবি রঙ করার সময়। এখানে আমি প্রথমে গাঢ় সবুজ রঙ ব্যবহার করেছি এবং সাপের শরীরের মাঝখানে সবুজ রঙ করা শুরু করেছি।
🟫 ধাপ ০৪
- তারপর আমি পুরো শরীরকে কিছুটা সবুজ রঙ দিয়ে রঙ করেছি এবং মাঝখানে একটু হালকা সবুজ যোগ করেছি এবং সাপের লেজের দিকে কিছুটা হলুদ রঙ ব্যবহার করেছি।
🟫 ধাপ ০৫
- তারপর আমি সাপের চোখে বাদামী রঙ দিয়ে সাদা এবং কালো চোখের বল আঁকলাম। আমি সাপের বাইরের দিকে কালো রঙ দিয়ে কিছু দাগও আঁকলাম এবং মাঝখানে, আমি কিছু সাদা রঙ ব্যবহার করেছি। আমি নীচের ছায়ার অংশটিও ছাই রঙ দিয়ে পূর্ণ করে দিয়েছি।