"Bismillahir Rahmanir Raheem"
This is @tammanna from #Bangladesh.
 |
|---|
I took this picture with oppo 11 pro mobile
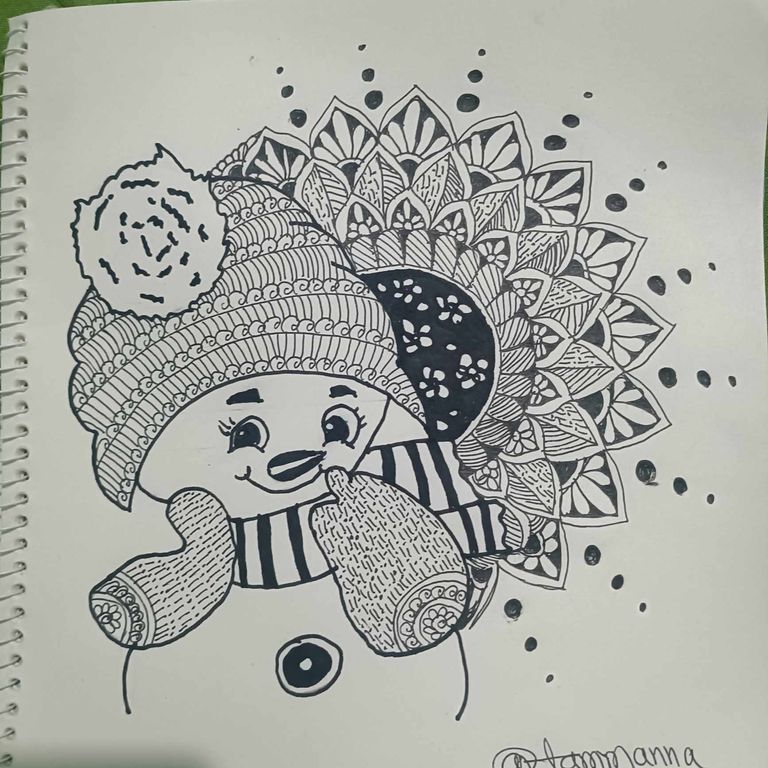
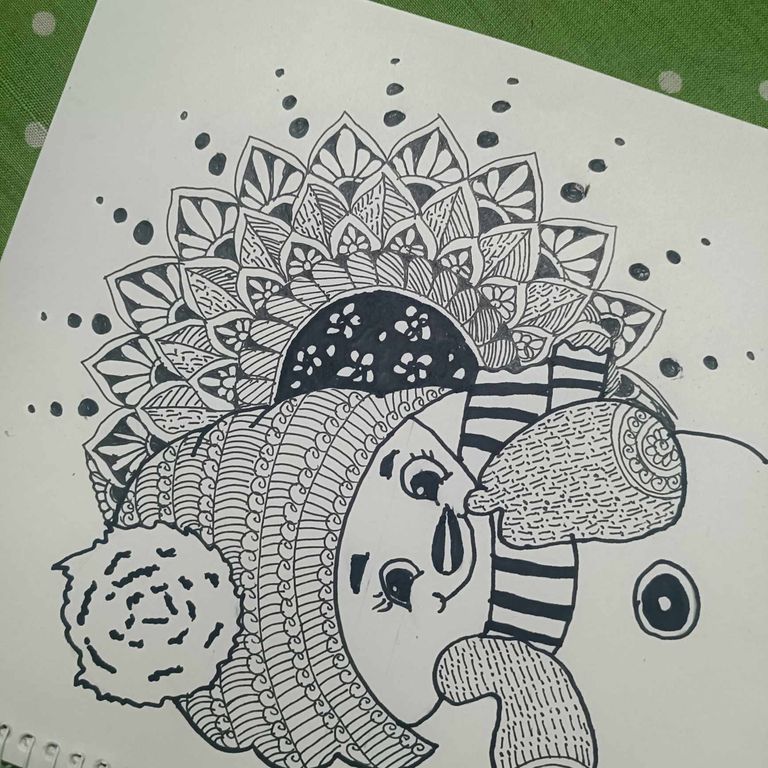
How are your friends? I hope everyone is well and I am well too. Alhamdulillah. TToday I will present a cute baby's mandala picture of Christmas Day. I hope everyone will like it. So let's go I present below all the descriptions of how I completed my drawing.
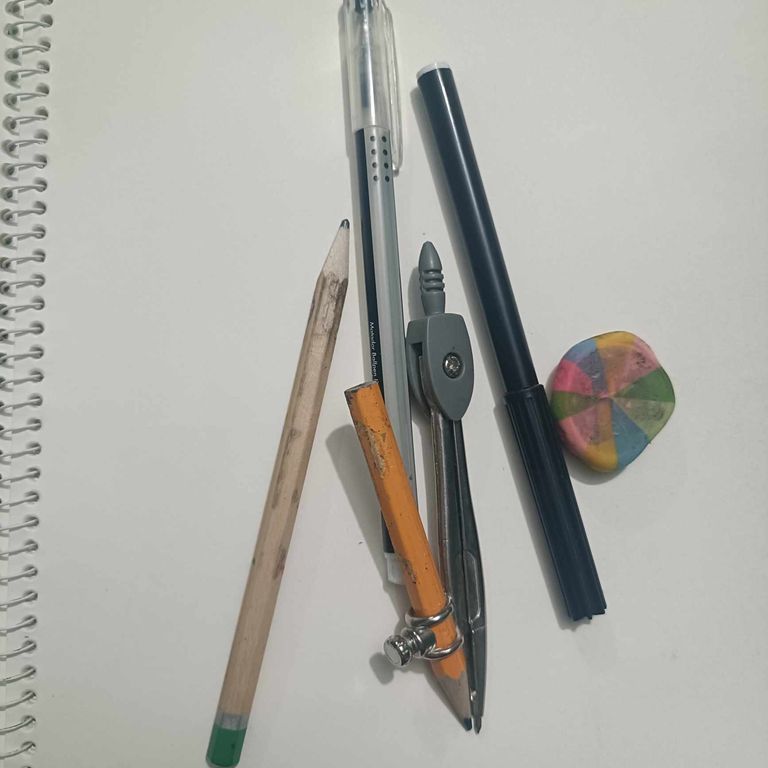
| Drawing tools 👇🏾 |
|---|
| 🟤Drawing notebook |
| 🟤A pencil |
| 🟤An eraser |
| 🟤A compass |
| 🟤 A black pen |
| 🟤A black marker pen |
 |
|---|
| Let's start with drawing: |
|---|
The Process of Drawing
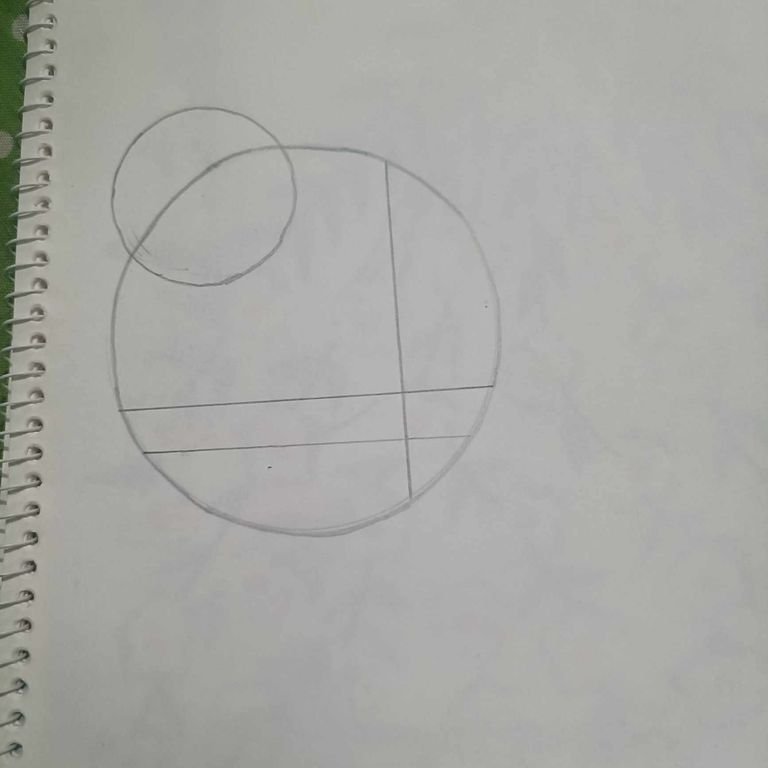
STEP 1 |
|---|
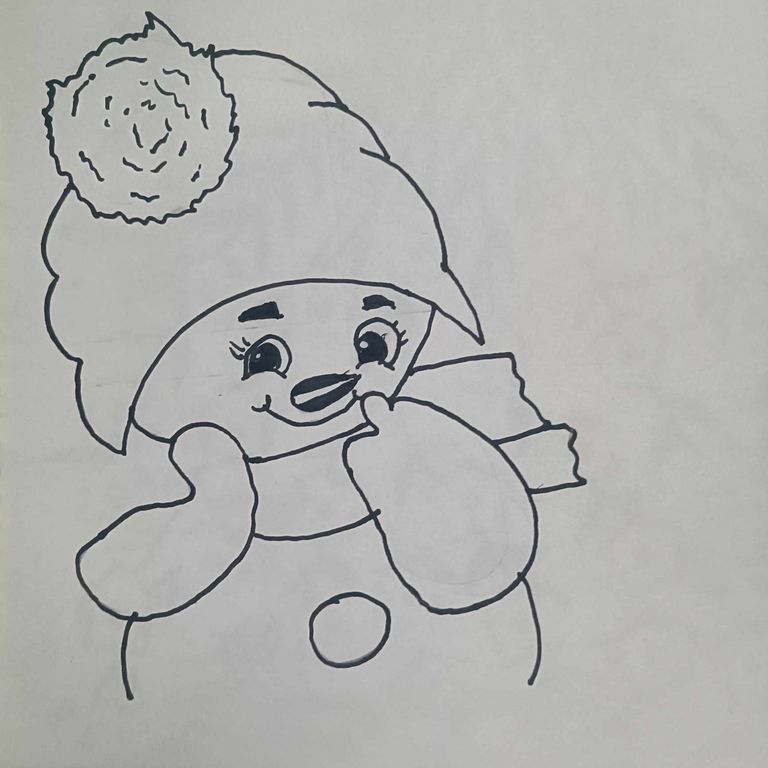
At the beginning of the picture, I first drew a large circle with a compass in a drawing book, then a small circle on top of it, a long line in the middle of the large circle, and two parallel lines.
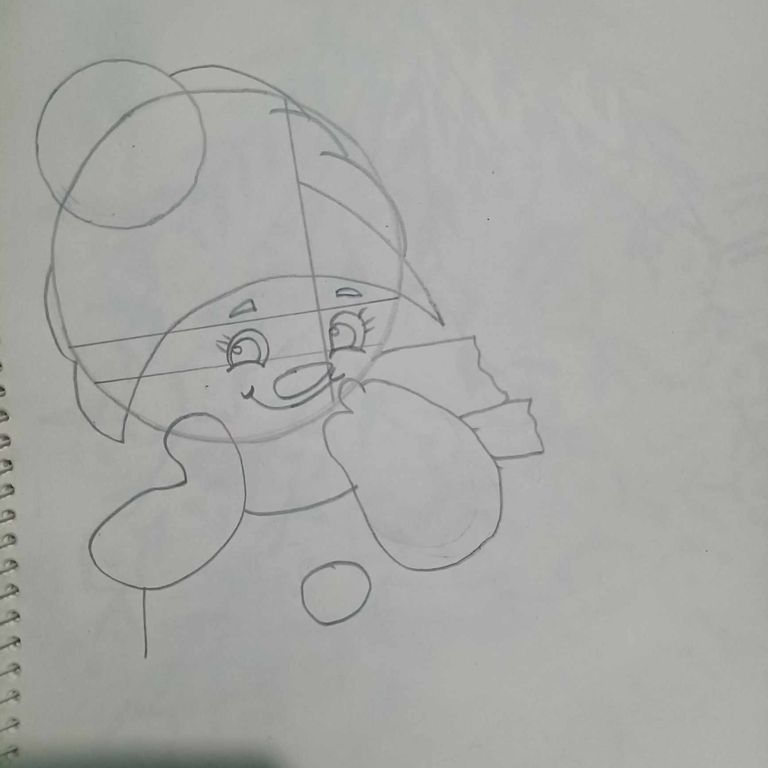
STEP 2 |
|---|
Then, I drew a cute baby's two eyes, nose, mouth, and two eyebrows in the middle of the large circle, his hat part on top, his neck, and two hands on his cheeks on the bottom And a muffler around the neck,
STEP 3 |
|---|
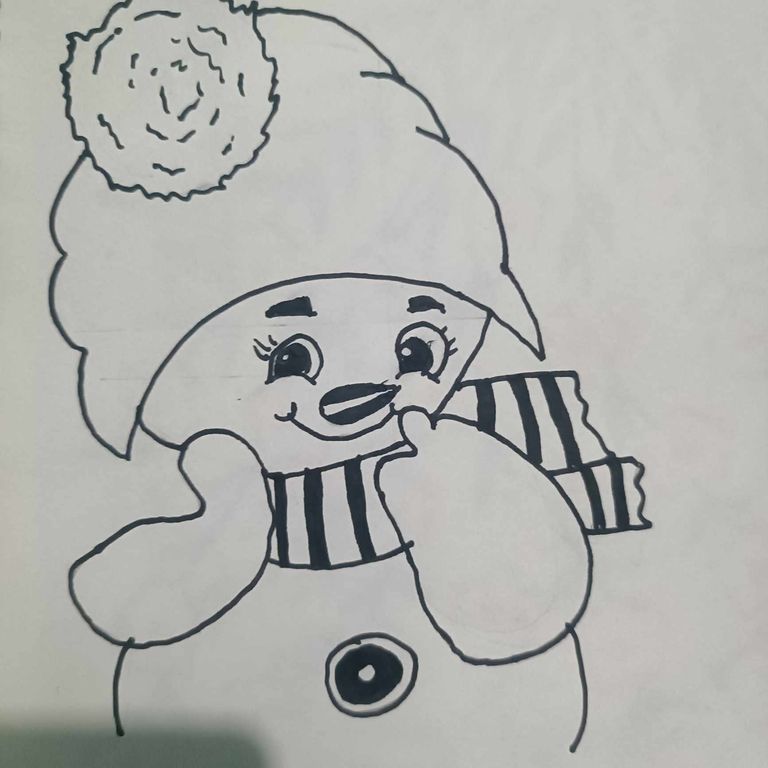
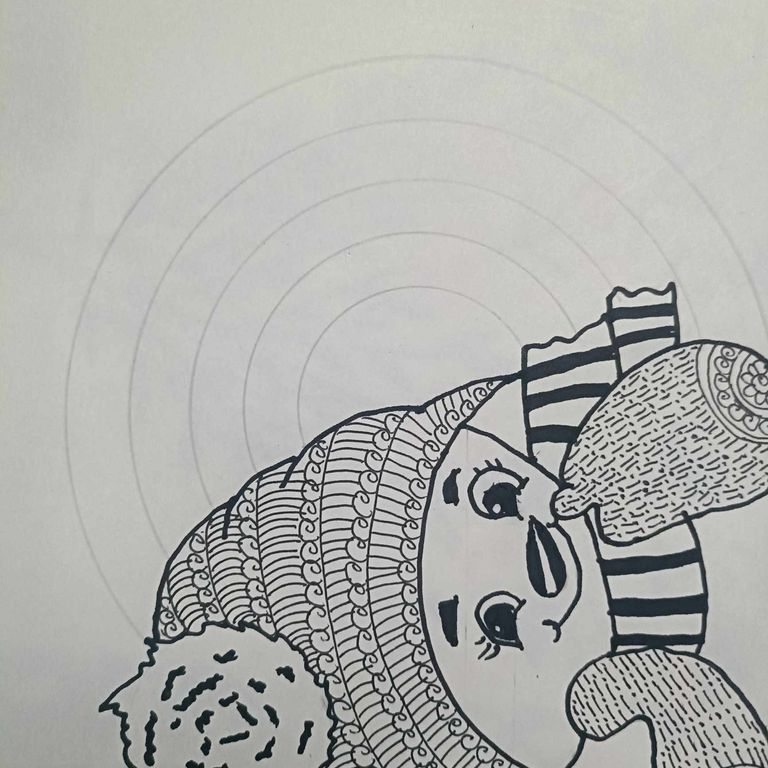
Then I drew my entire image with a black pen. Here I filled the eyes, eyebrows and nose with a black pen. In the next step, I designed the muffler on the neck of the cute baby and filled the middle of the circle below it with black.
STEP 4 |
|---|
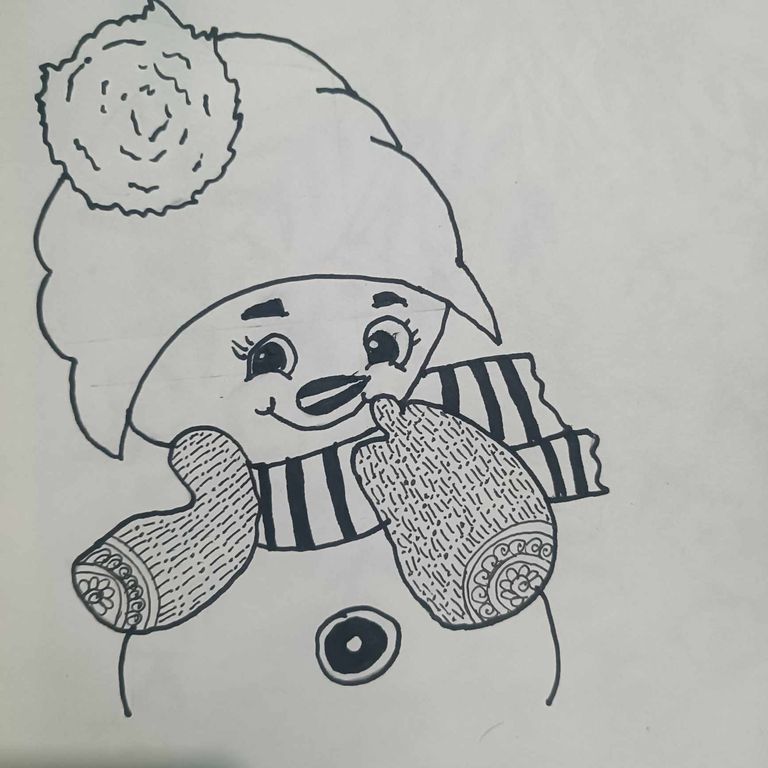
Then I drew the two hands of the cute baby. I drew some small mandala images at the beginning and then filled them with long and dot marks.
STEP 5 |
|---|
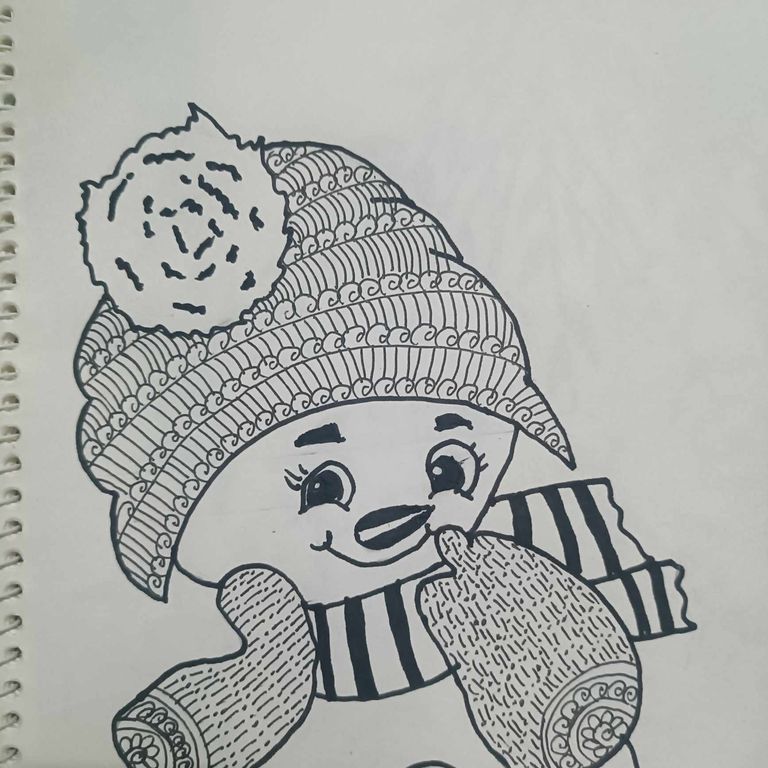
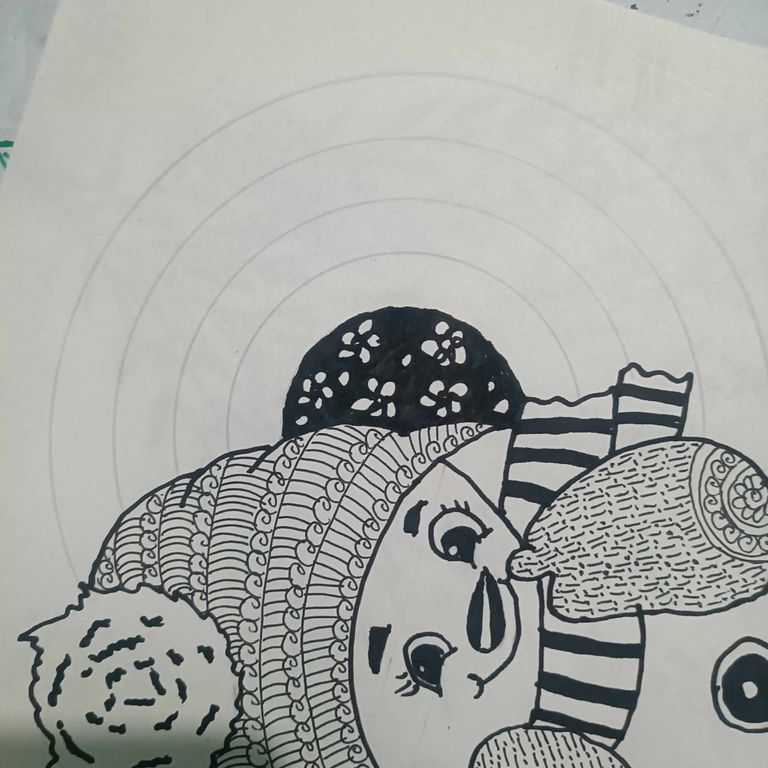
In the next step, I filled the part of the cute baby's hat with a long and twisted mandala design. Then I drew five lines with a compass on the right side of the cute baby, one after the other.
STEP 6 |
|---|
Then I drew small circles and five flowers in the first line and left them and filled the entire area with black.
STEP 7 |
|---|
Then I filled the next two lines with flower buds and long lines.
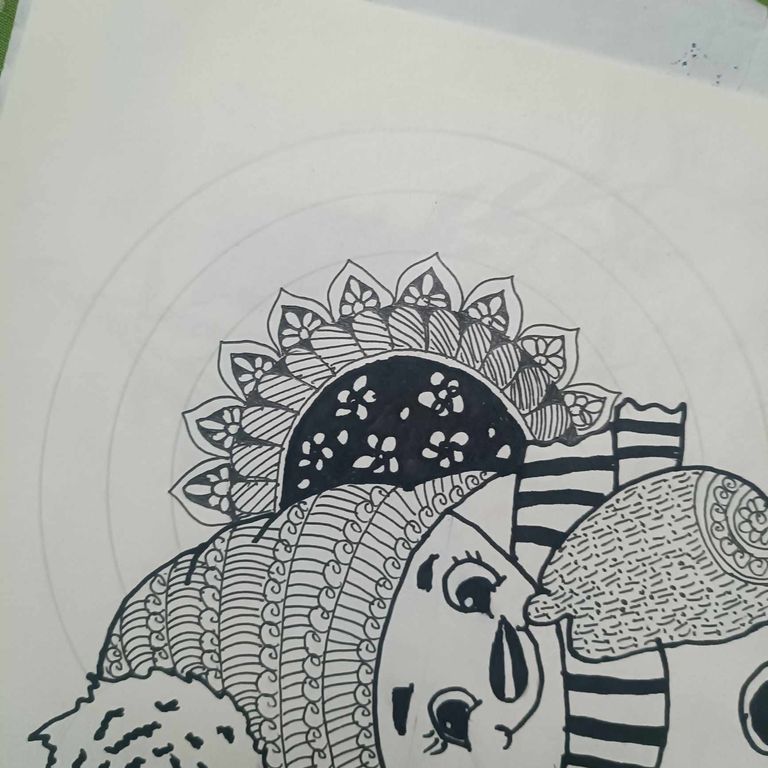
STEP 8 |
|---|
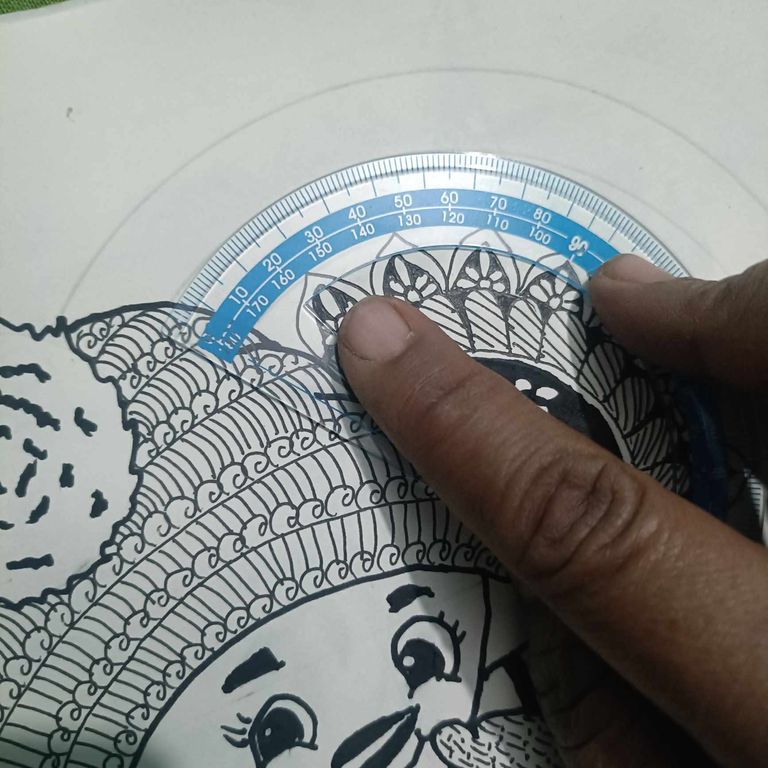
Then I measured the distance using a Geometric subscription and after that, I filled it with small and large flowers and some black parts in between them and filled the empty parts above with small, medium and large balls. And I erased the excess pencil marks with my eraser.
STEP 9 |
|---|
Then I wrote my username under the image with a black pen and then I finished drawing my Christmas tree.

I hope everyone likes the picture again and today I drew a cute baby and Mandela picture together on the occasion of Christmas Day. I hope everyone like my picture and I will see me in a new post. Until then, every one is well, Allah Hafez.
| অঙ্কনের সরঞ্জাম 👇🏾 |
|---|
| 🟤অঙ্কনের নোটবুক |
| 🟤একটি পেন্সিল |
| 🟤একটি ইরেজার |
| 🟤একটি কম্পাস |
| 🟤 একটি কালো কলম |
| 🟤একটি কালো মার্কার কলম |
ছবির শুরুতে, আমি প্রথমে একটি অঙ্কন বইতে একটি কম্পাস সহ একটি বড় বৃত্ত আঁকলাম, তারপর তার উপরে একটি ছোট বৃত্ত, বড় বৃত্তের মাঝখানে একটি লম্বা রেখা এবং দুটি সমান্তরাল রেখা।
তারপর, আমি একটি সুন্দর শিশুর দুটি চোখ, নাক, মুখ এবং দুটি ভ্রু বড় বৃত্তের মাঝখানে আঁকলাম, তার টুপির অংশ উপরে, তার ঘাড়, এবং নীচে তার গালে দুটি হাত এবং গলায় একটি মাফলার,
তারপর আমি একটি কালো কলম দিয়ে আমার পুরো ছবি আঁকলাম। এখানে আমি একটি কালো কলম দিয়ে চোখ, ভ্রু এবং নাক পূর্ণ করেছি। পরবর্তী ধাপে, আমি সুন্দর শিশুর ঘাড়ে মাফলার ডিজাইন করেছি এবং তার নীচের বৃত্তের মাঝখানে কালো দিয়ে পূর্ণ করেছি।
তারপর আমি সুন্দর শিশুর দুটি হাত আঁকলাম। আমি শুরুতে কিছু ছোট মন্ডলার ছবি আঁকলাম এবং তারপরে লম্বা এবং বিন্দু চিহ্ন দিয়ে পূর্ণ করেছি।
পরবর্তী ধাপে, আমি সুন্দর শিশুর টুপির অংশটি একটি লম্বা এবং বাঁকানো মন্ডলার নকশা দিয়ে পূর্ণ করেছি। তারপর আমি সুন্দর শিশুর ডান পাশে একটি কম্পাস দিয়ে পাঁচটি লাইন আঁকলাম, একের পর এক।
|-|
তারপর আমি পরবর্তী দুটি লাইন ফুলের কুঁড়ি এবং লম্বা রেখা দিয়ে পূর্ণ করেছি।
তারপর আমি একটি জ্যামিতিক সাবস্ক্রিপশন ব্যবহার করে দূরত্ব পরিমাপ করলাম এবং তারপরে, আমি ছোট এবং বড় ফুল এবং তাদের মাঝখানে কিছু কালো অংশ দিয়ে এটি পূরণ করলাম এবং উপরের খালি অংশগুলি ছোট, মাঝারি এবং বড় বল দিয়ে পূরণ করলাম। এবং আমি আমার ইরেজার দিয়ে অতিরিক্ত পেন্সিলের দাগ মুছে ফেললাম।
| Device | oppo 11 pro |
|---|---|
| Photographer | @tammanna |