"Bismillahir Rahmanir Raheem"
This is @tammanna from #Bangladesh.
 |
|---|
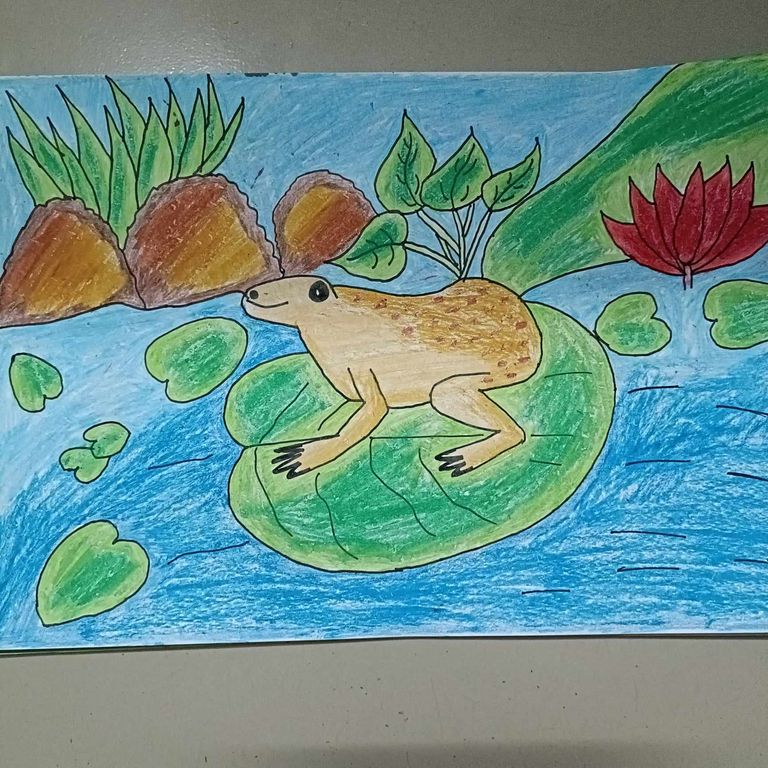
How are you all my dear friends hope everyone is safe and healthy and I am fine alhamdulillah here I like to enjoy the creative works of my friends Today here I am going to present one of my great images of a frog and some lotus leaves I have tried to mention here hope everyone will like it but let's start
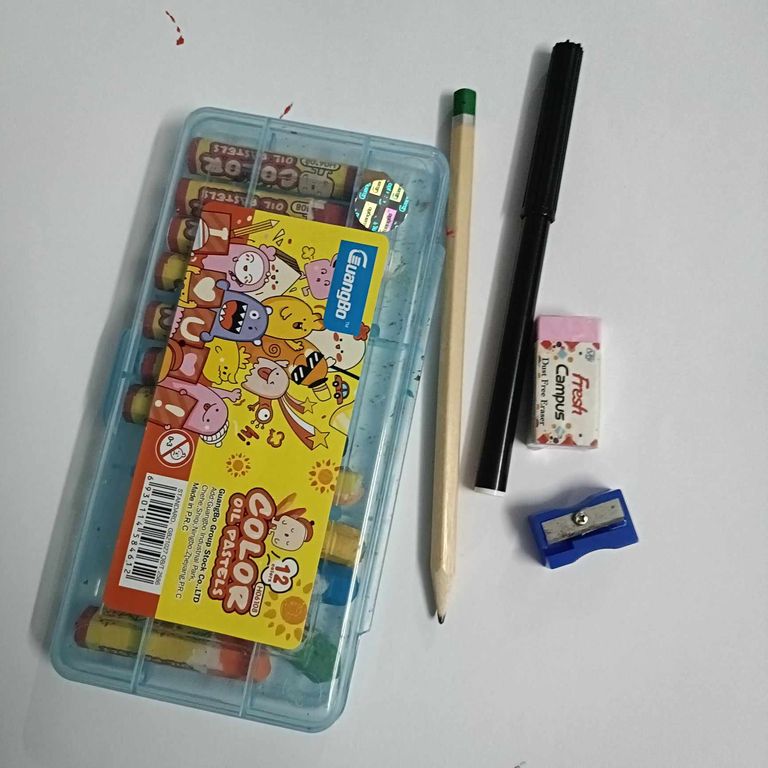
| Drawing tools 👇🏾 |
|---|
| 🟤A drawing book |
| 🟤 A pencil |
| 🟤A rubber |
| 🟤 A pencil cutter |
| 🟤A black gel pen |
| 🟤Colored pencils |
 |
|---|
| Let's start with drawing: |
|---|
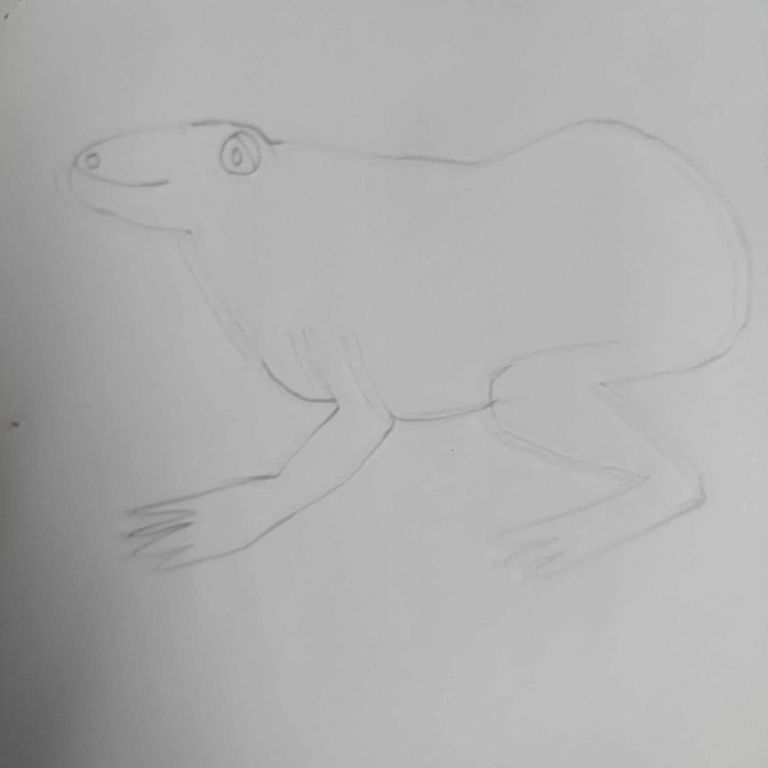
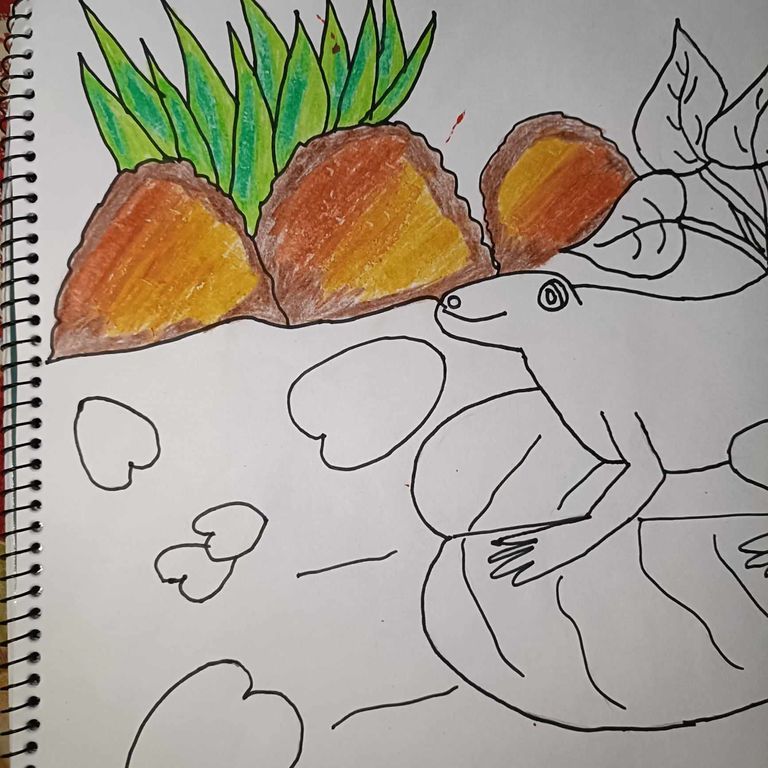
🟫 Step 01
- in the beginning, I drew a frog
 |
|---|
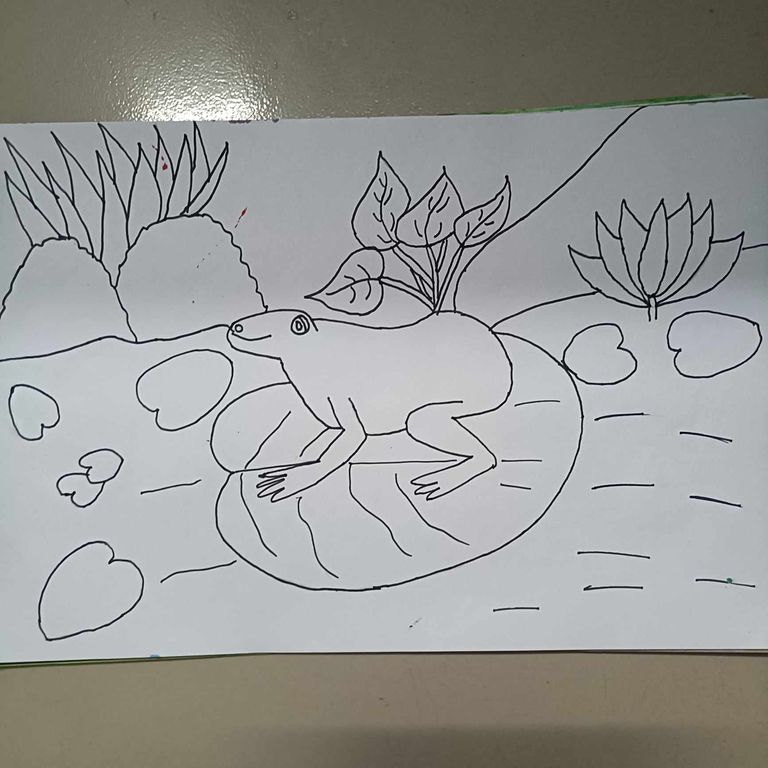
🟫 Step 02
- then I drew a large lotus leaf below the frog and several small lotus leaves around it and water below them, a lotus flower on the right side, some Kalmi leaves on the top and some small rocks and some trees on the left side. I have done and I have drawn all that in black colour gel pen
 |
|---|
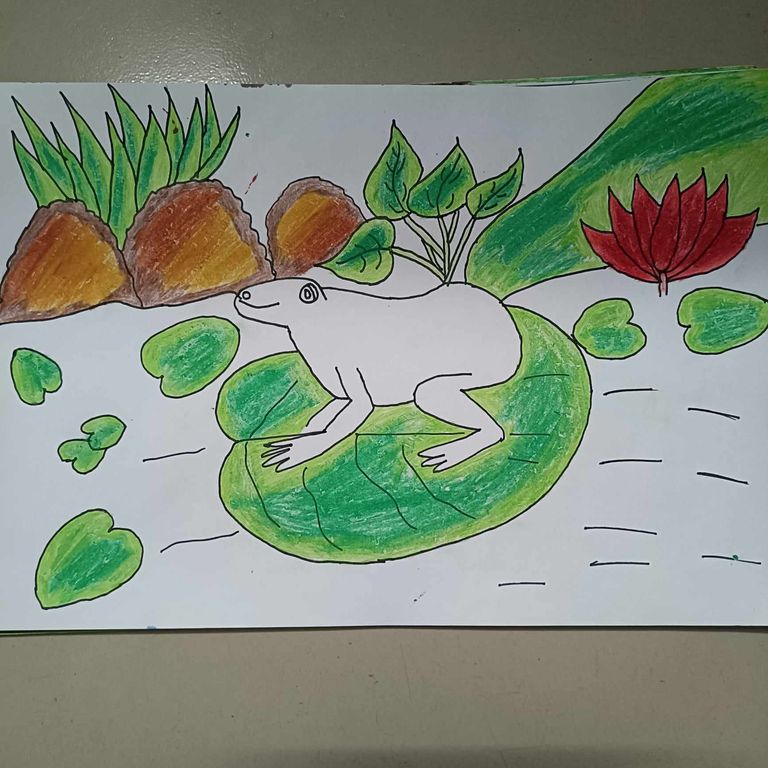
🟫 Step 03
- then prepared to paint my image and for this, I first painted the three stones on the left side with Khoiri and Brown colours and the small tree above them I painted with some green and light green colours.
 |
|---|
🟫 Step 04
- In the fourth step, I filled in the green and light green colour of the leaf above the frog, the big lotus leaf under the frog, some parts of the right side of the frog, and the small lotus leaves in the water, and the lotus flower on the right side of the frog with bright red colour.
 |
|---|
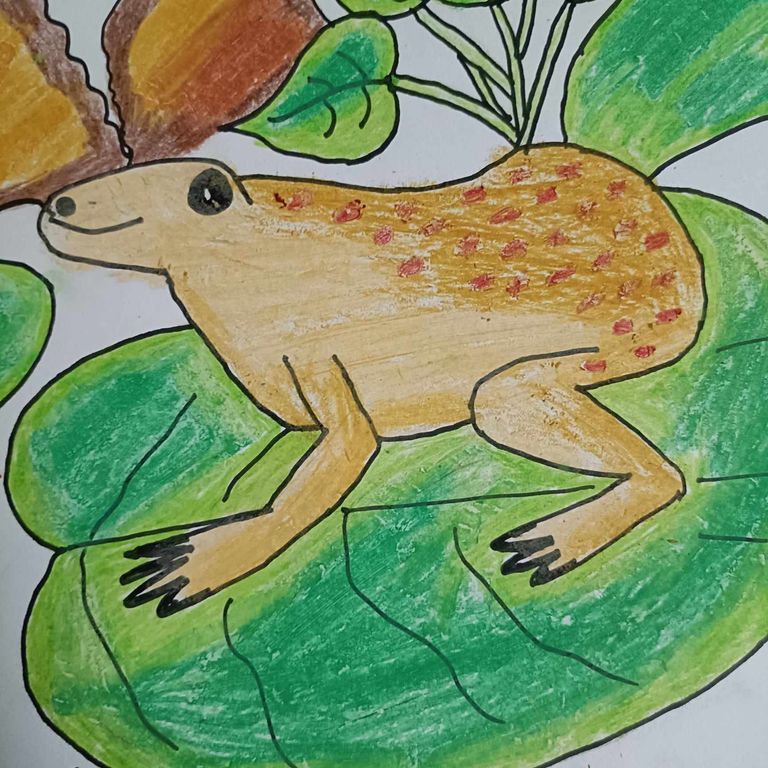
🟫 Step 05
- Next, I prepared to paint the frog here I finished the whole body and legs of the frog with nude colour and brown colours sprinkled red colour on the back side of the frog
 |
|---|
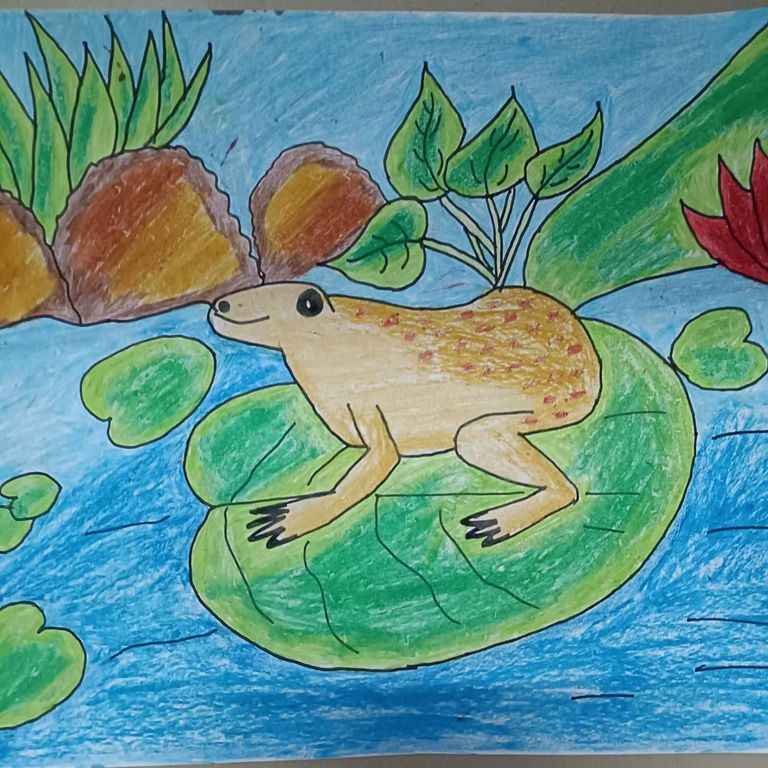
🟫 Step 06
- and then filled the rest of the image with dark blue and light blue colours.
 |
|---|
🟫 Step 07
- After that, it was possible to draw my complete picture
|
|---|
Full form of drawing
🟫 Step 08
আমার প্রিয় বন্ধুরা, আশা করি সবাই নিরাপদে আছেন এবং আমি ভালো আছি। আলহামদুলিল্লাহ, আমি আমার বন্ধুদের সৃজনশীল কাজ উপভোগ করতে পছন্দ করি। আজ আমি এখানে আমার একটি দুর্দান্ত ব্যাঙ এবং কিছু পদ্ম পাতার ছবি উপস্থাপন করতে যাচ্ছি, যা আমি এখানে উল্লেখ করার চেষ্টা করেছি। আশা করি সবাই এটি পছন্দ করবে তবে শুরু করা যাক।
--
| অঙ্কনের সরঞ্জাম 👇🏾 |
|---|
| 🟤একটি অঙ্কনের বই |
| 🟤 একটি পেন্সিল |
| 🟤 একটি রাবার |
| 🟤 একটি পেন্সিল কাটার |
| 🟤 একটি কালো জেল কলম |
| 🟤 রঙিন পেন্সিল |
| আসুন অঙ্কন দিয়ে শুরু করি: |
|---|
🟫 ধাপ ০১
- শুরুতে, আমি একটি ব্যাঙ আঁকলাম
🟫 ধাপ ০২
- তারপর আমি ব্যাঙের নীচে একটি বড় পদ্ম পাতা এবং তার চারপাশে কয়েকটি ছোট পদ্ম পাতা এবং তার নীচে জল, ডানদিকে একটি পদ্ম ফুল, উপরে কিছু কলমি পাতা এবং বাম দিকে কিছু ছোট পাথর এবং কিছু গাছ আঁকলাম। আমি করেছি এবং আমি কালো রঙের জেল কলম দিয়ে সবকিছু আঁকলাম
🟫 ধাপ ০৩
- তারপর আমার ছবি আঁকার জন্য প্রস্তুত হলাম এবং এর জন্য, আমি প্রথমে বাম দিকের তিনটি পাথর খৈরি এবং বাদামী রঙ দিয়ে আঁকলাম এবং তাদের উপরে থাকা ছোট গাছটি কিছু সবুজ এবং হালকা সবুজ রঙ দিয়ে আঁকলাম।
🟫 ধাপ ০৪
- চতুর্থ ধাপে, আমি ব্যাঙের উপরে পাতার সবুজ এবং হালকা সবুজ রঙ, ব্যাঙের নীচের বড় পদ্ম পাতা, ব্যাঙের ডান পাশের কিছু অংশ এবং জলে ছোট পদ্ম পাতা এবং ব্যাঙের ডান পাশের পদ্ম ফুল উজ্জ্বল লাল রঙ দিয়ে পূর্ণ করেছি।
🟫 ধাপ ০৫
- এরপর, আমি এখানে ব্যাঙটি রঙ করার প্রস্তুতি নিলাম। আমি ব্যাঙের পুরো শরীর এবং পা নগ্ন রঙ দিয়ে শেষ করেছি এবং ব্যাঙের পিছনের দিকে লাল রঙ ছিটিয়ে বাদামী রঙ দিয়ে শেষ করেছি।