Hello friends, I hope everyone is well? Alhamdulillah I am fine.
I am @sheikhtuhin From #Bangladesh
 |
|---|
First let's say what I needed to do this drawing:
- white paper
- Pencil
- Colored pencils
- eraser
- The latest pencil cutter.
✅First step✅ |
|---|
 |
|---|
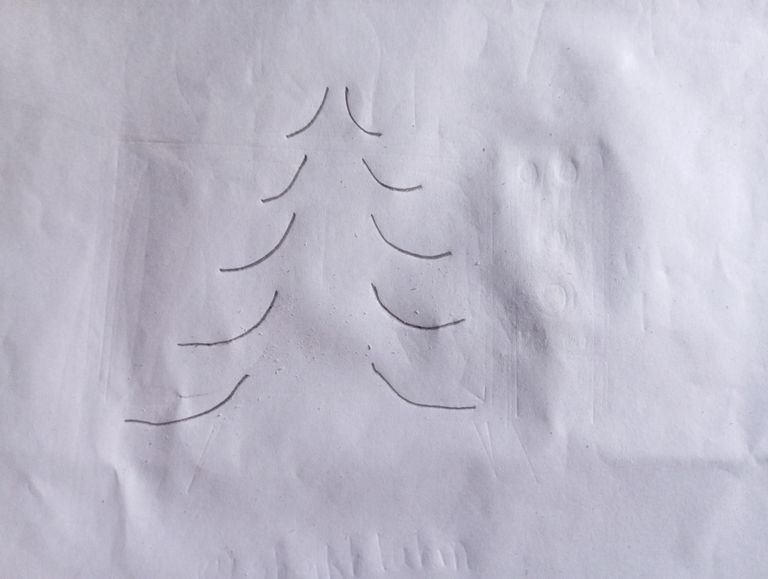
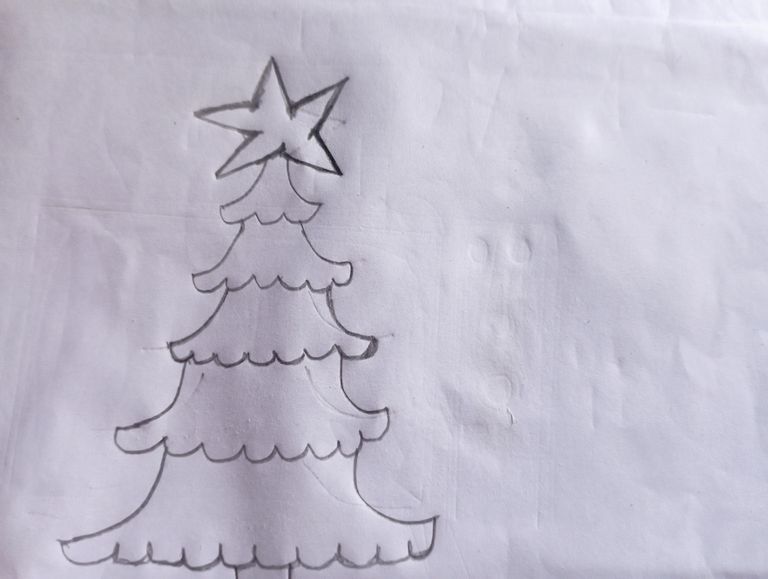
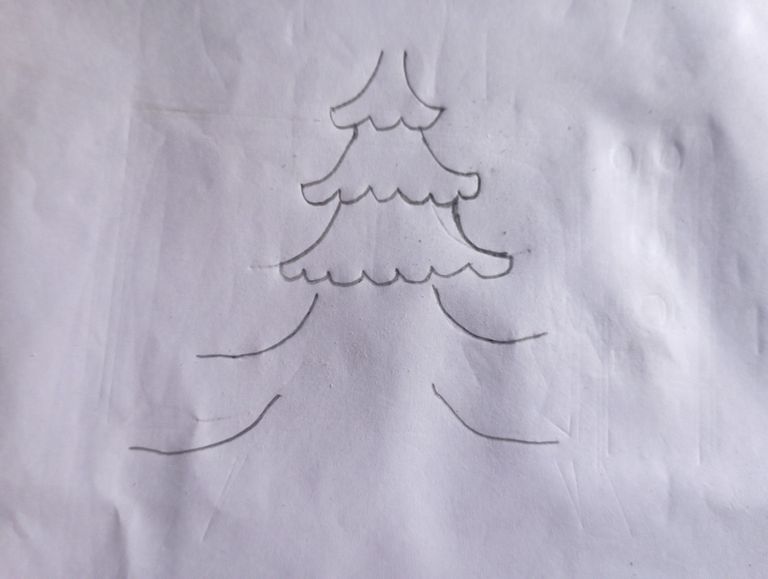
To draw a Christmas tree, first draw a few curved lines, narrow at the top and thick at the bottom.It is possible to draw a Christmas tree in the simplest way possible, which is why I will try to present it as simply as possible, God willing.If you take the spots carefully, you will take a total of five spots, one after the other, which will resemble a girl's waist.And then I will complete another task at this stage.
 |
|---|
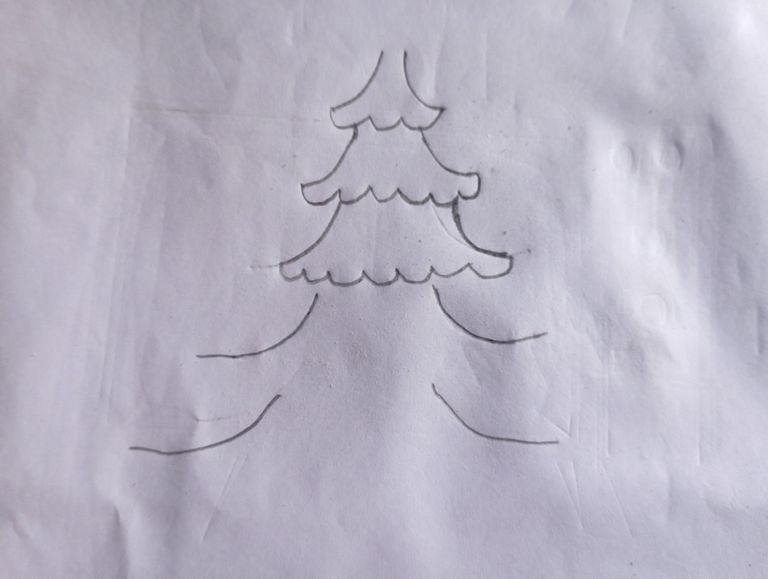
I have made the bottom of the spots that I have taken into account, and made them into beautiful little shapes, like those used when making clothes.That's how I'll draw it and it's a simple method of drawing the leaves of a Christmas tree that will be easy to understand.
✅Step number two✅ |
|---|
 |
|---|
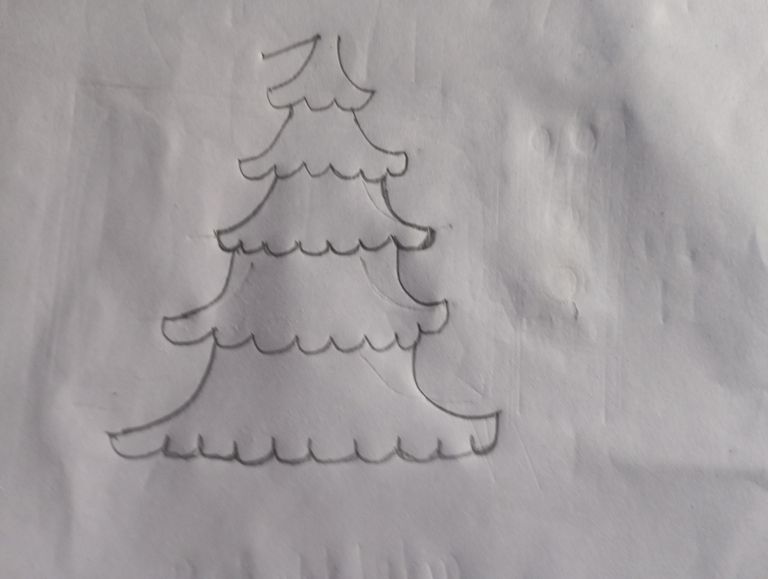
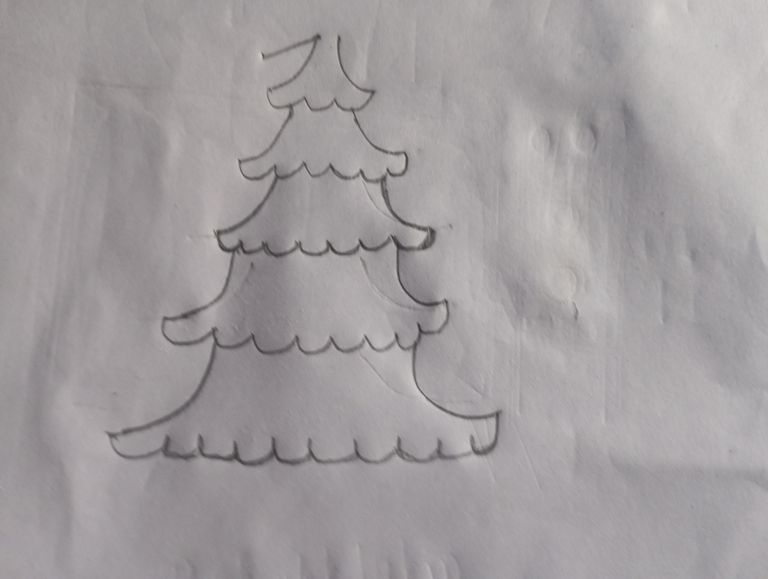
After completing the task as shown in the second part of the first step, we will leave a blank space at the very top of the tree.And from there, I'll draw a star with beautiful strokes. After finishing the bottom edges, it looks very beautiful as it takes the shape of a tree leaf.And there's no way to tell by looking at it how uniquely and simply it's being made.
 |
|---|
And they'll put a beautiful wreath on top of the tree, which is one of the most important things about a Christmas tree.And they carry the beauty of this tree, which we call the Christmas tree here.It is believed that Jesus Christ comes under the Christmas tree, according to the Christian religion, and they get anything they ask for from there.
✅Step number three✅ |
|---|
 |
|---|
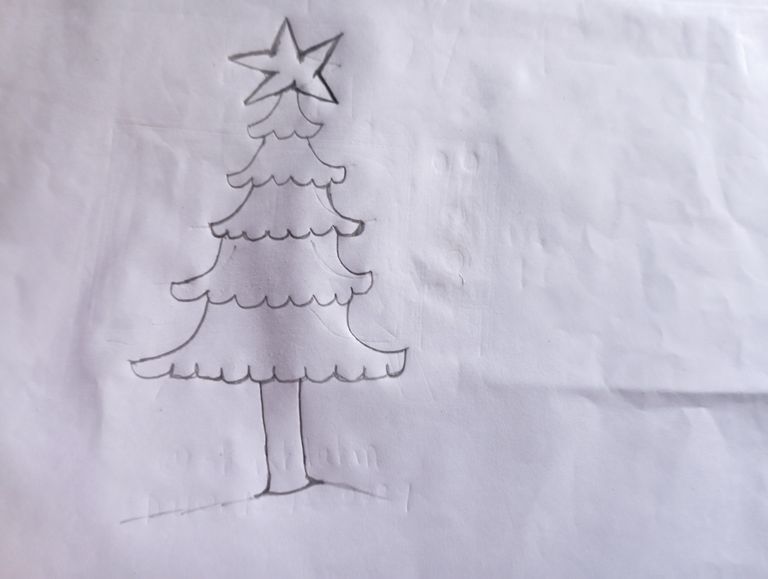
Draw a star shape on top of the tree and then draw the base of the tree at the bottom.Which fell straight to the ground and looks quite beautiful.The root of the tree has been left very well, growing straight up from the ground.
 |
|---|
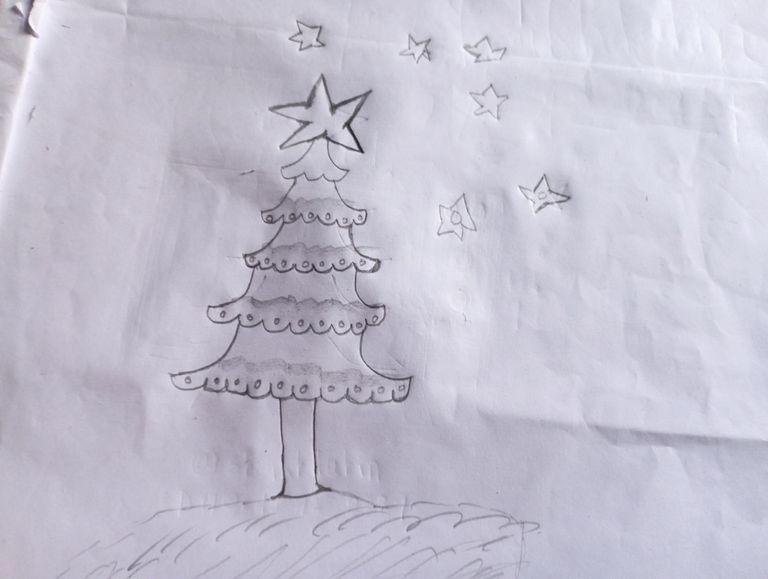
At this stage, the drippy parts of the tree leaves have been drawn and at the same time the grass under the tree has been drawn.And this is how the Christmas tree drawing in pencil frame is finished.
✅Step number four(final step)✅ |
|---|
 |
|---|
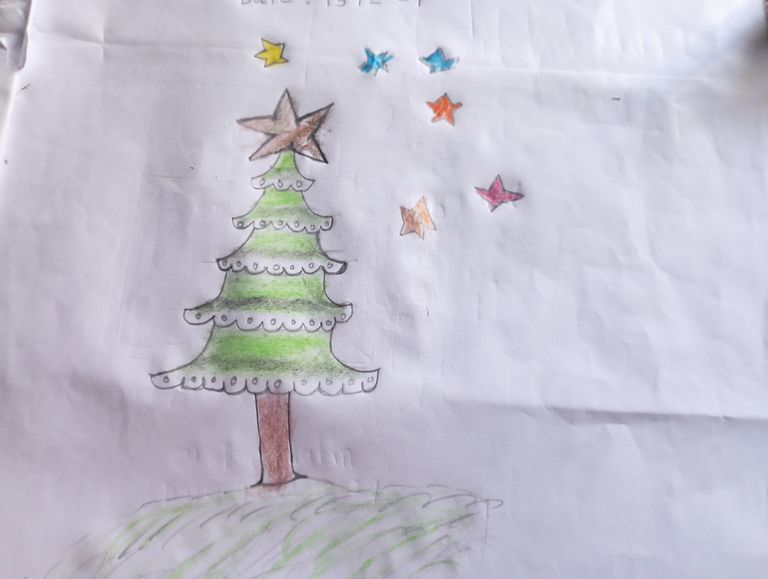
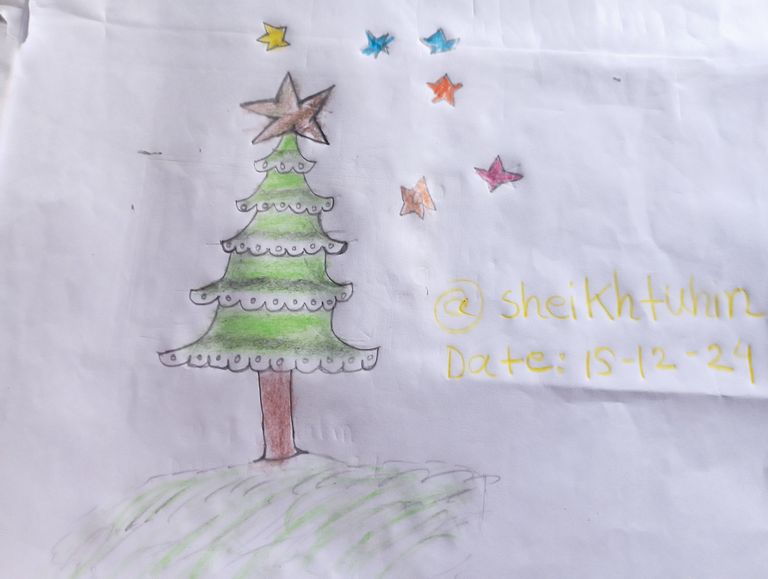
In the last step, I beautifully painted the tree using green paint and the actual color of the tree.In this case, I took some online help. Actually, I got some help with the tree, and I gave it a good color. I gave different colors to the surrounding stars, but I had trouble drawing the chases.
 |
|---|
After drawing the picture, I took a picture with my username attached to it, but if that doesn't prove the reality, I have arranged for other evidence.However, I have only mentioned my username here and have drawn the date of drawing this picture beautifully in yellow color, as if writing.
 |
|---|
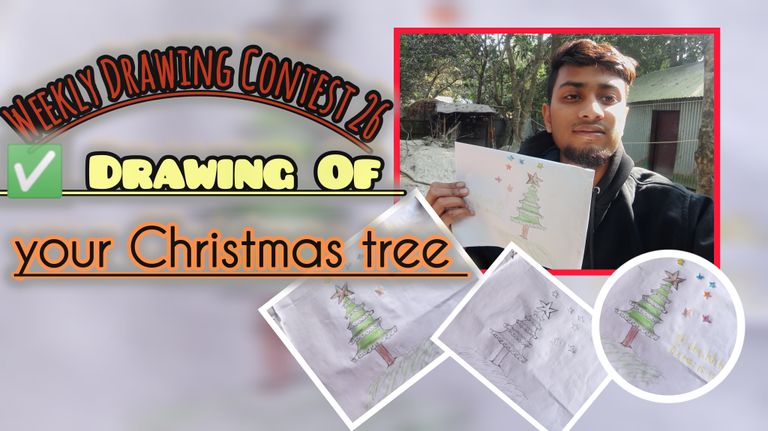
Finally, I took a beautiful selfie with the picture I drew.In the past, there was someone to take my picture, but today there is no one, so this is an activity.

Thank you very much everyone |
|---|
হ্যালো বন্ধুরা, আশা করি সবাই ভালো আছেন? আলহামদুলিল্লাহ ভালো আছি।
আমি @শেখতুহিন #বাংলাদেশ থেকে
প্রথমে বলি এই অঙ্কনটি করার জন্য আমার কী দরকার ছিল:
- সাদা কাগজ
- পেন্সিল
- রঙিন পেন্সিল
- ইরেজার
- সর্বশেষ পেন্সিল কাটার।
✅প্রথম ধাপ✅ |
|---|
একটি ক্রিসমাস ট্রি আঁকতে, প্রথমে কয়েকটি বাঁকা রেখা আঁকুন, উপরে সরু এবং নীচে পুরু। সবচেয়ে সহজ উপায়ে একটি ক্রিসমাস ট্রি আঁকা সম্ভব, তাই আমি এটি যতটা সম্ভব সহজভাবে উপস্থাপন করার চেষ্টা করব। , ইনশাআল্লাহ। আপনি যদি দাগগুলো সাবধানে নেন, তাহলে আপনি একটার পর একটা করে মোট পাঁচটি দাগ নেবেন, যেগুলো একটা মেয়ের কোমরের মতো হবে। এবং তারপরে আমি এই পর্যায়ে আরেকটি কাজ শেষ করব।
 |
|---|
আমি যে দাগগুলিকে বিবেচনায় নিয়েছি তার নীচের অংশগুলি তৈরি করেছি এবং সেগুলিকে সুন্দর ছোট আকারে তৈরি করেছি, যেমন জামাকাপড় তৈরিতে ব্যবহৃত হয়৷ এভাবেই আমি এটি আঁকব এবং এটি একটি ক্রিসমাস ট্রির পাতা আঁকার একটি সহজ পদ্ধতি। যে বুঝতে সহজ হবে.
✅ধাপ নম্বর দুই✅ |
|---|
 |
|---|
প্রথম ধাপের দ্বিতীয় অংশে দেখানো কাজটি শেষ করার পরে, আমরা গাছের একেবারে শীর্ষে একটি ফাঁকা জায়গা ছেড়ে দেব। এবং সেখান থেকে, আমি সুন্দর স্ট্রোক সহ একটি তারা আঁকব। নীচের প্রান্তগুলি শেষ করার পরে, এটি একটি গাছের পাতার আকার ধারণ করে খুব সুন্দর দেখায়৷ এবং এটি কতটা অনন্য এবং সহজভাবে তৈরি করা হচ্ছে তা দেখে বলার কোনও উপায় নেই৷
এবং তারা গাছের উপরে একটি সুন্দর পুষ্পস্তবক রাখবে, যা একটি ক্রিসমাস ট্রি সম্পর্কে সবচেয়ে গুরুত্বপূর্ণ জিনিসগুলির মধ্যে একটি। এবং তারা এই গাছের সৌন্দর্য বহন করে, যাকে আমরা এখানে ক্রিসমাস ট্রি বলি। এটা বিশ্বাস করা হয় যে যীশু খ্রিস্ট খ্রিস্টান ধর্ম অনুসারে ক্রিসমাস ট্রির নীচে আসে এবং সেখান থেকে তারা যা চায় তা পায়।
✅ধাপ নম্বর তিন✅ |
|---|
গাছের উপরে একটি তারার আকৃতি আঁকুন এবং তারপরে নীচে গাছের গোড়া আঁকুন। যা সোজা মাটিতে পড়ে এবং দেখতে বেশ সুন্দর। গাছের শিকড়টি খুব ভালভাবে ছেড়ে দেওয়া হয়েছে, মাটি থেকে সোজা হয়ে উঠেছে।
এই পর্যায়ে গাছের পাতার ফোঁটা অংশ আঁকা হয়েছে এবং একই সাথে গাছের নিচের ঘাস আঁকা হয়েছে। আর এভাবেই পেন্সিল ফ্রেমে ক্রিসমাস ট্রি আঁকা শেষ হয়েছে।
✅ধাপ নম্বর চার(চূড়ান্ত ধাপ)✅ |
|---|
শেষ ধাপে, আমি সবুজ রঙ এবং গাছের আসল রঙ ব্যবহার করে সুন্দরভাবে গাছটি আঁকলাম। এই ক্ষেত্রে, আমি কিছু অনলাইন সাহায্য নিয়েছিলাম। আসলে, আমি গাছের সাথে কিছু সাহায্য পেয়েছি, এবং আমি এটি একটি ভাল রং দিয়েছি। আমি আশেপাশের নক্ষত্রকে বিভিন্ন রং দিয়েছি, কিন্তু ধাওয়া আঁকতে আমার সমস্যা ছিল।
ছবি আঁকার পরে, আমি আমার ব্যবহারকারীর নাম সংযুক্ত করে একটি ছবি তুলেছিলাম, কিন্তু যদি এটি বাস্তবতা প্রমাণ না করে তবে আমি অন্যান্য প্রমাণের ব্যবস্থা করেছি। তবে, আমি এখানে শুধুমাত্র আমার ব্যবহারকারীর নাম উল্লেখ করেছি এবং এটি আঁকার তারিখটি এঁকেছি। সুন্দরভাবে হলুদ রঙে ছবি, যেন লেখা।
অবশেষে, আমি আমার আঁকা ছবির সাথে একটি সুন্দর সেলফি তুললাম। অতীতে, আমার ছবি তোলার জন্য কেউ ছিল, কিন্তু আজ কেউ নেই, তাই এটি একটি কার্যকলাপ।
| Photo | Redmi 10c |
| Art by | @sheikhtuhin |