Hello My dear friends, I hope everyone is well? Alhamdulillah! I am also well with your prayers and love.
I am @sheikhtuhin
From #Bangladesh
 |
|---|
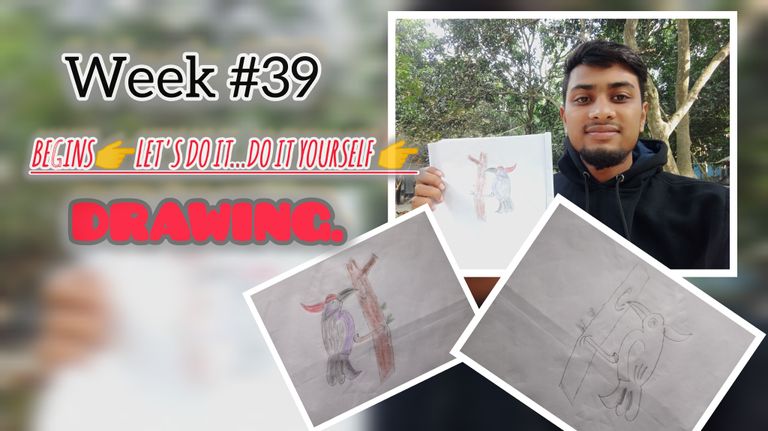
Today I will draw a woodpecker bird, but before I draw it, I will share with you the materials I used for it.
- On white paper
- Pencil
- Eraser
- Colored pencils
- Pencil cutter
✅First step✅ |
|---|
 |
|---|
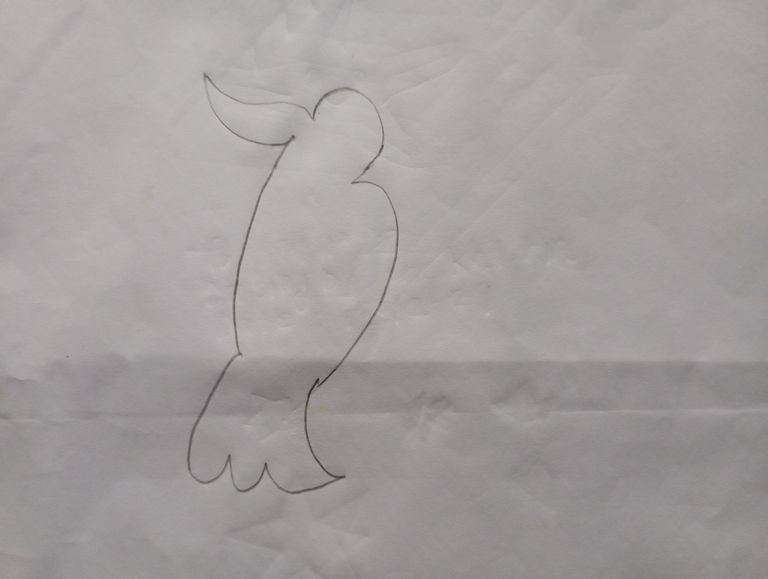
To draw a woodpecker, you first need to create a beautiful bird shape.To draw a bird, you need to draw the top part of the bird's head. If you want to adopt the simplest method of drawing a woodpecker, this method is the easiest.
 |
|---|
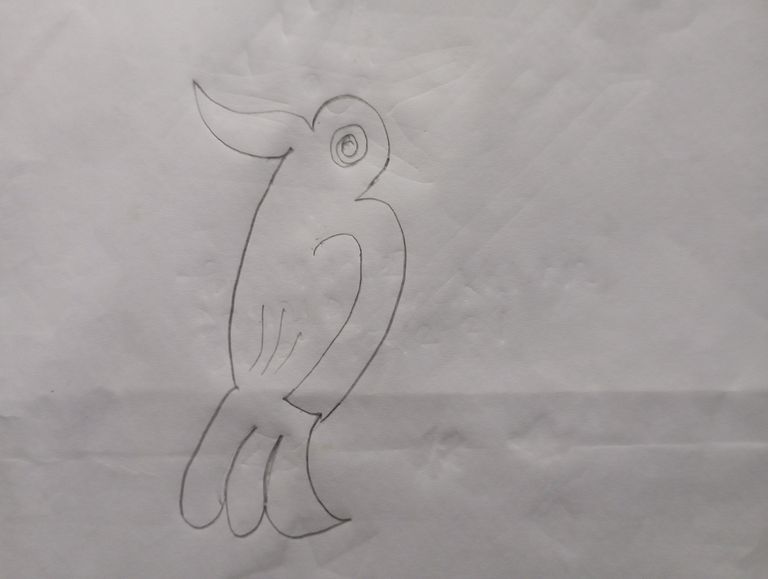
You need to draw the bird's belly and eyes, as well as the bird's face.To draw a woodpecker, it is possible to first confirm the authenticity of a bird in the first step.At first, anyone will understand that this is a drawing of a bird.
✅Step number two✅ |
|---|
 |
|---|
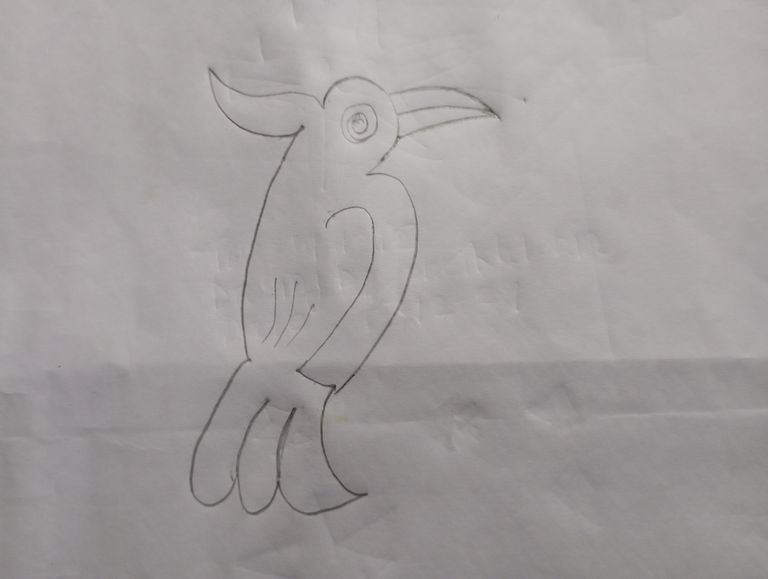
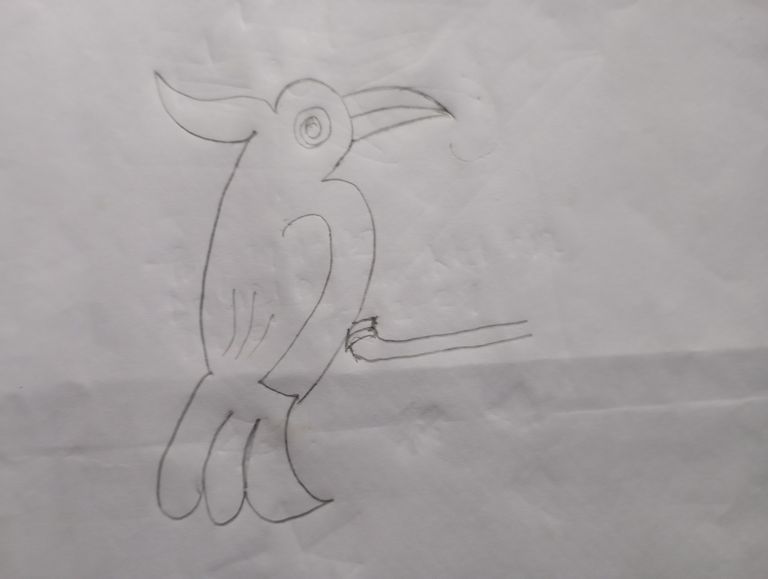
In this step, you will need to draw the bird's beak. At this step, you have almost finished drawing the complete part of a bird.However, one thing that is not yet visible with the bird is the bird's legs and the part where it stands. This can also be roughly completed in this step.
 |
|---|
Here are two legs and a branch of a bird drawn.This is the branch of the tree on which the bird is sitting. Although woodpeckers do not work on branches, they can work with the tree in any way.But I have given a truth here of sitting on a tree branch.
✅Step number three✅ |
|---|
 |
|---|
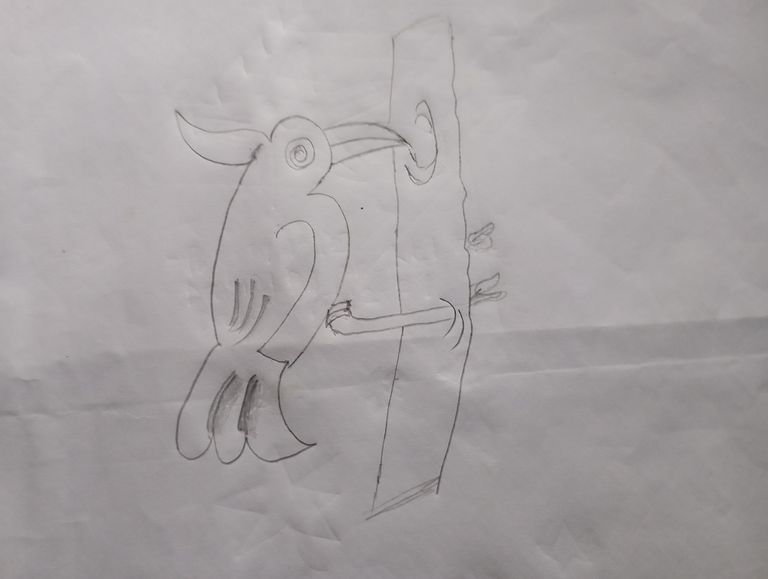
At this stage, the drawing of a complete woodpecker is completed.Complete bird drawings and photos of inserting wood into trees have also been taken.A woodpecker is shown here in a frame as it builds a nest with its beak in a tree trunk, and while it may actually convey something, it is a very simple way to draw a woodpecker.The easiest way to draw a woodpecker is finished and we will finish all the last steps by moving on to the next step.
✅Step number four(final step)✅ |
|---|
 |
|---|
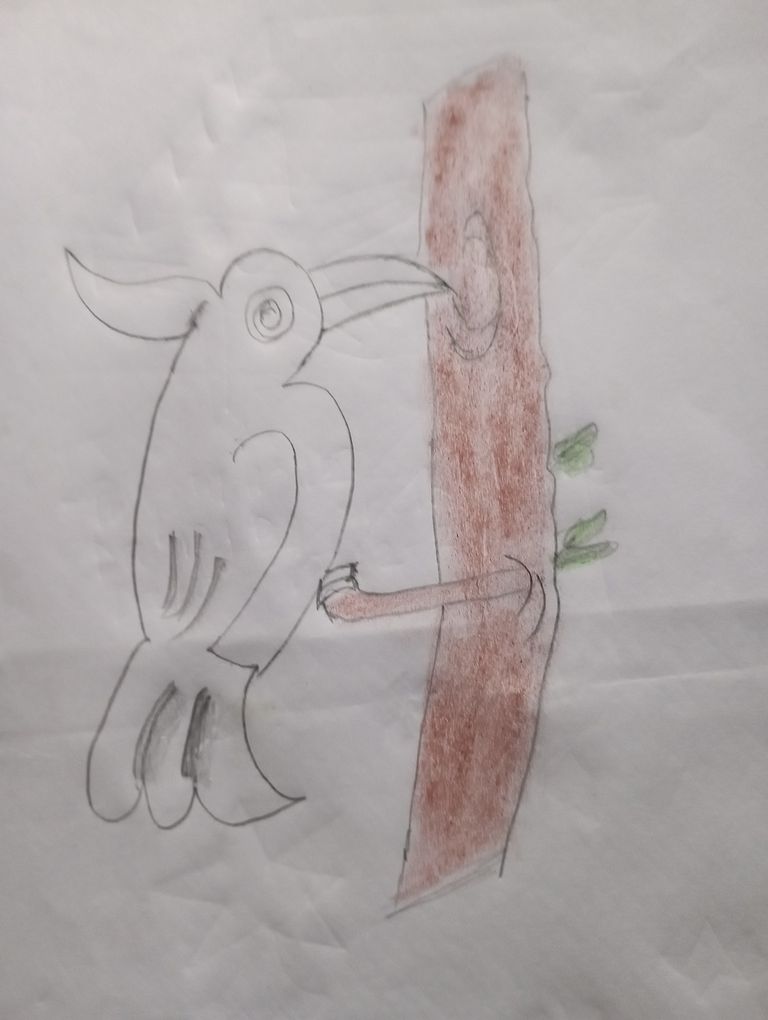
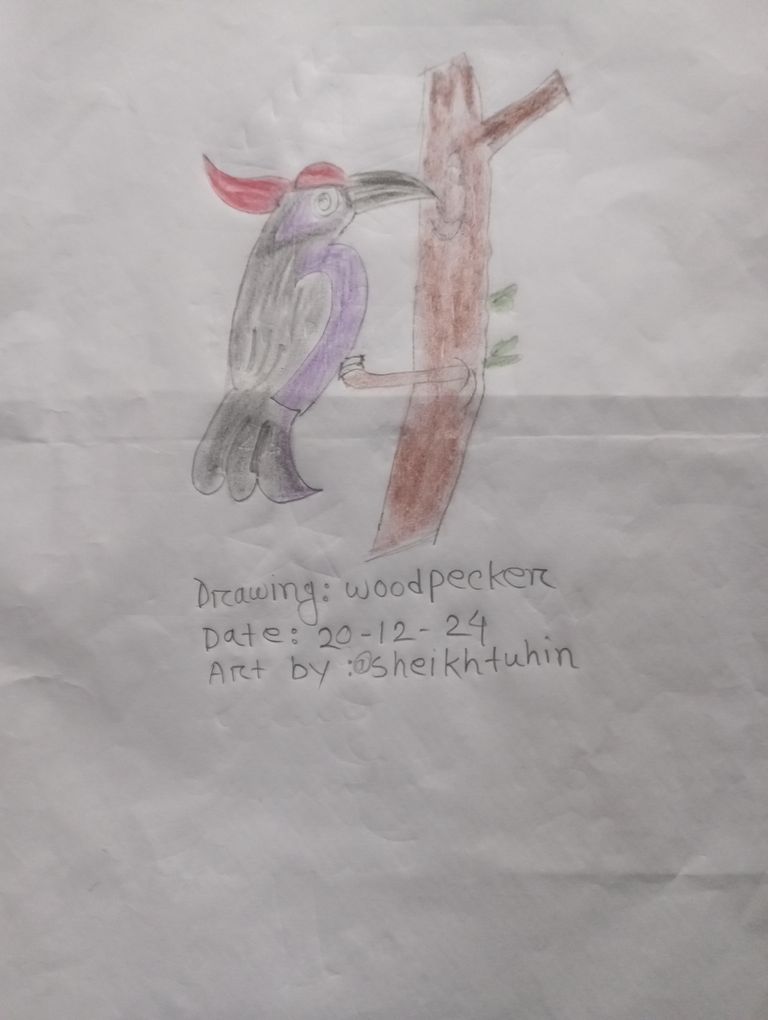
In this step, we will start coloring the drawn image.First, I'm going to color the tree's trunk and then after coloring the leaves, it looks like a bird is building a nest in a realistic tree.After I finish drawing the tree, I'll try to color the bird.
 |
|---|
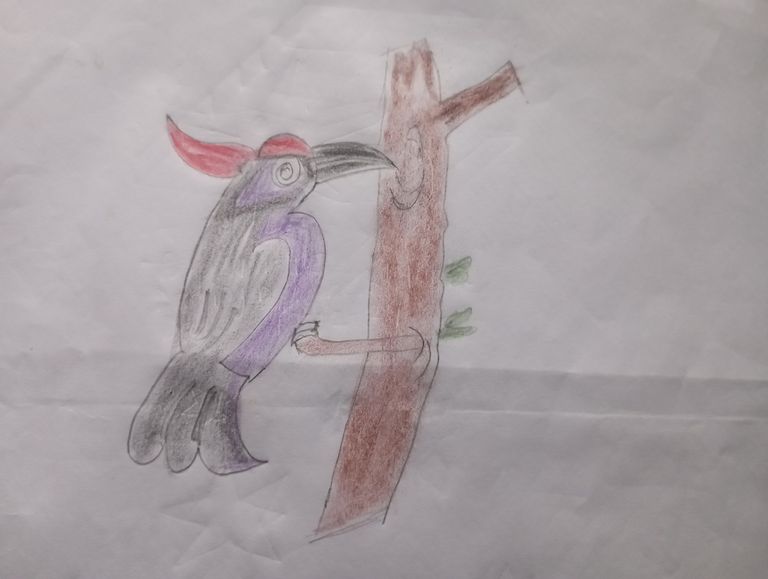
At this stage, I will color the woodpecker bird.Let me start by saying that I don't have the colors I need to paint the woodpecker, so I used different colors.I used black, white, and purple colors, even though they are not the colors of this bird, but I still used them and used up all the last colors.
✅Steps after coloring✅ |
|---|
 |
|---|
After I finished painting the bird, I took a picture with my Steemit username.I did this mainly to ensure my presence while drawing, but at the same time I did something else later.
 |
|---|
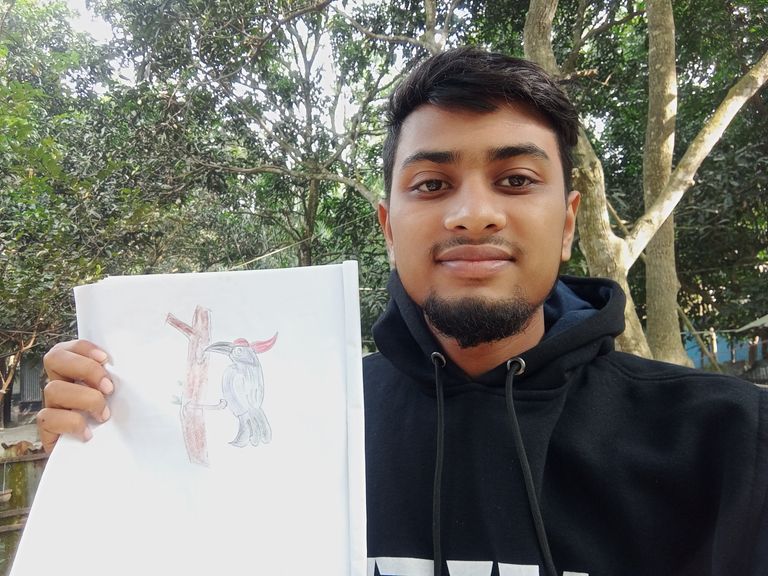
I took a selfie with my drawn picture to verify that it was almost 100% me who drew it.Finally, I would like to thank the organizers of this contest, through which I got the opportunity to present my talent beautifully. Thank you very much .
Yes, I saw this bird.Since I live in a village, I sometimes see people coming to my village and even to my house to chop wood.And I used to see it often, but now I don't see it anymore.
This is a very amazing bird to me.I sometimes wonder if it actually works.But most of the time I've seen this bird pass the time by knocking on wood.At the same time, he sometimes violently attacks insects.
Of course, its shape makes it unique.Its shape sets it apart from everyone else, as it is tall on top of its head and has a very strong beak.They are capable of piercing the hard wood of trees with their beaks, and they have very strong beaks.
বাংলা
আমার প্রিয় বন্ধুরা, আশা করি সবাই ভালো আছেন? আলহামদুলিল্লাহ! আপনাদের দোয়া এবং ভালোবাসায় আমিও ভালো আছি।
আমি @sheikhtuhin11
#বাংলাদেশ থেকে
 |
|---|
আজ আমি একটি কাঠঠোকরা পাখি আঁকবো, কিন্তু এটি আঁকার আগে, আমি এর জন্য ব্যবহৃত উপকরণগুলি আপনাদের সাথে শেয়ার করব।
- সাদা কাগজে
- পেন্সিল
- ইরেজার
- রঙিন পেন্সিল
- পেন্সিল কাটার
✅প্রথম ধাপ✅ |
|---|
 |
|---|
কাঠঠোকরা আঁকতে হলে প্রথমে আপনাকে একটি সুন্দর পাখির আকৃতি তৈরি করতে হবে। পাখি আঁকতে হলে আপনাকে পাখির মাথার উপরের অংশ আঁকতে হবে। যদি আপনি কাঠঠোকরা আঁকার সবচেয়ে সহজ পদ্ধতি গ্রহণ করতে চান, তাহলে এই পদ্ধতিটি সবচেয়ে সহজ।
 |
|---|
তোমাকে পাখির পেট এবং চোখ আঁকতে হবে, সেই সাথে পাখির মুখও। কাঠঠোকরা আঁকতে হলে, প্রথম ধাপে পাখির সত্যতা নিশ্চিত করা সম্ভব। প্রথমে, যে কেউ বুঝতে পারবে যে এটি একটি পাখির ছবি।
✅ধাপ নম্বর দুই✅ |
|---|
 |
|---|
এই ধাপে, তোমাকে পাখির ঠোঁট আঁকতে হবে। এই ধাপে, আপনি একটি পাখির সম্পূর্ণ অংশ আঁকা প্রায় শেষ করে ফেলেছেন। তবে, পাখিটির সাথে একটি জিনিস যা এখনও দৃশ্যমান নয় তা হল পাখির পা এবং এটি যেখানে দাঁড়িয়ে আছে তার অংশ। এই ধাপে এটিও মোটামুটিভাবে সম্পন্ন করা যেতে পারে।
 |
|---|
এখানে দুটি পা এবং একটি পাখির একটি ডাল আঁকা আছে। এটি সেই গাছের ডাল যার উপর পাখিটি বসে আছে। যদিও কাঠঠোকরা ডালে কাজ করে না, তারা যেকোনোভাবে গাছের সাথে কাজ করতে পারে। কিন্তু আমি এখানে গাছের ডালে বসার একটি সত্য তুলে ধরেছি।
✅ধাপ নম্বর তিন✅ |
|---|
 |
|---|
এই পর্যায়ে, একটি সম্পূর্ণ কাঠঠোকরার অঙ্কন সম্পন্ন হয়েছে। সম্পূর্ণ পাখির অঙ্কন এবং গাছে কাঠ ঢোকানোর ছবিও তোলা হয়েছে। এখানে একটি কাঠঠোকরাকে একটি ফ্রেমে দেখানো হয়েছে যখন সে গাছের গুঁড়িতে তার ঠোঁট দিয়ে বাসা তৈরি করে, এবং যদিও এটি আসলে কিছু বোঝাতে পারে, এটি একটি কাঠঠোকরা আঁকার একটি খুব সহজ উপায়। কাঠঠোকরা আঁকার সবচেয়ে সহজ উপায় সম্পন্ন হয়েছে এবং আমরা পরবর্তী ধাপে এগিয়ে গিয়ে শেষের সমস্ত ধাপ শেষ করব।
✅চতুর্থ ধাপ (চূড়ান্ত ধাপ)✅ |
|---|
 |
|---|
এই ধাপে, আমরা আঁকা ছবিটি রঙ করা শুরু করব। প্রথমে, আমি গাছের কাণ্ড রঙ করব এবং তারপর পাতা রঙ করার পরে, মনে হবে যেন একটি পাখি একটি বাস্তবসম্মত গাছে বাসা তৈরি করছে। গাছ আঁকা শেষ করার পরে, আমি পাখিটিকে রঙ করার চেষ্টা করব।
 |
|---|
এই পর্যায়ে, আমি কাঠঠোকরা পাখিটিকে রঙ করব। আমি প্রথমেই বলি যে কাঠঠোকরা রঙ করার জন্য আমার প্রয়োজনীয় রঙ নেই, তাই আমি বিভিন্ন রঙ ব্যবহার করেছি। আমি কালো, সাদা এবং বেগুনি রঙ ব্যবহার করেছি, যদিও এগুলি এই পাখির রঙ নয়, তবুও আমি সেগুলি ব্যবহার করেছি এবং শেষের সমস্ত রঙ ব্যবহার করেছি।
✅রঙ করার পরের ধাপগুলি✅ |
|---|
 |
|---|
পাখিটি আঁকা শেষ করার পর, আমি আমার Steemit ব্যবহারকারীর নাম দিয়ে একটি ছবি তুলেছিলাম। আমি মূলত ছবি আঁকার সময় আমার উপস্থিতি নিশ্চিত করার জন্য এটি করেছি, কিন্তু একই সাথে পরে আমি অন্য কিছু করেছি।
 |
|---|
আমি আমার আঁকা ছবির সাথে একটি সেলফি তুলেছিলাম যাতে নিশ্চিত হতে পারি যে এটি প্রায় ১০০% আমিই এঁকেছি। অবশেষে, আমি এই প্রতিযোগিতার আয়োজকদের ধন্যবাদ জানাতে চাই, যার মাধ্যমে আমি আমার প্রতিভা সুন্দরভাবে উপস্থাপন করার সুযোগ পেয়েছি। আপনাকে অনেক ধন্যবাদ ।

Thank you very much everyone |
|---|
| Photo | Redmi 10c |
| Art by | @sheikhtuhin |