Hello My dear friends, I hope everyone is well? Alhamdulillah! I am also well with your prayers and love.
I am @sheikhtuhin
From #Bangladesh
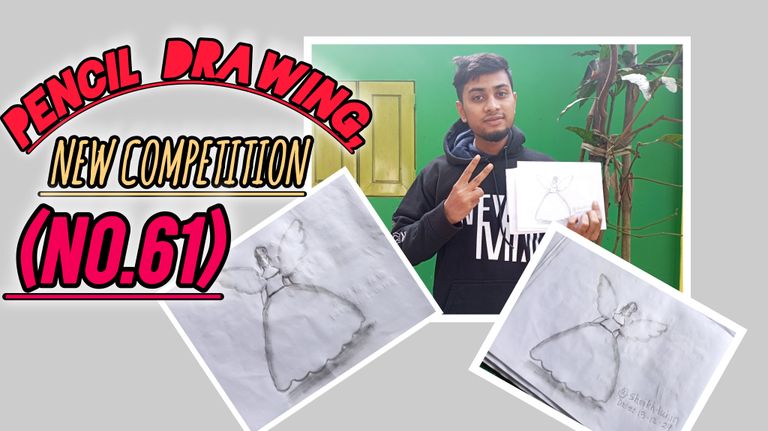
Dear friends, the current ongoing contest in the "' WORLD OF XPILAR." community is "Pencil drawing, New Competition (No.61)"Right now, I am particularly interested in participating in this contest by drawing a drawing to the best of my ability, and I am already working on preparing it.
 |
|---|
I will tell you in the beginning what materials I needed to make this drawing:
- Paper
- Pencil
- Eraser
Today I will draw a fairy that I find amazing to look at.I made this drawing from my creative thoughts, I hope you like it too.
First step: |
|---|
 |
|---|
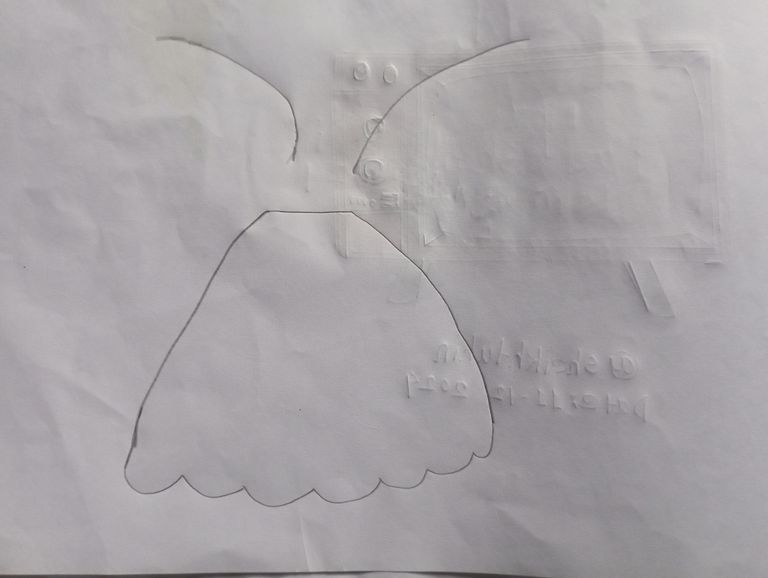
Right now, I'm starting the first step of drawing a fairy.To draw a fairy in a very simple way, I will first draw a straight line and then draw a beautiful line down like a shirt.Once this is roughly done, I will then give it a nice cut at the bottom.And to give the wings upwards, I will pull 2 from both sides from the top.
 |
|---|
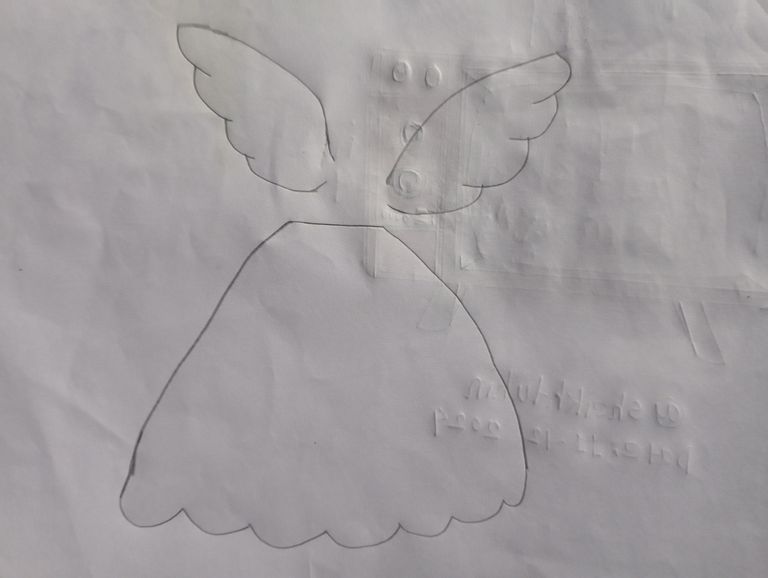
After pulling from the top, I will draw the shape of the wings beautifully from both sides of the top two pulls.Once one wing is drawn beautifully, I will draw the other wing beautifully as well. At this stage, I will try to develop the ability to understand the state of a fairy, initially.
Step number two: |
|---|
 |
|---|
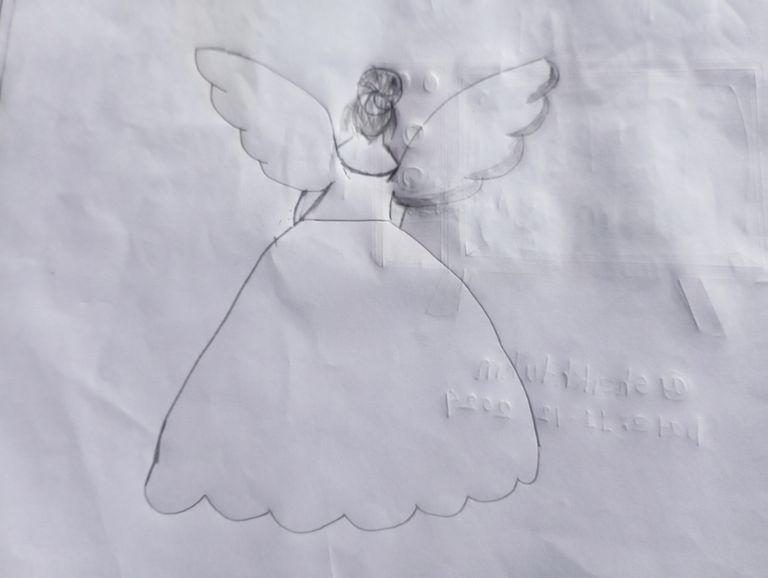
Step number three: |
|---|
 |
|---|
Step number four(final step): |
|---|
 |
|---|
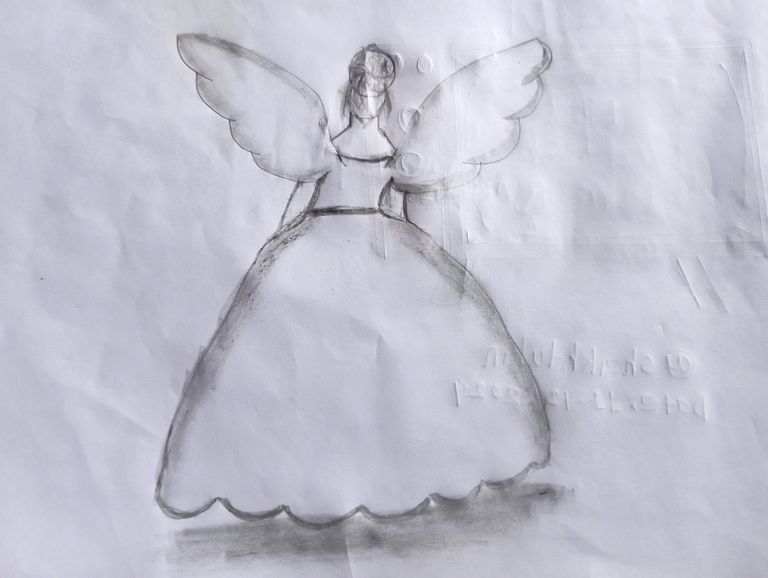
In order to complete the rough image, here it has been nicely darkened with the help of pencil where it needs to be darkened.Again, where it needs to be kept light, it has been kept light. The main purpose of today's drawing is with the help of pencil, so no color has been used here.
 |
|---|
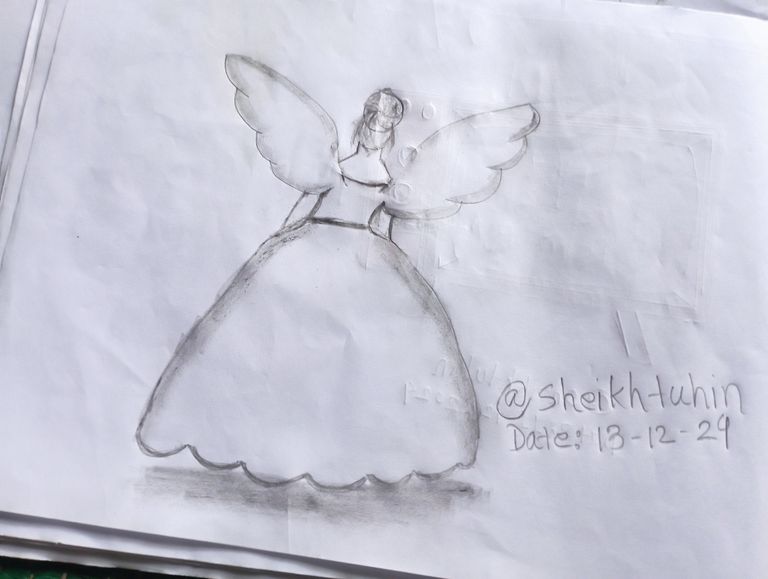
After the drawing, I beautifully included my Steemit username and the date of the drawing along with the picture.And I tried to convey the reality of it all. I also tried to make sure that it was a very important drawing for me.I tried to handle pretty much everything myself.
 |
|---|
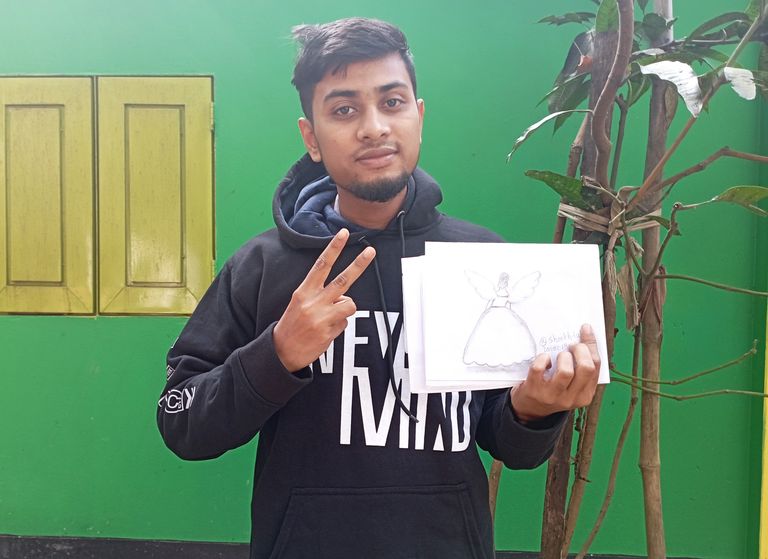
At the end of the last drawing, I presented a photo of myself with it to show that it was my own work.And finally, I would like to thank the organizers of this contest for giving me the opportunity to showcase such talent.

Thank you very much everyone |
|---|
আমার প্রিয় বন্ধুরা, আশা করি সবাই ভালো আছেন? আলহামদুলিল্লাহ! আপনাদের দোয়া এবং ভালোবাসায় আমিও ভালো আছি।
আমি @sheikhtuhin
#বাংলাদেশ থেকে
প্রিয় বন্ধুরা, "'ওয়ার্ল্ড অফ এক্সপিলার" কমিউনিটিতে বর্তমানে চলমান প্রতিযোগিতা হল "পেন্সিল অঙ্কন, নতুন প্রতিযোগিতা (নং 61)"। এই মুহূর্তে, আমি আমার সর্বোচ্চ ক্ষমতা দিয়ে একটি অঙ্কন করে এই প্রতিযোগিতায় অংশগ্রহণ করতে বিশেষভাবে আগ্রহী, এবং আমি ইতিমধ্যেই এটির প্রস্তুতির জন্য কাজ করছি।
আমি আপনাকে শুরুতেই বলব যে এই অঙ্কনটি তৈরি করতে আমার কী কী উপকরণের প্রয়োজন ছিল:
- কাগজ
- পেন্সিল
- ইরেজার
আজ আমি একটি পরী আঁকব যা দেখতে আমার কাছে অসাধারণ লাগে। আমি আমার সৃজনশীল চিন্তাভাবনা থেকে এই অঙ্কনটি তৈরি করেছি, আশা করি আপনারও এটি পছন্দ হবে।
প্রথম পদক্ষেপ: |
|---|
এখনই, আমি পরী আঁকার প্রথম ধাপ শুরু করছি। খুব সহজ উপায়ে পরী আঁকার জন্য, আমি প্রথমে একটি সরল রেখা আঁকব এবং তারপর শার্টের মতো নীচে একটি সুন্দর রেখা আঁকব। এটি মোটামুটিভাবে সম্পন্ন হয়ে গেলে, আমি নীচে একটি সুন্দর কাট দেব। এবং ডানাগুলিকে উপরের দিকে দেওয়ার জন্য, আমি উপর থেকে উভয় দিক থেকে 2টি টানব।
উপর থেকে টানার পর, আমি উপরের দুটি টানার উভয় দিক থেকে সুন্দরভাবে ডানার আকৃতি আঁকব। একবার একটি ডানা সুন্দরভাবে আঁকা হয়ে গেলে, আমি অন্য ডানাটিও সুন্দরভাবে আঁকব। এই পর্যায়ে, আমি প্রাথমিকভাবে একটি পরীর অবস্থা বোঝার ক্ষমতা বিকাশের চেষ্টা করব।
দ্বিতীয় ধাপ: |
|---|
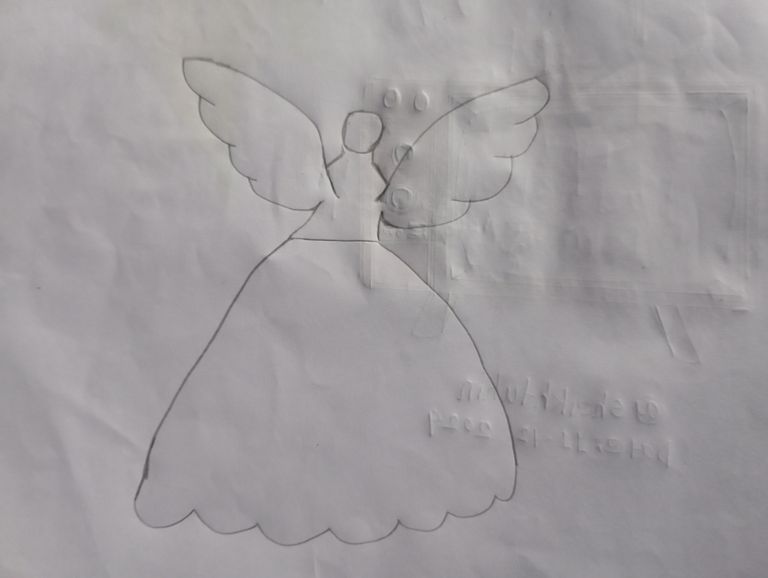
নীচের পোশাকটি চিত্রিত করার জন্য আমি পরীর উপরের অংশ, অর্থাৎ দেহটি সুন্দরভাবে আঁকব। এই ধাপে, পরীর বাস্তবতা চিত্রিত করার জন্য, আমি প্রথমে একটি সুন্দর ঘাড় আঁকব যার একটি ডানা এবং তার উপরে মাথা থাকবে। এই ধাপটি অস্পষ্টভাবে প্রকাশ করা সম্ভব হয়েছে, পরীর ঘাড়ের নিচ থেকে শুরু করে মাথা পর্যন্ত।
তৃতীয় ধাপ: |
|---|
আমি আপনাকে একটি টান দেব যাতে বোঝা যায় যে হাতটি ডানা থেকে নিচের দিকে ইশারা করছে। আমি মাথার চুলের অংশগুলি সাজানোর জন্য এবং একটি খোঁপা তৈরি করার জন্য এটি সুন্দরভাবে আঁকব। সেই ধাপে মাথার চুলের রেখাটি সুন্দরভাবে ব্যাখ্যা করা হয়েছে এবং পেন্সিলের সাহায্যে একটি মোটামুটি স্পষ্ট রূপরেখা আঁকা হয়েছে।
চতুর্থ ধাপ (চূড়ান্ত ধাপ): |
|---|
রুক্ষ চিত্রটি সম্পূর্ণ করার জন্য, এখানে যেখানে অন্ধকার করা প্রয়োজন সেখানে পেন্সিলের সাহায্যে সুন্দরভাবে অন্ধকার করা হয়েছে। আবার, যেখানে এটি হালকা রাখা প্রয়োজন সেখানে হালকা রাখা হয়েছে। আজকের অঙ্কনের মূল উদ্দেশ্য পেন্সিলের সাহায্যে, তাই এখানে কোনও রঙ ব্যবহার করা হয়নি।
অঙ্কনের পর, আমি ছবির সাথে আমার Steemit ব্যবহারকারীর নাম এবং অঙ্কনের তারিখ সুন্দরভাবে অন্তর্ভুক্ত করেছি। এবং আমি সবকিছুর বাস্তবতা তুলে ধরার চেষ্টা করেছি। আমি নিশ্চিত করার চেষ্টা করেছি যে এটি আমার জন্য একটি অত্যন্ত গুরুত্বপূর্ণ অঙ্কন। আমি প্রায় সবকিছু নিজেই পরিচালনা করার চেষ্টা করেছি।
শেষ অঙ্কনের শেষে, আমি এটির সাথে আমার একটি ছবি উপস্থাপন করেছিলাম যাতে দেখা যায় যে এটি আমার নিজের কাজ। এবং পরিশেষে, আমি এই প্রতিযোগিতার আয়োজকদের ধন্যবাদ জানাতে চাই আমাকে এমন প্রতিভা প্রদর্শনের সুযোগ দেওয়ার জন্য।
| Photo | Redmi 10c |
| Art by | @sheikhtuhin |