 |
|---|
পায়েস খেতে কার না ভালো লাগে! আর তাই আজকে আমি আপনাদের সাথে,,, নতুন একটা রেসিপি নিয়ে হাজির হয়ে গেলাম! তালের আঁটির শাঁসের পায়েস! আসলে এটা হয়তো,,, আপনাদের কাছে ভিন্ন! তবে আমার কাছে এটা খুবই প্রিয় একটা খাবার।
আজকে আমি আপনাদের সাথে,,, খুব সহজভাবে এই তালের আঁটির শাঁসের পায়েস তৈরি করার রেসিপিটা শেয়ার করব! তো চলুন দেরি না করে শুরু করা যাক।
তালের আঁটির শাঁসের পায়েস তৈরি করার রেসিপি |
|---|
এইতো সদ্ধ দেড় মাস আগে! আমার বাড়ির উঠানের পাশেই,,, একটা নালা রয়েছে! তার পাশেই আছে আমার মুরগির খোঁয়াড়, তার ঠিক পাশেই,,,,, আমি তালের আঁটিগুলো রেখেছিলাম।
আজকে আমি সেখান থেকে,,,, তালের আঁটিগুলো বের করে! সুন্দরভাবে ধুয়ে,,,, পরিষ্কার করে নিয়েছি।
চলুন এই তালের আঁটির শাঁসের পায়েস,,, তৈরি করতে আপনাদের যা যা উপকরণ লাগবে,,,,
- ১. তালের আঁটির শাঁস আমি আমার ইচ্ছে মতো নিয়েছি! আপনারা আপনাদের প্রয়োজন অনুযায়ী নিতে পারেন!
- ২. বাদাম ৫০ গ্রাম
- ৩. চিনি ২ কাপ
- ৪. তরল দুধ ১ কেজি
- ৫. লবণ পরিমাণমতো
প্রস্তুত প্রণালী
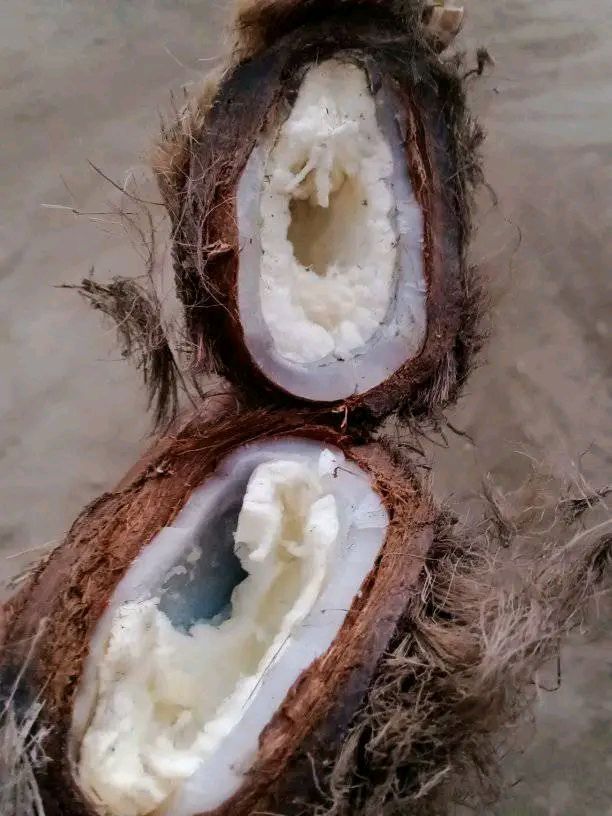
এর পরে সেগুলোকে দা দিয়ে দুই ভাগ করে নিয়েছি,,, দুই ভাগ করার পরে! আমি দেখতে পেয়েছি আমার সেই কাঙ্ক্ষিত,,, তালের আঁটির খুব সুন্দর শাঁস।
 |
|---|
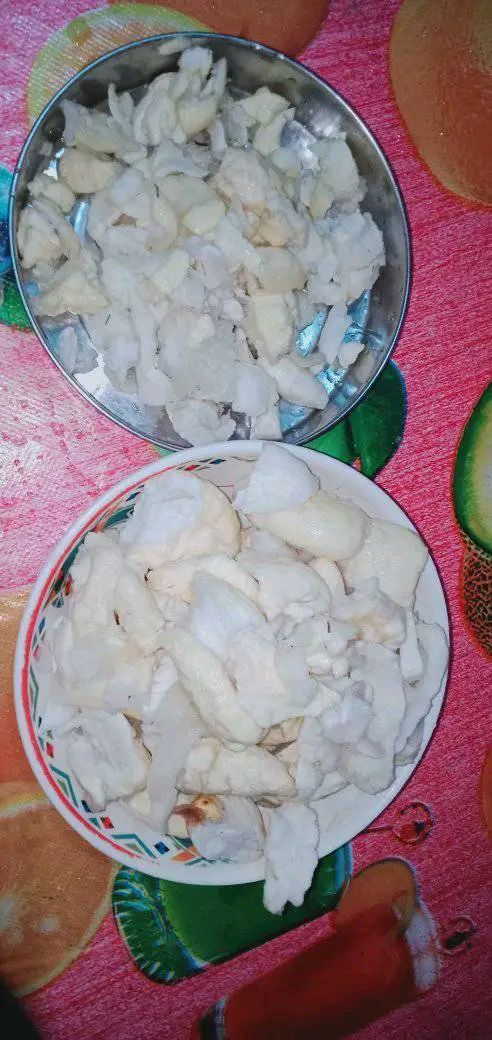
এরপরে আমি একটা একটা করে,,, তালের আঁটি থেকে শাঁস গুলো সরিয়ে নিয়েছি! সুন্দর একটা প্লেটের মধ্যে।
 |
|---|
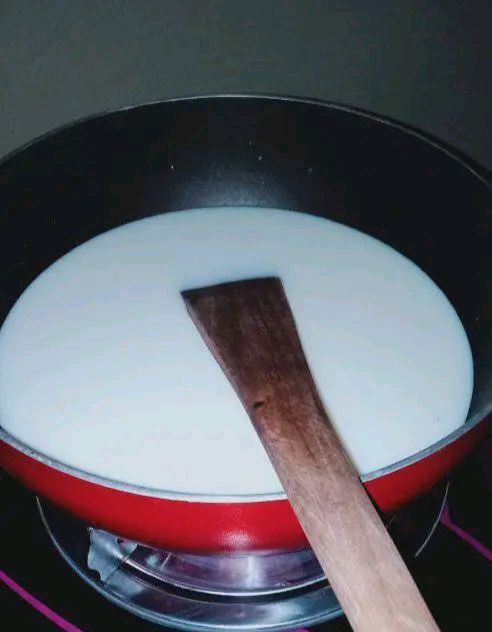
এরপর আমি যেটা করেছি! তরল দুধ চুলার মধ্যে বসিয়ে দিয়েছি,,,, যাতে করে আমি দুধটাকে,,,, ভালোভাবে জাল দিয়ে নিতে পারি।
 |
|---|
দুধ যখন ভালোভাবে জাল দেয়া হয়ে যাবে! আমি তার মধ্যে চিনি দিয়ে দিয়েছি! এবং লবণ দিয়ে দিয়েছি! তারপরে এটাকে আরো ভালোভাবে জাল দিয়ে নেয়ার পরে,,,, আমি এর মধ্যে তালের আঁটির শাঁস গুলো দিয়ে দিয়েছি।
 |
|---|
এবার আমি চুলার আঁচ কমিয়ে! ধীরে ধীরে দুধ এবং তালের আঁটির শাঁস রান্না করা শুরু করে দিয়েছে।
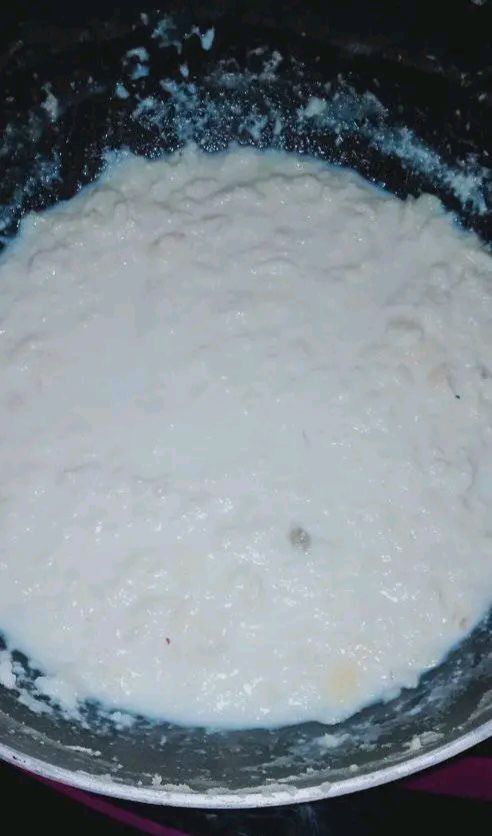
এরপরে যখন আমার,,, তালের আঁটির শাঁস ভালোভাবে সেদ্ধ হয়ে গেছে! এবং দুধের সাথে মিশে গেছে! আমি তার মধ্যে বাদাম দিয়ে দিয়েছি।
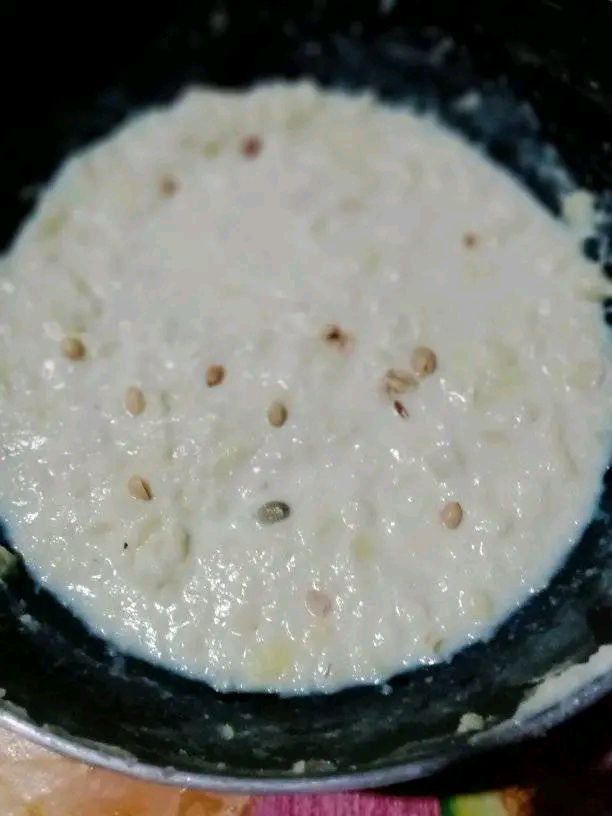
বাদাম দেয়ার পরে,,,, আমি চুলার আঁচ আরো কমিয়ে দিয়েছি! এবং প্রায় ১০ মিনিট যাবত এটাকে আবারো রান্না করেছি।
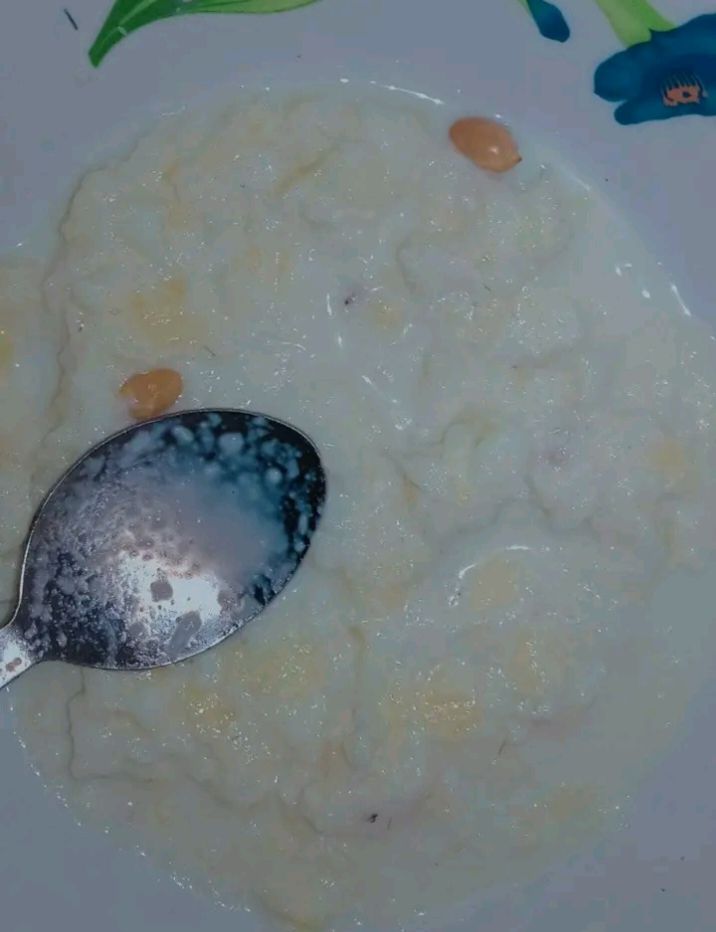
কিছুক্ষণ পরেই আমি এটাকে চুলা থেকে নামিয়ে নিয়েছি! ব্যাস তৈরি হয়ে গেল! আমার তালের আঁটির শাঁসের পায়েস।
এই পায়েসটা খেতে খুবই সুস্বাদু! আর বিশেষ করে বছরে তাল একবারই পাওয়া যায়! আমি প্রত্যেক বছরই এভাবে রান্না করার চেষ্টা করি! কারণ আমার কাছে এটা খেতে খুব ভালো লাগে! এবং আমার পরিবারের সবাই এটা বেশ পছন্দ করে।
আপনারাও চাইলে খুব সহজেই! এই তালের আঁটির শাঁস দিয়ে,,, পায়েস তৈরি করে খেতে পারেন! আশা করি আপনাদের কাছেও ভালো লাগবে।
এই ছিল আমার আজকের রেসিপি! আশা করি আপনাদের কাছে ভালো লেগেছে! যদি ভালো লেগে থাকে! তাহলে অবশ্যই,,, জানাতে ভুলবেন না।
আজ না হয় এ পর্যন্তই থাক! সবাই ভালো থাকুন সুস্থ থাকুন! এই কামনা করে আজকের মত এখানেই বিদায় নিচ্ছি! আল্লাহ হাফেজ।
| Device | Name |
|---|---|
| Android | vivo Y20G |
| Camera | triple camera 1:2.2-2 2.4 asph |
| Location | Bangladesh 🇧🇩 🇧🇩🇧🇩🇧🇩🇧🇩🇧🇩 |
| Short by | @rubina203 |
Who doesn't love to eat pies! And so today I am here with a new recipe for you! Palm kernel pies! Actually, it may be different for you! But it is a very favorite dish for me.
Today I will share with you the recipe for making this very easy palm kernel shell pie! So let's get started without further ado.


Recipe for making palm kernel pie
This was exactly a month and a half ago! There is a drain next to my yard! Next to it is my chicken coop, right next to it,,,,, I kept the palm fronds.
Today I took out the palm fronds from there! I washed them nicely and cleaned them.
Let's get to the ingredients you will need to make this palm kernel shell pie.
- I took the palm kernel shell as I wanted! You can take it as per your need!
- Almonds 50 grams
- 2 cups of sugar
- Liquid milk 1 kg
- Salt in moderation
Preparation method
After that, I divided them in two with a knife,,, After dividing them in two! I found the very beautiful shell of the palm tree I wanted.
IMG_20230424_151114_480.jpg
Then, one by one, I removed the shells from the palm fronds! Into a beautiful plate.
IMG_20230424_151114_547.jpg
Then what I did! I put the liquid milk in the stove,,,, so that I could strain the milk,,,, properly.
IMG_20230424_151114_527.jpg
When the milk is well strained! I put sugar in it! And salt in it! Then after straining it even better,,,, I put the date palm kernels in it.
IMG_20230424_151114_606.jpg
Now I reduce the heat on the stove! Slowly the milk and the date palm kernels start cooking.
IMG_20230424_151114_631.jpg
Then, when my,,, palm kernel shells were well boiled! And mixed with milk! I added almonds to it.
IMG_20230424_151113_901.jpg
After adding the nuts, I turned the heat down even lower! and cooked it again for about 10 minutes.
After a while, I took it off the stove! It was ready! My palm-sized peanut pie.
This pie is very delicious to eat! And especially since dates are available only once a year! I try to cook this every year! Because I really like it! And my whole family likes it.
If you want, you can also easily make and eat these palm kernel shells! I hope you like it too.
This was my recipe for today! I hope you liked it! If you did! Then of course, don't forget to let me know.
Stay here until today or not! May everyone be well and healthy! Wishing this, I am saying goodbye here today! May Allah protect us.