My dear blurt friends,
I am @samadbro08 from Bangladesh
Today is Sunday , November 03/2024
Assalamu Alaikum. Ecoer members, hope everyone is well. Today I will show you how to make a beautiful tree leaf with colored paper. Let's start.
আসসালামু আলাইকুম। Ecoer সদস্যগণ, আশা করি সবাই ভাল আছেন। আজ আমি আপনাদের মাঝে রঙিন কাগজ দিয়ে সুন্দর একটি গাছের পাতা তৈরী করে তা উপস্থাপন করব। চলুন শুরু করা যাক ।
 |  |
|---|
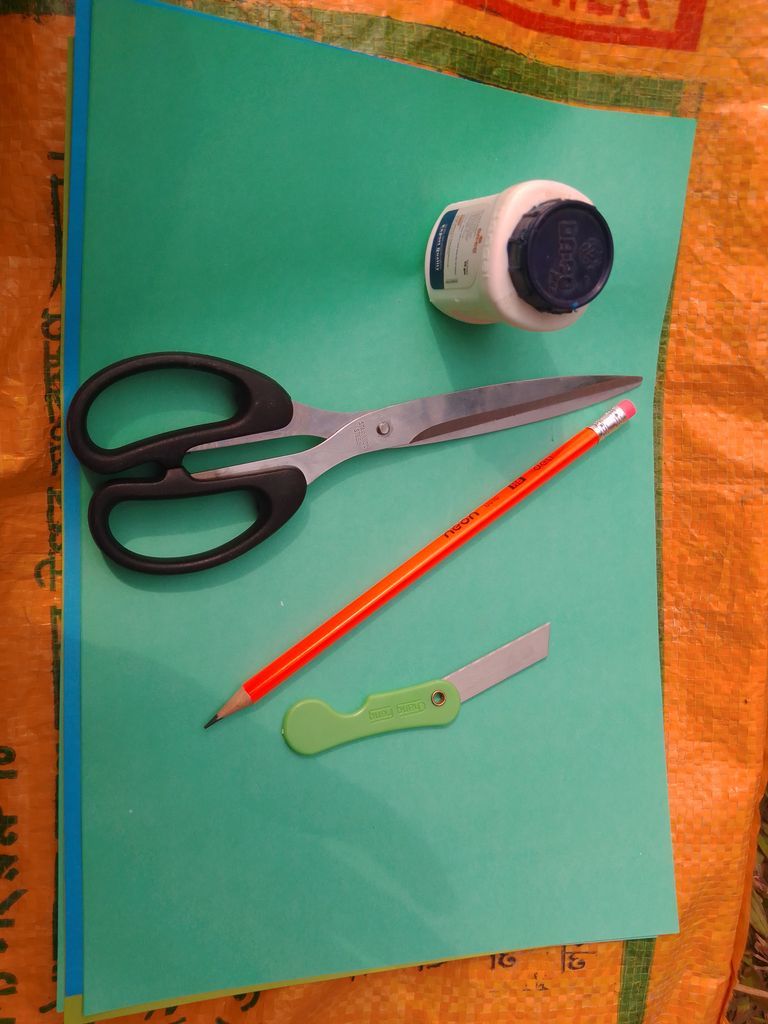
Materials required for leaf making
1/ Colored paper
2/ Scissors
3/ A small glue
4/ Cut.
5/ A rule
১/ রঙিন কাগজ
২/ কাইচি
৩/ছোট একটি আঠা
৪/ কাটার ।
৫/ একটি রুল
 |  |
|---|
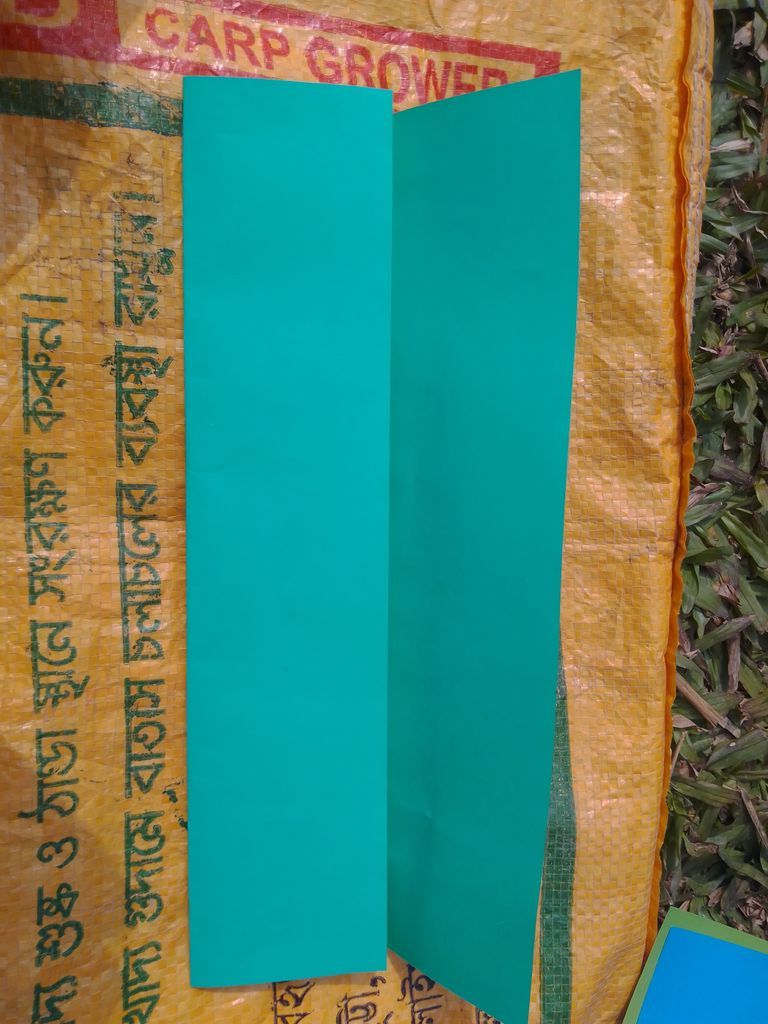
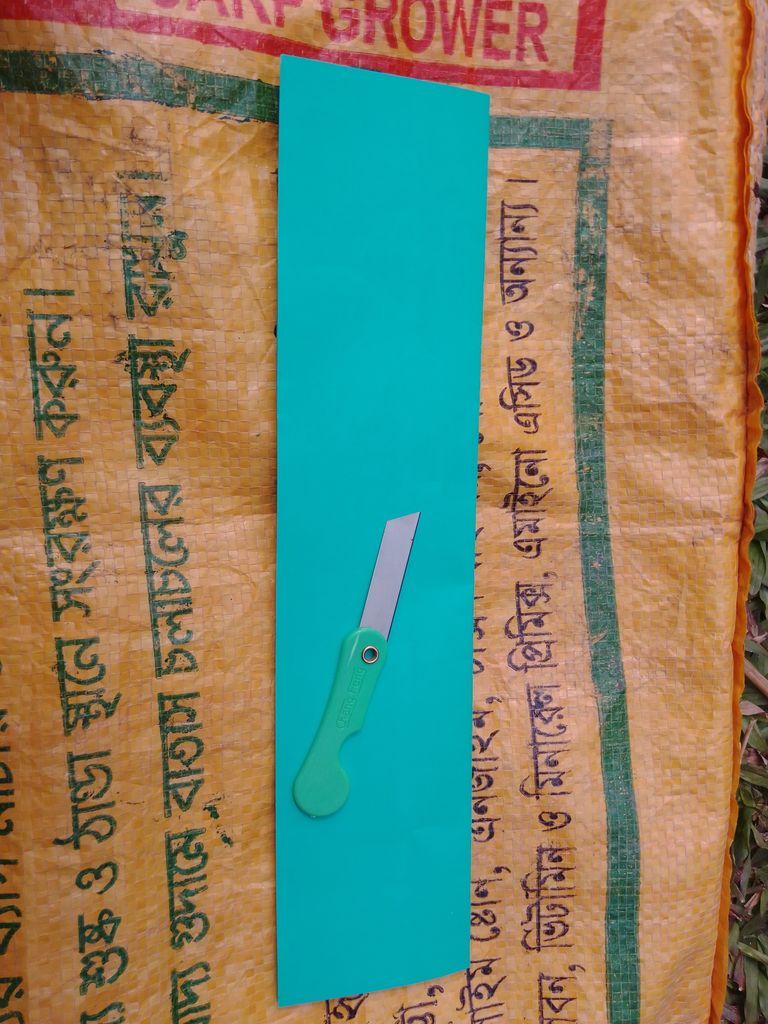
To make the leaves of the tree first I take a colored paper and fold the paper into three parts and after folding it into three parts I use a cutter to cut it apart.To make the leaves of the tree first I take a colored paper and fold the paper into three parts and after folding it into three parts I use a cutter to cut it apart.To make the leaves of the tree first I take a colored paper and fold the paper into three parts and after folding it into three parts I use a cutter to cut it apart.
গাছের পাতা তৈরি করার জন্য প্রথমে আমি একটি রঙিন কাগজ নেয় এবং সেই কাগজকে তিনটি ভাগে ভাজ করি এবং তিনটি ভাগে ভাজ করার পর এবার সেটিকে কেটে আলাদা করার জন্য আমি কাটার ব্যাবহার করি।গাছের পাতা তৈরি করার জন্য প্রথমে আমি একটি রঙিন কাগজ নেয় এবং সেই কাগজকে তিনটি ভাগে ভাজ করি এবং তিনটি ভাগে ভাজ করার পর এবার সেটিকে কেটে আলাদা করার জন্য আমি কাটার ব্যাবহার করি।গাছের পাতা তৈরি করার জন্য প্রথমে আমি একটি রঙিন কাগজ নেয় এবং সেই কাগজকে তিনটি ভাগে ভাজ করি এবং তিনটি ভাগে ভাজ করার পর এবার সেটিকে কেটে আলাদা করার জন্য আমি কাটার ব্যাবহার করি।
 |  |
|---|
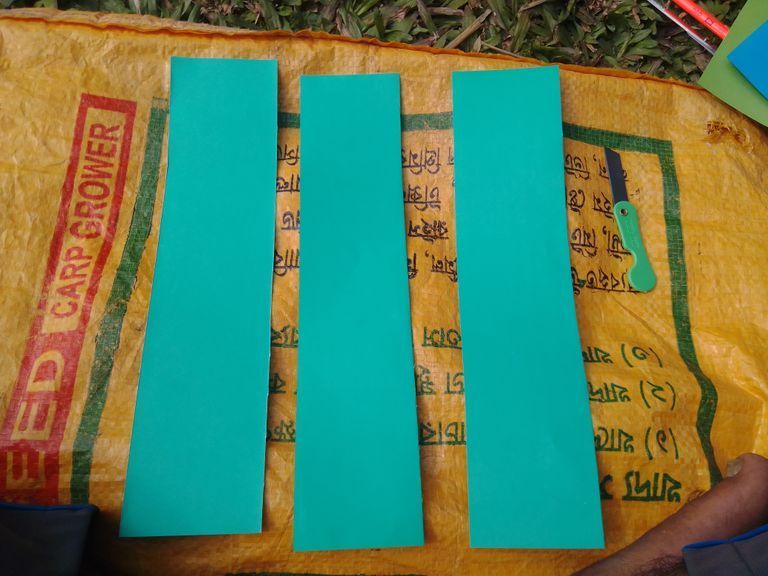
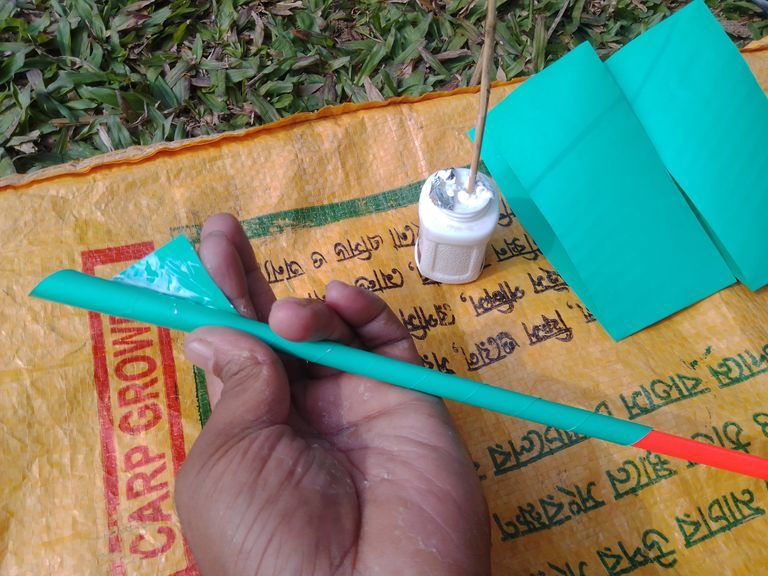
After cutting the paper into three pieces using cutters. Now I take a piece of it and make it into a long pipe.After cutting the paper into three pieces using cutters. Now I take a piece of it and make it into a long pipe.After cutting the paper into three pieces using cutters. Now I take a piece of it and make it into a long pipe.After cutting the paper into three pieces using cutters. Now I take a piece of it and make it into a long pipe.
কাটার ব্যবহার করে কাগজ তিন টুকরো করার পর। এবার আমি তার মধ্যে এক টুকরা নিয়ে একটি লম্বা পাইব আকারে তৈরি করি। কাটার ব্যবহার করে কাগজ তিন টুকরো করার পর। এবার আমি তার মধ্যে এক টুকরা নিয়ে একটি লম্বা পাইব আকারে তৈরি করি। কাটার ব্যবহার করে কাগজ তিন টুকরো করার পর। এবার আমি তার মধ্যে এক টুকরা নিয়ে একটি লম্বা পাইব আকারে তৈরি করি। কাটার ব্যবহার করে কাগজ তিন টুকরো করার পর। এবার আমি তার মধ্যে এক টুকরা নিয়ে একটি লম্বা পাইব আকারে তৈরি করি।
 |  |
|---|
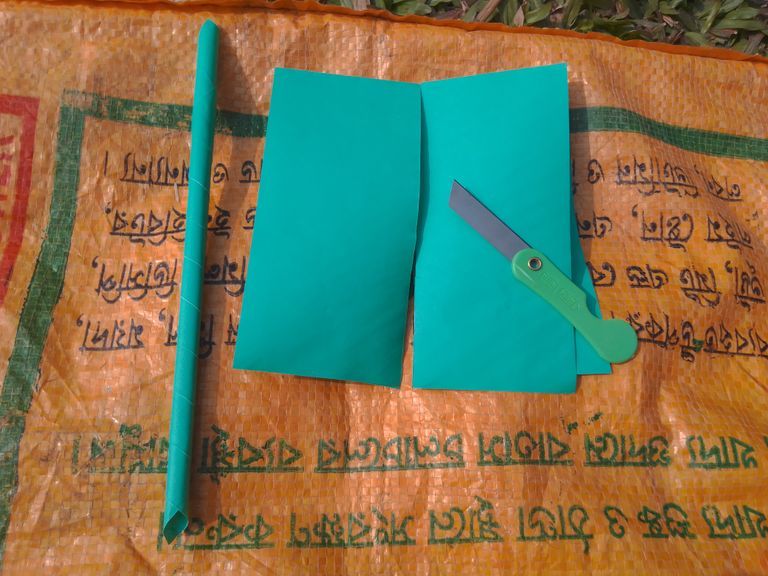
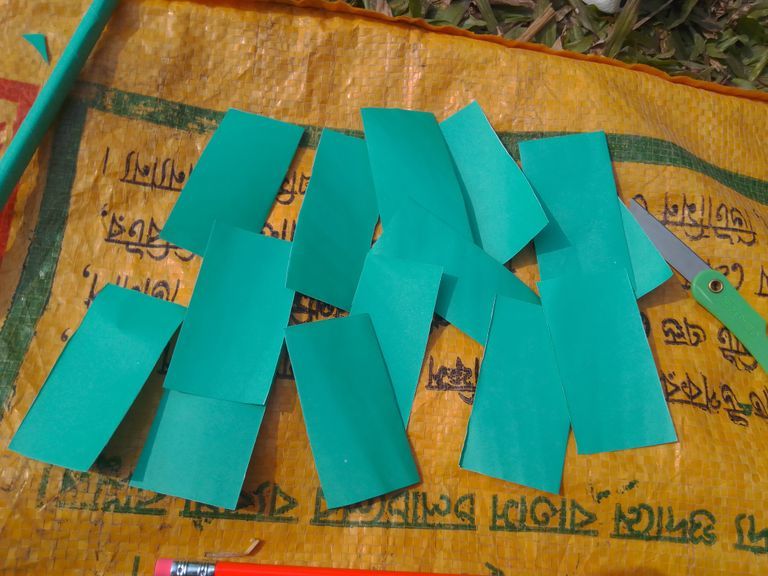
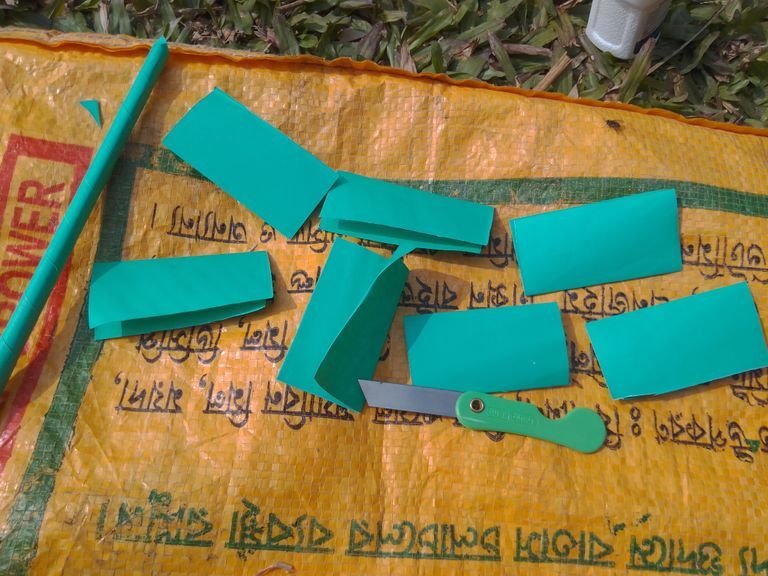
When the first piece of paper is made into a pipe shape, keep it aside and then divide the remaining two pieces in the middle and divide them into thirds and cut them into small shapes with a cutter.When the first piece of paper is made into a pipe shape, keep it aside and then divide the remaining two pieces in the middle and divide them into thirds and cut them into small shapes with a cutter.When the first piece of paper is made into a pipe shape, keep it aside and then divide the remaining two pieces in the middle and divide them into thirds and cut them into small shapes with a cutter.
কাগজের প্রথম টুকরো পাইব আকারের তৈরি হয়ে গেলে সেটি পাশে রেখি এবং তারপরে বাকি দুই টুকরোকে মাঝখান দিয়ে ভাগ করে সেগুলো ও তিন ভাগে ভাগ করে ছোট আকৃতির ভাবে কাটার দিয়ে কেটে নেয়।কাগজের প্রথম টুকরো পাইব আকারের তৈরি হয়ে গেলে সেটি পাশে রেখি এবং তারপরে বাকি দুই টুকরোকে মাঝখান দিয়ে ভাগ করে সেগুলো ও তিন ভাগে ভাগ করে ছোট আকৃতির ভাবে কাটার দিয়ে কেটে নেয়।কাগজের প্রথম টুকরো পাইব আকারের তৈরি হয়ে গেলে সেটি পাশে রেখি এবং তারপরে বাকি দুই টুকরোকে মাঝখান দিয়ে ভাগ করে সেগুলো ও তিন ভাগে ভাগ করে ছোট আকৃতির ভাবে কাটার দিয়ে কেটে নেয়।
 |  |
|---|
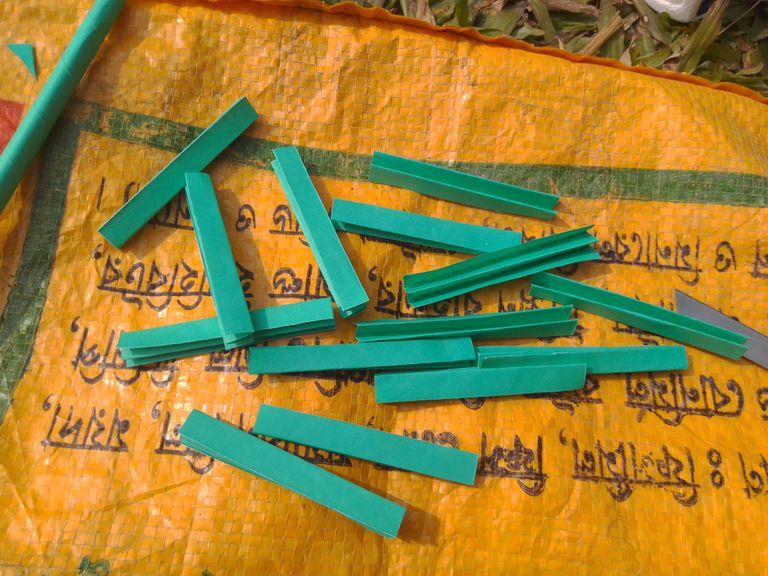
Fold these pieces of paper along the middle to give them a smaller sky and cut them into smaller pieces with a cutter and then fold them aside.Fold these pieces of paper along the middle to give them a smaller sky and cut them into smaller pieces with a cutter and then fold them aside.Fold these pieces of paper along the middle to give them a smaller sky and cut them into smaller pieces with a cutter and then fold them aside.
কাগজের এই টুকরোগুলোকে আরো ছোট আকাশ দেয়ার জন্য এগুলো মাঝখান বরাবর দিয়ে ভাজ করি এবং কাটার দিয়ে কেটে ছোট করে ফেলে এবং তারপর সে গুলোকে ভাজ করে পাশে রাখি।কাগজের এই টুকরোগুলোকে আরো ছোট আকাশ দেয়ার জন্য এগুলো মাঝখান বরাবর দিয়ে ভাজ করি এবং কাটার দিয়ে কেটে ছোট করে ফেলে এবং তারপর সে গুলোকে ভাজ করে পাশে রাখি।কাগজের এই টুকরোগুলোকে আরো ছোট আকাশ দেয়ার জন্য এগুলো মাঝখান বরাবর দিয়ে ভাজ করি এবং কাটার দিয়ে কেটে ছোট করে ফেলে এবং তারপর সে গুলোকে ভাজ করে পাশে রাখি।
 |  |
|---|
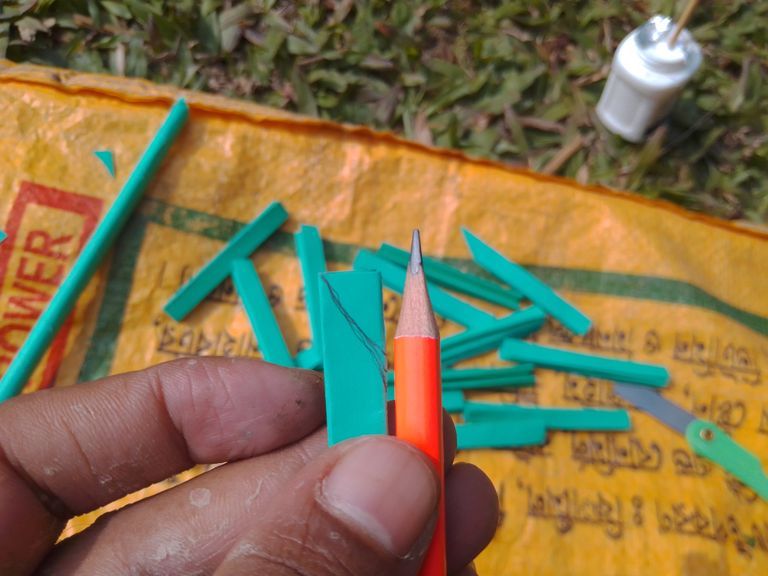
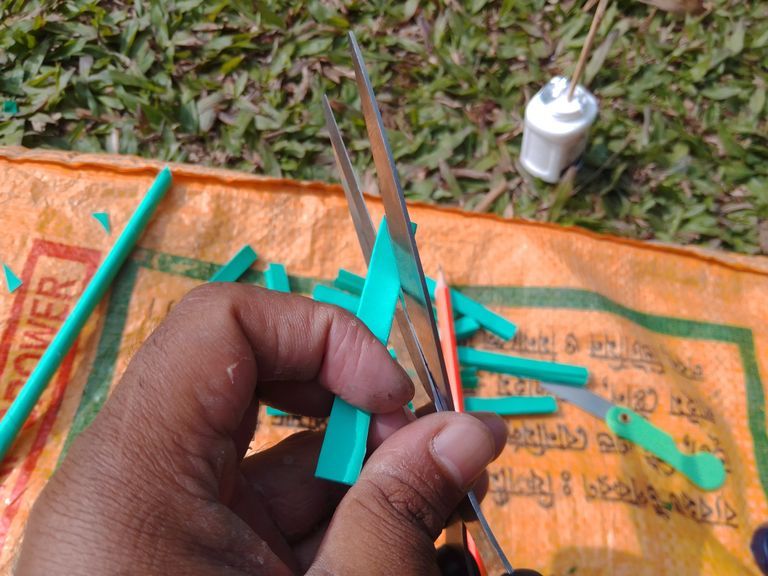
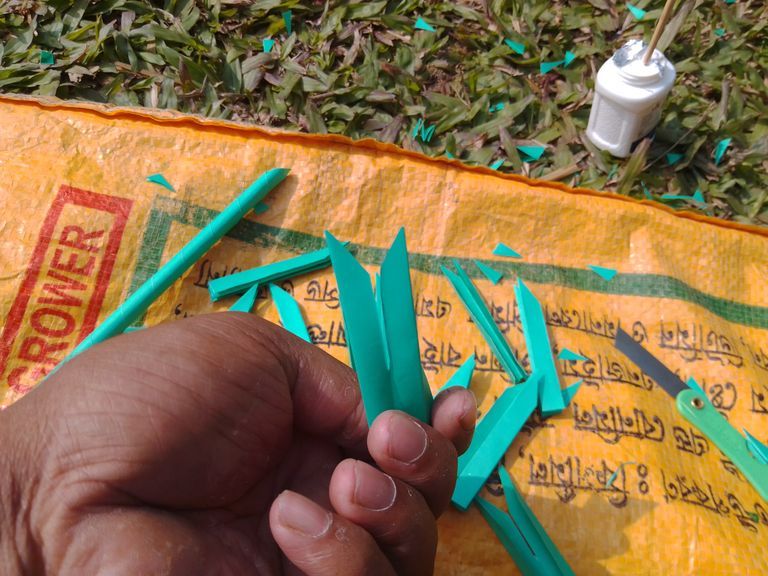
Now take the small folded papers and design the shape of the leaf with a ruler on it and then I use the scissors to cut the head and make the leaf.Now take the small folded papers and design the shape of the leaf with a ruler on it and then I use the scissors to cut the head and make the leaf.Now take the small folded papers and design the shape of the leaf with a ruler on it and then I use the scissors to cut the head and make the leaf.
এবার ছোট ভাঁজ করা কাগজ গুলো নিয়ে তার উপরে একটা রুল দিয়ে পাতার আকৃতি ডিজাইন দিয়ে এবং তারপর সেটিকে আমি কাইচে দিয়ে তার মাথা কেটে পাতা তৈরি করে ফেলি। এবার ছোট ভাঁজ করা কাগজ গুলো নিয়ে তার উপরে একটা রুল দিয়ে পাতার আকৃতি ডিজাইন দিয়ে এবং তারপর সেটিকে আমি কাইচে দিয়ে তার মাথা কেটে পাতা তৈরি করে ফেলি। এবার ছোট ভাঁজ করা কাগজ গুলো নিয়ে তার উপরে একটা রুল দিয়ে পাতার আকৃতি ডিজাইন দিয়ে এবং তারপর সেটিকে আমি কাইচে দিয়ে তার মাথা কেটে পাতা তৈরি করে ফেলি।
 |  |
|---|
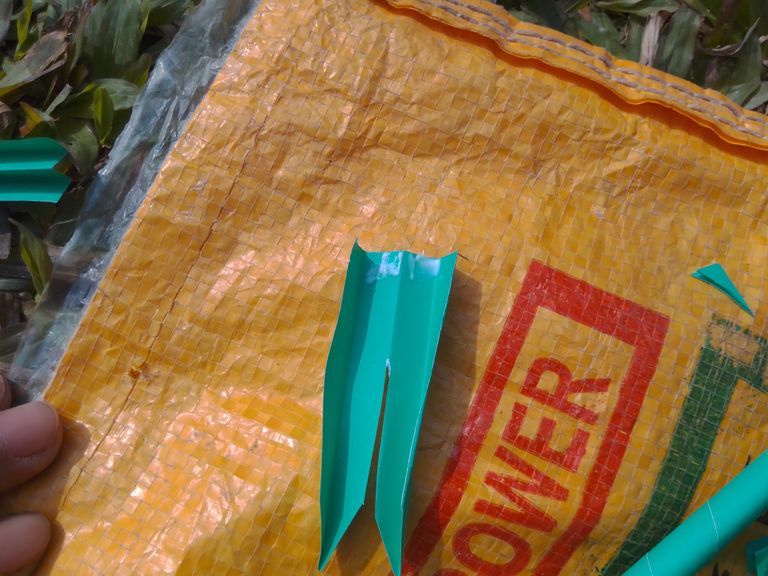
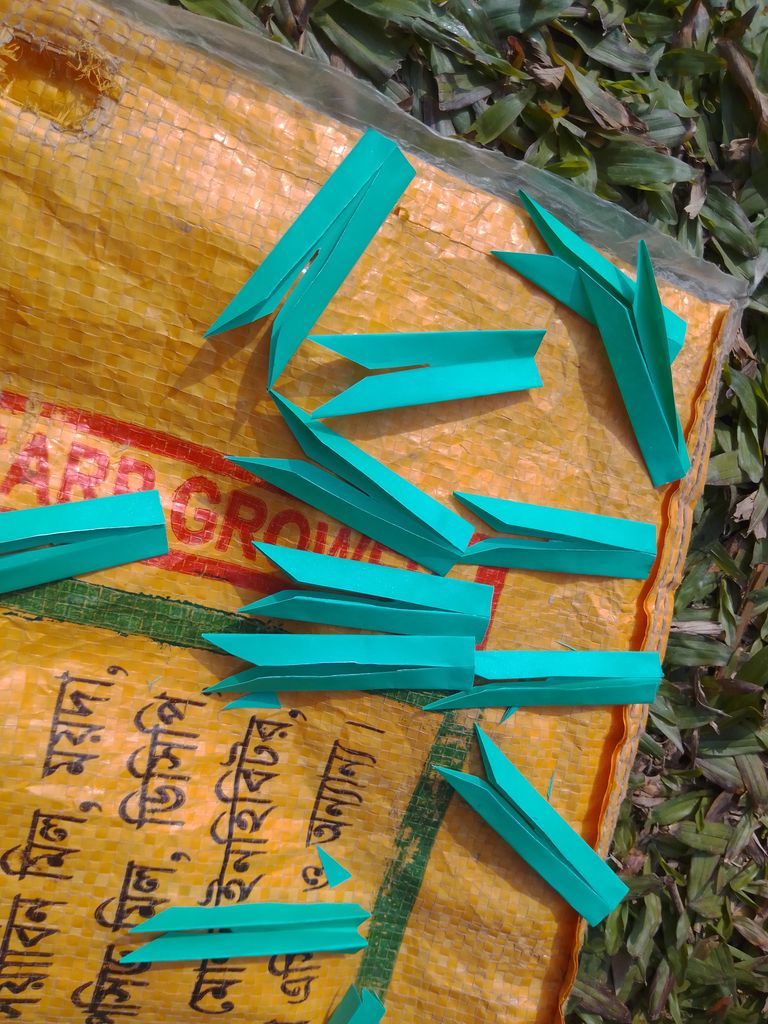
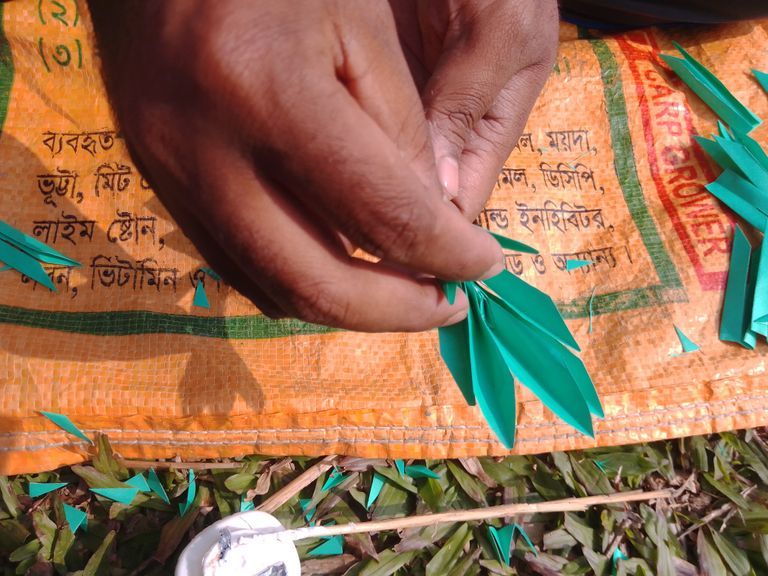
After cutting out all the designs the page looks like this. Then the fold of the leaf is opened and the inside is joined using glue.After cutting out all the designs the page looks like this. Then the fold of the leaf is opened and the inside is joined using glue.After cutting out all the designs the page looks like this. Then the fold of the leaf is opened and the inside is joined using glue.
সবগুলো ডিজাইন কেটে ফেলের পর পাতাটি এমন দেখা যায়। এরপর পাতাটির ভাঁজ খুলি এবং তার ভেতরে আঠা ব্যবহার করে জোড়া লাগিয়ে দেয়।সবগুলো ডিজাইন কেটে ফেলের পর পাতাটি এমন দেখা যায়। এরপর পাতাটির ভাঁজ খুলি এবং তার ভেতরে আঠা ব্যবহার করে জোড়া লাগিয়ে দেয়।সবগুলো ডিজাইন কেটে ফেলের পর পাতাটি এমন দেখা যায়। এরপর পাতাটির ভাঁজ খুলি এবং তার ভেতরে আঠা ব্যবহার করে জোড়া লাগিয়ে দেয়।
 |  |
|---|
When the leaves are folded and glued together, they are kept aside and this time I use that pipe.When the leaves are folded and glued together, they are kept aside and this time I use that pipe.When the leaves are folded and glued together, they are kept aside and this time I use that pipe.
পাতার ভাঁজ খুলে আঠা দিয়ে জোড়া লাগানো হয়ে গেলে সেগুলো পাশে রেখে দেয় এবং এবার আমি সেই পাইব টা ব্যবহার করি। পাতার ভাঁজ খুলে আঠা দিয়ে জোড়া লাগানো হয়ে গেলে সেগুলো পাশে রেখে দেয় এবং এবার আমি সেই পাইব টা ব্যবহার করি। পাতার ভাঁজ খুলে আঠা দিয়ে জোড়া লাগানো হয়ে গেলে সেগুলো পাশে রেখে দেয় এবং এবার আমি সেই পাইব টা ব্যবহার করি।
 |  |
|---|
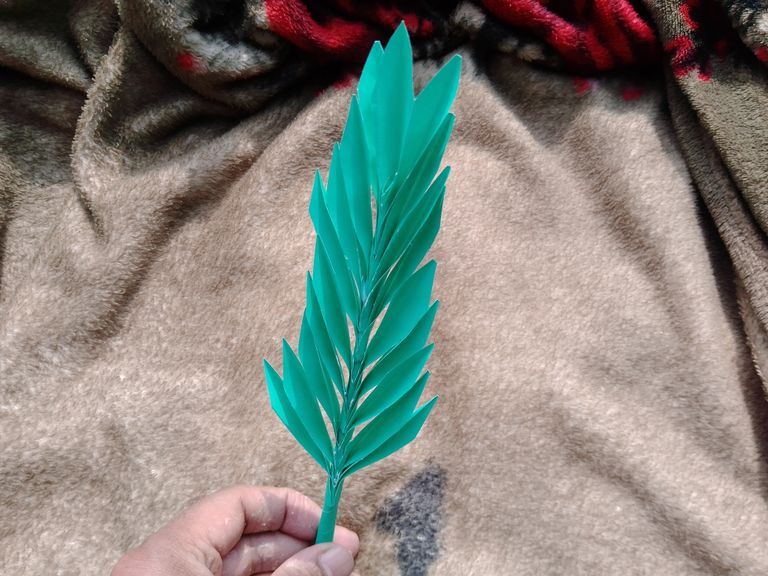
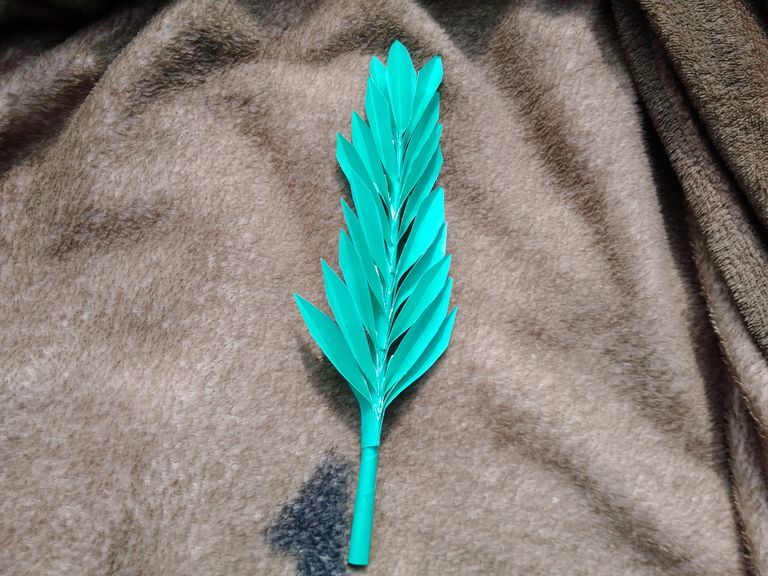
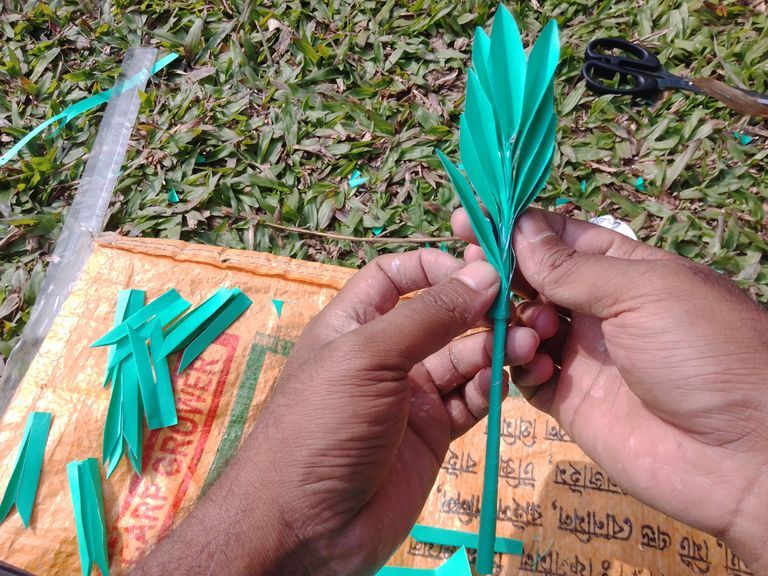
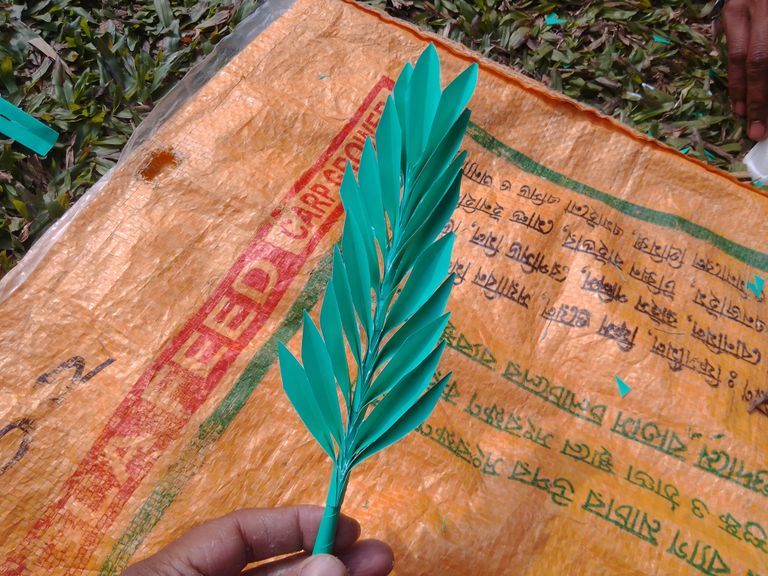
Especially with that paper pipe, now I glue all the leaves I made one by one. Which looks like this. All the leaves are joined like this.Especially with that paper pipe, now I glue all the leaves I made one by one. Which looks like this. All the leaves are joined like this.
বিশেষ করে সেই কাগজের পাইব টা সাথে এবার আমি আমার তৈরি করা সমস্ত পাতাগুলো আঠা দিয়ে একটি একটি করে জোড়া লাগাতে থাকি। যেটি দেখতে এমন দেখা যায়। সবগুলো পাতা এভাবে জোড়া লাগিয়ে দেয়। বিশেষ করে সেই কাগজের পাইব টা সাথে এবার আমি আমার তৈরি করা সমস্ত পাতাগুলো আঠা দিয়ে একটি একটি করে জোড়া লাগাতে থাকি। যেটি দেখতে এমন দেখা যায়। সবগুলো পাতা এভাবে জোড়া লাগিয়ে দেয়।

When the leaves are all attached to the bibs. A completed page is created. This is how I finish my page creation. Then I took this picture.When the leaves are all attached to the bibs. A completed page is created. This is how I finish my page creation. Then I took this picture.
পাতাগুলো সব বাইবের সাথে জোড়া লাগানো শেষ হলে। তৈরি হয়ে যায় সম্পন্ন একটি পাতা। এভাবে আমি আমার পাতা তৈরির কাজটি শেষ করি। তারপর আমি এই ছবিটি তুলি। পাতাগুলো সব বাইবের সাথে জোড়া লাগানো শেষ হলে। তৈরি হয়ে যায় সম্পন্ন একটি পাতা। এভাবে আমি আমার পাতা তৈরির কাজটি শেষ করি। তারপর আমি এই ছবিটি তুলি।

My name is Md. Abdus Samad. I am a Bangladeshi. My district name is Meherpur and Thana Gangni. Union sixteen taka. My village name is Jugirgofa. Currently there are four people in my family. Especially we are two brothers of parents. I am the eldest son of the family. My educational qualification is I am an honors 4th year student of Bengali department. My college name is Gangni Government College.
আমার নাম মোঃ আব্দুস সামাদ। আমি একজন বাংলাদেশী। আমার জেলার নাম মেহেরপুর ও থানা গাংনী। ইউনিয়ন ষোল টাকা। আমার গ্রামের নাম জুগিরগোফা। বর্তমানে আমার পরিবারে চারজন। বিশেষ করে আমরা বাবা-মায়ের দুই ভাই। আমি পরিবারের বড় ছেলে। আমার শিক্ষাগত যোগ্যতা হল আমি বাংলা বিভাগের অনার্স ৪র্থ বর্ষের ছাত্র। আমার কলেজের নাম গাংনী সরকারি কলেজ।
** Your post has been upvoted (12.02 %) **
Curation Trail is Open!
Join Trail Here
Delegate more BP for bigger Upvote + Daily BLURT 😉
Delegate BP Here
Upvote
https://blurtblock.herokuapp.com/blurt/upvote
Thank you 🙂 @tomoyan