Night photography of green tree
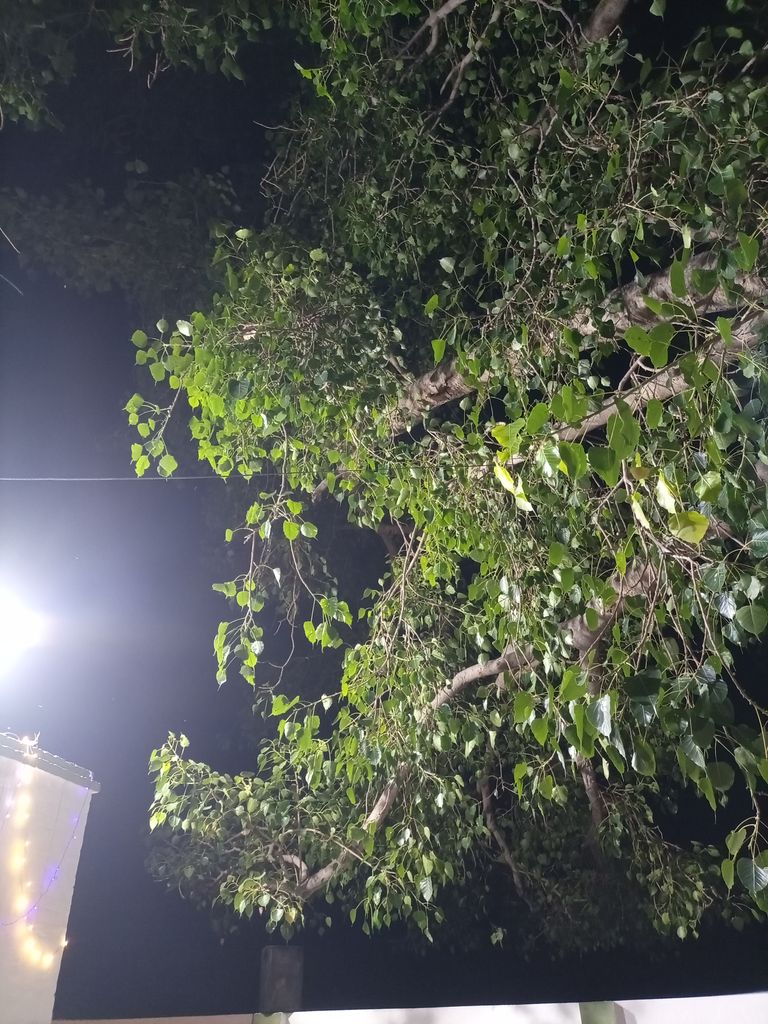
Night photography offers a unique way to capture the beauty of the world around us after the sun sets. Green trees, with their lush foliage and intricate patterns, can become striking subjects under the right conditions. This guide will cover the essentials of night photography, focusing on capturing green trees, including equipment, settings, techniques, and tips for post-processing.
Equipment
Camera
A DSLR or mirrorless camera with manual settings is ideal. Look for a camera with good low-light performance and the ability to shoot in RAW format.
Lens
A fast lens with a wide aperture allows more light to hit the sensor, which is crucial in low-light conditions. Wide-angle lenses are great for capturing expansive scenes, while prime lenses offer sharper images.
Tripod
Essential for stabilizing your camera during long exposures. Ensure it is sturdy and can be adjusted to different heights and angles.
Remote Shutter Release
This helps to avoid camera shake during long exposures. Wireless remote controls or intervalometers are useful tools.
Flashlight/Headlamp
Useful for setting up your equipment in the dark and for light painting techniques.
Camera Settings
Aperture
Use a wide aperture to allow as much light as possible. This also creates a shallow depth of field, which can add a dramatic effect to your photos.
Shutter Speed
Long exposures are typically required to capture enough light. Experiment with different shutter speeds to achieve the desired effect.
ISO
Start with a low ISO to minimize noise. Depending on your camera's capabilities, you may need to increase the ISO to brighten the image, but be mindful of the increased noise.
White Balance
Set your white balance manually to avoid color casts. Tungsten or custom settings often work well for night photography.
Focus
Use manual focus, as autofocus can struggle in low light. Pre-focus on a distant light source or use a flashlight to illuminate the tree and focus.
Techniques
Light Painting
Use a flashlight to 'paint' light onto the tree during a long exposure. This technique allows you to highlight specific parts of the tree and create interesting effects.
Silhouettes
Position the tree against a brighter background, such as a cityscape or the night sky, to create a striking silhouette.
Star Trails
Incorporate star trails by using very long exposures. This works best in areas with little light pollution. Experiment with exposures of 20 minutes or more to capture the movement of the stars.
HDR
Combine multiple exposures at different settings to capture a greater range of detail in both the shadows and highlights.
Composition Tips
Rule of Thirds
Position the tree off-center to create a more balanced and interesting composition.
Leading Lines
Use pathways, branches, or other natural elements to draw the viewer's eye toward the tree.
Framing
Use surrounding elements to frame the tree and add depth to your image.
Reflections
If there is water nearby, use the reflections to add another dimension to your photo.
Post-Processing
Noise Reduction
Use software like Adobe Lightroom or Photoshop to reduce noise, especially in the shadow areas.
Exposure Adjustment
Fine-tune the exposure to bring out details in the shadows and highlights.
Color Correction
Adjust the white balance and colors to achieve the desired mood. Night photos often benefit from a cooler tone.
Sharpening
Enhance the details by applying sharpening carefully to avoid introducing more noise.
Blending Exposures
For HDR images, blend multiple exposures to get the best of each and create a well-balanced final image.
Night photography of green trees can be incredibly rewarding, offering a new perspective on familiar subjects. By understanding the necessary equipment, mastering the camera settings, and employing various techniques, you can create stunning images that capture the magic of the night.
Post-processing allows you to refine your work and bring your vision to life. With practice and experimentation, you'll be able to capture the serene beauty of green trees under the night sky.
Urdu
سبز درخت کی رات کی فوٹو گرافی۔
نائٹ فوٹو گرافی سورج غروب ہونے کے بعد اپنے ارد گرد کی دنیا کی خوبصورتی کو حاصل کرنے کا ایک انوکھا طریقہ پیش کرتی ہے۔ سبز درخت، اپنے سرسبز پودوں اور پیچیدہ نمونوں کے ساتھ، صحیح حالات میں حیرت انگیز موضوع بن سکتے ہیں۔ یہ گائیڈ رات کی فوٹو گرافی کے لوازمات کا احاطہ کرے گا، جس میں سبز درختوں کو پکڑنے پر توجہ دی جائے گی، بشمول سامان، ترتیبات، تکنیک، اور پوسٹ پروسیسنگ کے لیے نکات۔
سامان
کیمرہ
دستی ترتیبات کے ساتھ ایک DSLR یا آئینے کے بغیر کیمرہ مثالی ہے۔ کم روشنی والی اچھی کارکردگی اور RAW فارمیٹ میں شوٹنگ کرنے کی صلاحیت والا کیمرہ تلاش کریں۔
لینس
وسیع یپرچر کے ساتھ تیز رفتار لینس زیادہ روشنی کو سینسر سے ٹکرانے کی اجازت دیتا ہے، جو کم روشنی والے حالات میں اہم ہے۔ وسیع زاویہ والے لینز وسیع مناظر کو کیپچر کرنے کے لیے بہترین ہیں، جبکہ پرائم لینز تیز تصاویر پیش کرتے ہیں۔
تپائی
طویل نمائش کے دوران آپ کے کیمرے کو مستحکم کرنے کے لیے ضروری ہے۔ یقینی بنائیں کہ یہ مضبوط ہے اور اسے مختلف اونچائیوں اور زاویوں پر ایڈجسٹ کیا جا سکتا ہے۔
ریموٹ شٹر ریلیز
یہ طویل نمائش کے دوران کیمرہ ہلنے سے بچنے میں مدد کرتا ہے۔ وائرلیس ریموٹ کنٹرول یا انٹروالومیٹر مفید ٹولز ہیں۔
ٹارچ/ہیڈ لیمپ
اندھیرے میں اپنے آلات کو ترتیب دینے اور ہلکی پینٹنگ کی تکنیکوں کے لیے مفید ہے۔
کیمرے کی ترتیبات
یپرچر
زیادہ سے زیادہ روشنی کی اجازت دینے کے لیے وسیع یپرچر کا استعمال کریں۔ اس سے فیلڈ کی اتھلی گہرائی بھی بنتی ہے، جو آپ کی تصاویر میں ڈرامائی اثر ڈال سکتی ہے۔
شٹر سپیڈ
کافی روشنی حاصل کرنے کے لیے عام طور پر طویل نمائش کی ضرورت ہوتی ہے۔ مطلوبہ اثر حاصل کرنے کے لیے مختلف شٹر رفتار کے ساتھ تجربہ کریں۔
آئی ایس او
شور کو کم کرنے کے لیے کم ISO کے ساتھ شروع کریں۔ آپ کے کیمرے کی صلاحیتوں پر منحصر ہے، آپ کو تصویر کو روشن کرنے کے لیے ISO کو بڑھانے کی ضرورت پڑ سکتی ہے، لیکن بڑھتے ہوئے شور کو ذہن میں رکھیں۔
وائٹ بیلنس
رنگ کاسٹ سے بچنے کے لیے اپنا سفید توازن دستی طور پر سیٹ کریں۔ ٹنگسٹن یا حسب ضرورت ترتیبات اکثر رات کی فوٹو گرافی کے لیے اچھی طرح کام کرتی ہیں۔
فوکس
دستی فوکس کا استعمال کریں، کیونکہ آٹو فوکس کم روشنی میں جدوجہد کر سکتا ہے۔ دور روشنی کے منبع پر پہلے سے فوکس کریں یا درخت کو روشن کرنے اور فوکس کرنے کے لیے ٹارچ کا استعمال کریں۔
تکنیک
ہلکی پینٹنگ
ایک طویل نمائش کے دوران درخت پر روشنی کو 'پینٹ' کرنے کے لیے ٹارچ کا استعمال کریں۔ یہ تکنیک آپ کو درخت کے مخصوص حصوں کو نمایاں کرنے اور دلچسپ اثرات پیدا کرنے کی اجازت دیتی ہے۔
سلائیٹس
درخت کو ایک روشن پس منظر کے خلاف رکھیں، جیسے شہر کا منظر یا رات کا آسمان، ایک حیرت انگیز سلہیٹ بنانے کے لیے۔
اسٹار ٹریلز
بہت لمبے ایکسپوژرز کا استعمال کرکے اسٹار ٹریلز کو شامل کریں۔ یہ کم روشنی کی آلودگی والے علاقوں میں بہترین کام کرتا ہے۔ ستاروں کی حرکت کو پکڑنے کے لیے 20 منٹ یا اس سے زیادہ کی نمائش کے ساتھ تجربہ کریں۔
ایچ ڈی آر
سائے اور ہائی لائٹس دونوں میں تفصیل کی ایک بڑی رینج حاصل کرنے کے لیے مختلف سیٹنگز پر متعدد نمائشوں کو یکجا کریں۔
کمپوزیشن ٹپس
تیسرا اصول
زیادہ متوازن اور دلچسپ ترکیب بنانے کے لیے درخت کو مرکز سے باہر رکھیں۔
لیڈنگ لائنز
دیکھنے والے کی نظر درخت کی طرف کھینچنے کے لیے راستے، شاخیں یا دیگر قدرتی عناصر کا استعمال کریں۔
فریمنگ
درخت کو فریم کرنے اور اپنی تصویر میں گہرائی شامل کرنے کے لیے ارد گرد کے عناصر کا استعمال کریں۔
مظاہر
اگر آس پاس پانی ہے تو اپنی تصویر میں ایک اور جہت شامل کرنے کے لیے عکاسی کا استعمال کریں۔
پوسٹ پروسیسنگ
شور کی کمی
شور کو کم کرنے کے لیے ایڈوب لائٹ روم یا فوٹو شاپ جیسے سافٹ ویئر کا استعمال کریں، خاص طور پر سائے والے علاقوں میں۔
نمائش ایڈجسٹمنٹ
سائے اور جھلکیوں میں تفصیلات سامنے لانے کے لیے نمائش کو ٹھیک بنائیں۔
رنگ کی اصلاح
مطلوبہ موڈ حاصل کرنے کے لیے سفید توازن اور رنگوں کو ایڈجسٹ کریں۔ رات کی تصاویر اکثر ٹھنڈے لہجے سے فائدہ اٹھاتی ہیں۔
تیز کرنا
زیادہ شور متعارف کرانے سے بچنے کے لیے احتیاط سے شارپننگ لگا کر تفصیلات کو بہتر بنائیں۔
ملاوٹ کی نمائش
HDR امیجز کے لیے، ہر ایک سے بہترین حاصل کرنے کے لیے متعدد نمائشوں کو ملا کر ایک اچھی طرح سے متوازن حتمی تصویر بنائیں۔
سبز درختوں کی رات کی فوٹو گرافی ناقابل یقین حد تک فائدہ مند ہوسکتی ہے، جو واقف مضامین پر ایک نیا نقطہ نظر پیش کرتی ہے۔ ضروری آلات کو سمجھ کر، کیمرہ سیٹنگز میں مہارت حاصل کر کے، اور مختلف تکنیکوں کو بروئے کار لا کر، آپ ایسی شاندار تصاویر بنا سکتے ہیں جو رات کے جادو کو اپنی گرفت میں لے لیں۔
پوسٹ پروسیسنگ آپ کو اپنے کام کو بہتر بنانے اور اپنے وژن کو زندہ کرنے کی اجازت دیتی ہے۔ مشق اور تجربہ کے ساتھ، آپ رات کے آسمان کے نیچے سبز درختوں کی پر سکون خوبصورتی کو حاصل کر سکیں گے۔
** Your post has been upvoted (1.79 %) **
Curation Trail is Open!
Join Trail Here
Delegate more BP for bigger Upvote + Daily BLURT 😉
Delegate BP Here
Upvote
https://blurtblock.herokuapp.com/blurt/upvote
Thank you 🙂 @tomoyan