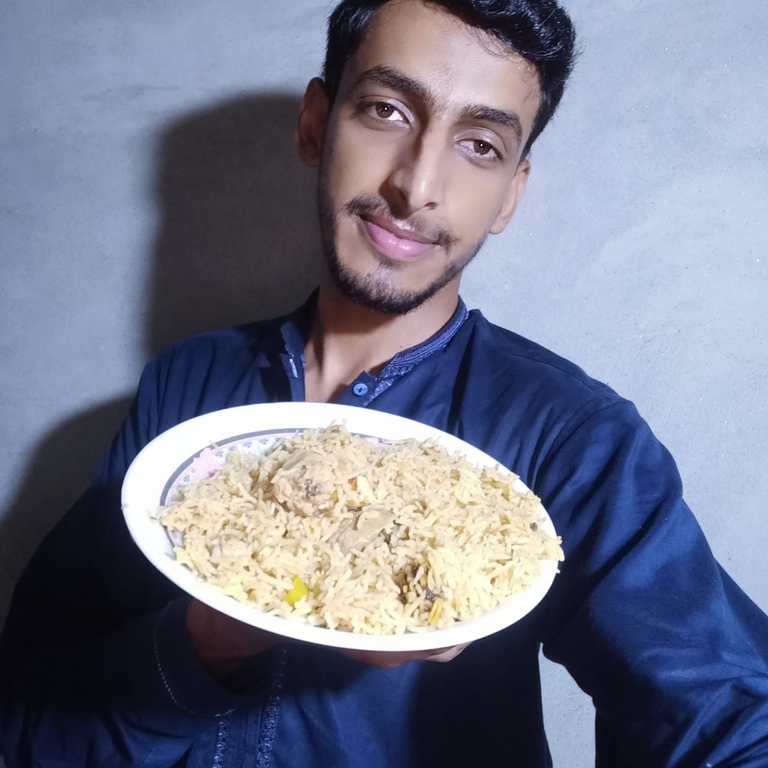
Hope everyone is doing well and enjoying their lives. Today I will show you my favorite dish Chicken Biryani. Because I like it very much and it is my favorite dish. I make this with great passion and our whole family eats it. I take a little help from my mother and prepare this dish by myself. To prepare this I am presented to you today.
First of all we discuss the ingredients that we will have to use to prepare this dish. The detailed ingredients are listed below. We have four steps to prepare this dish which will make it ready and ready to serve.
Our first step is to boil the chicken we have.
The second step we have is to make a paste of ginger garlic and green chilies.
Our third method is to soak tamarind in water.
And in the fourth step we have to prepare this Biryani.
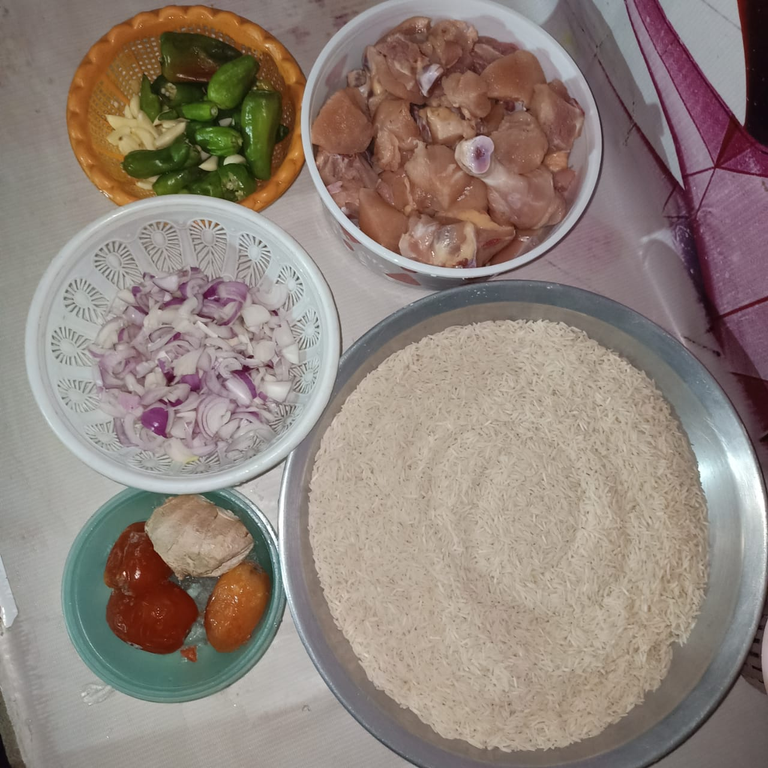
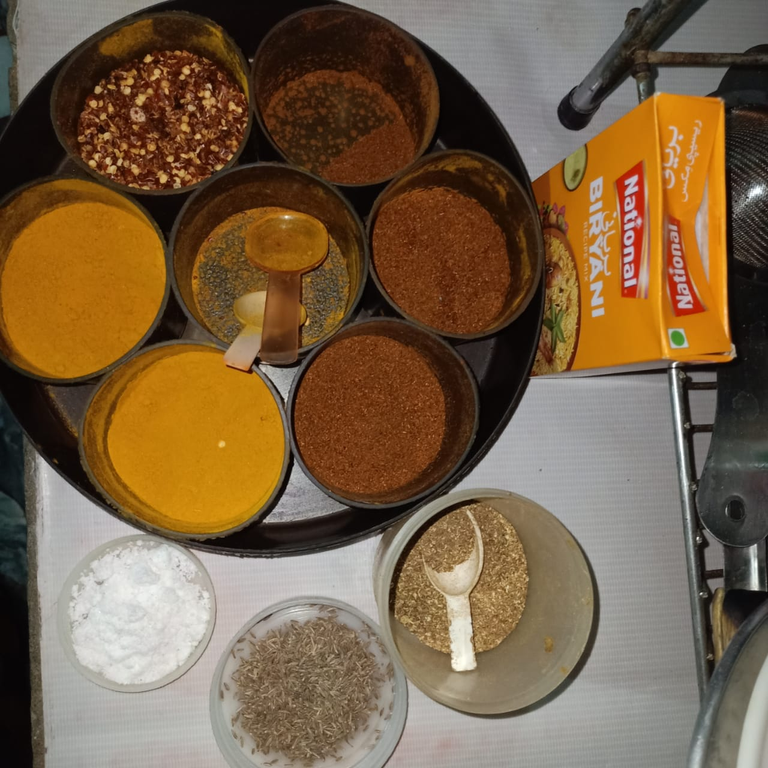
Ingredients
 |  |
|---|
| Ingredients | Quantity |
|---|---|
| Rice | 1KG |
| Chicken | 1KG |
| Oil | 1 Cup |
| Yougurt | 1 Cup |
| Onion | 3 Medium Size |
| Tomato | 3 Medium Size |
| Green Chili | 6 Count |
| Garlic Paste | 1 Tbs |
| Ginger Paste | 1 Tbs |
| Red Chili | 2 Tbs |
| Red Beard Chili | 2 Tbs |
| Salt | As taste |
| Cumin | 1 Tbs |
| Spices | 1 Tbs |
| Black Paper | 1 Tbs |
| Biryani Spices | 3 Tbs |
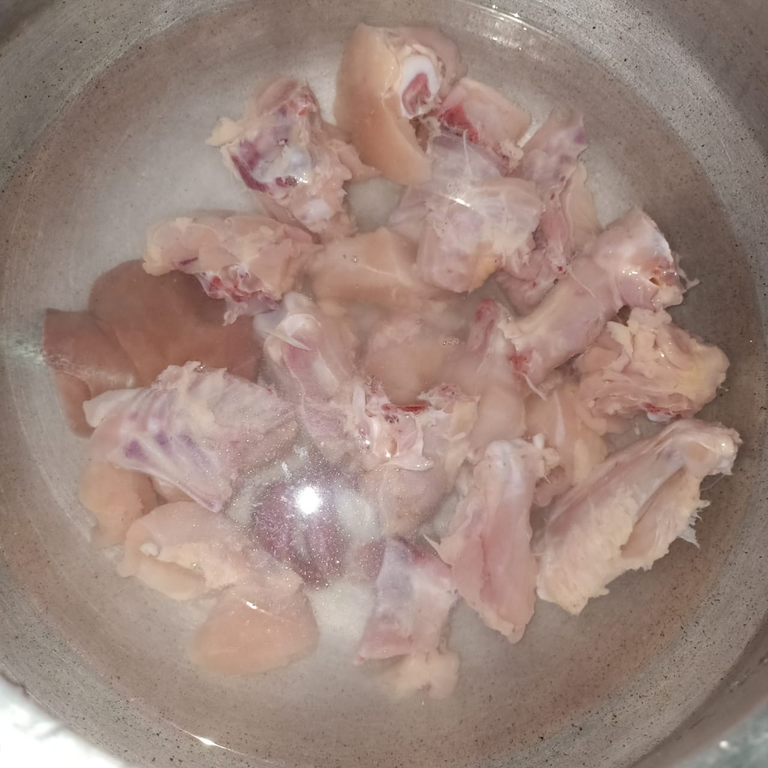
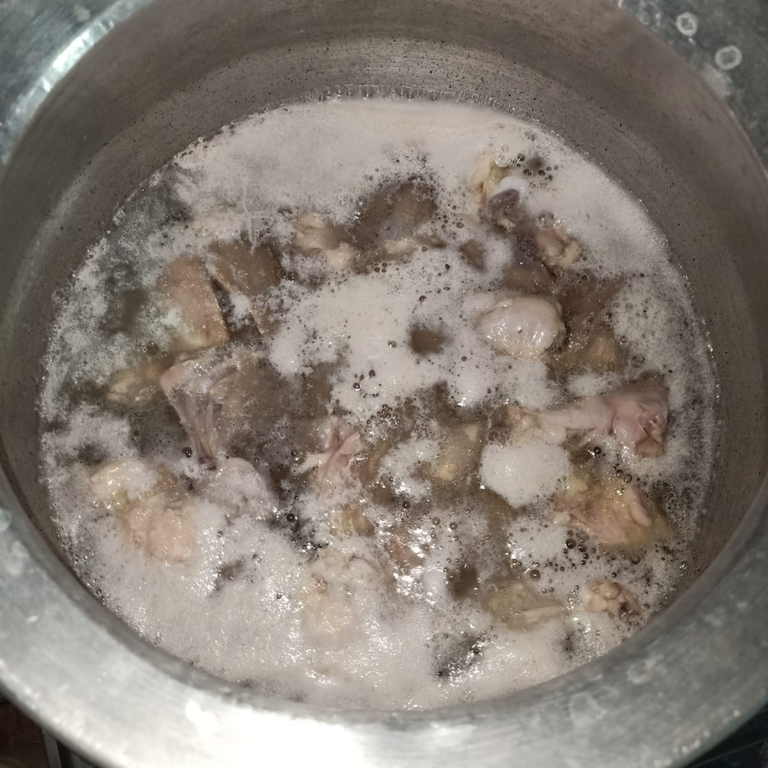
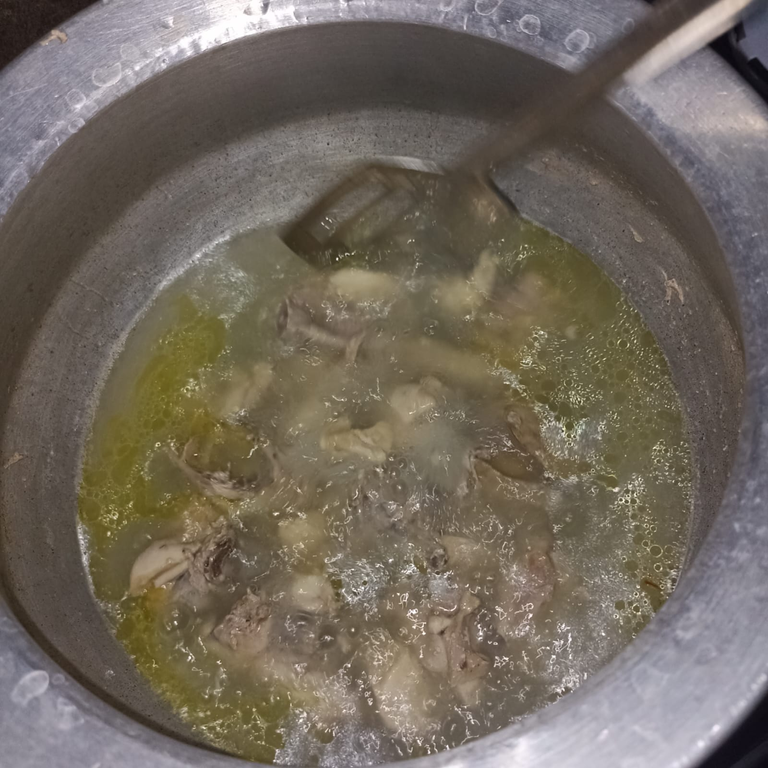
Step 01 Boil Chicken
The first thing we have to do is to boil the chicken, the purpose of boiling it is to make it a little tender. And when we add it to the rice, it cooks quickly, then we don't need to cook it much. For this, we have to take water in a pot, add some salt in it and add the chicken in it. And then we have to boil it until you see the meat coming off the bone then we have to leave it.
 |  |  |
|---|
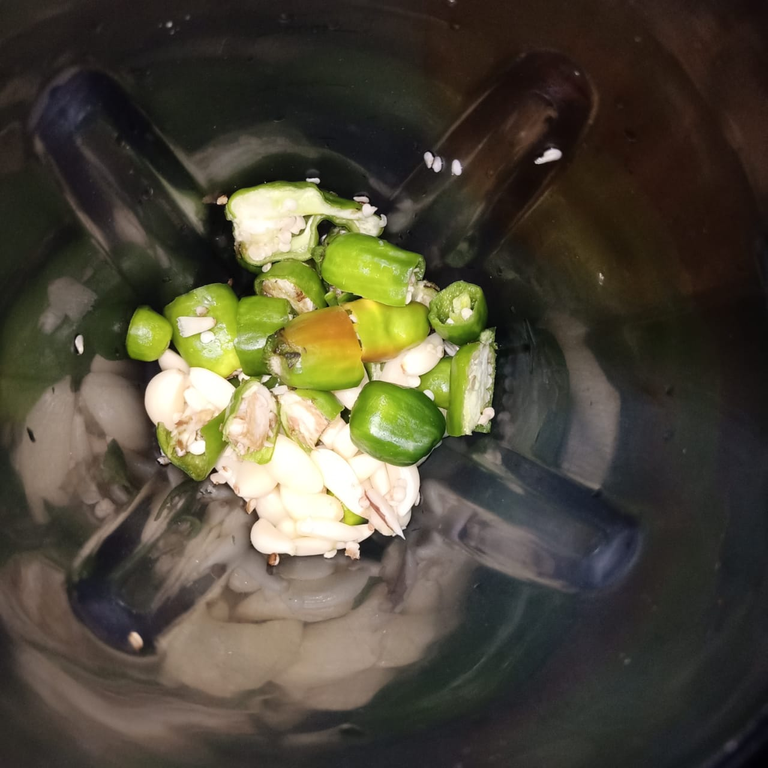
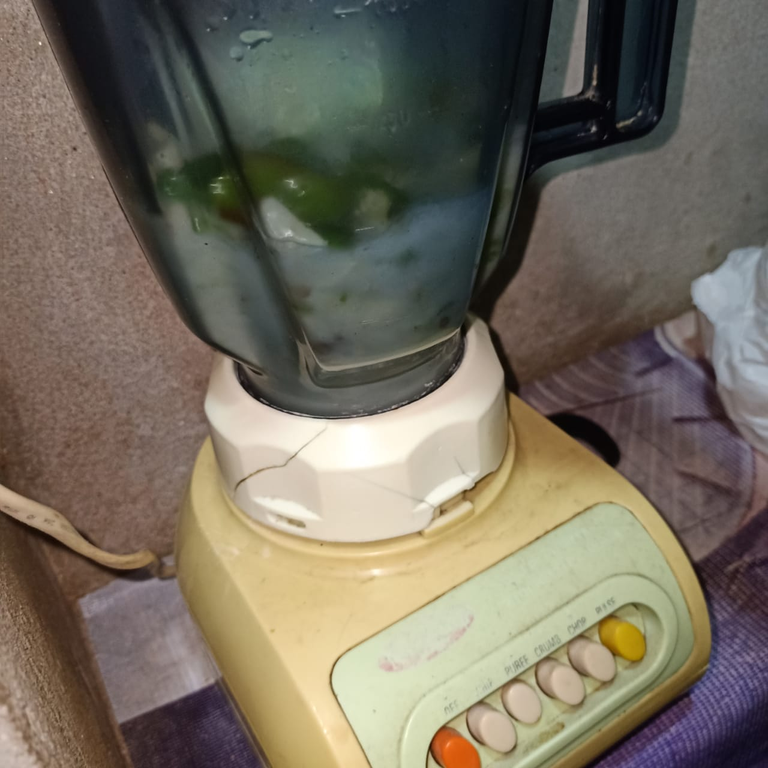
Step 02 Make Paste
Our second step is to make a ginger green chili and garlic paste. For this paste we have to chop these things and put them in a juicer machine jug and grind it for about two to three minutes. With its help we will have a good paste. The advantage of this is that it will be easier for us to cook in rice. So that we don't have to chop green chillies, ginger and garlic with the help of any tool.
 |  |
|---|
Step 03 Soak The Tamarind
| The third step is our simple step in which we have to soak tamarind in water. Because we have to prepare its pulp and use this pulp in this Biryani. So we have soaked tamarind in water for some time before this. When it dissolves well, then we will mix it with the help of hands or with the help of a tool, so that the pulp is separated from all the guts, and we will use that water. | 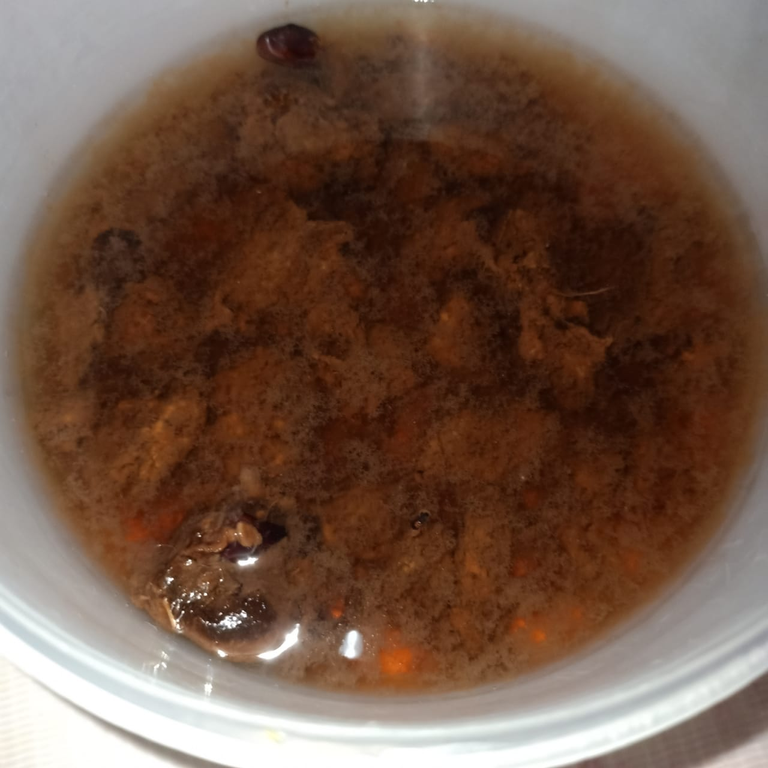 |
|---|
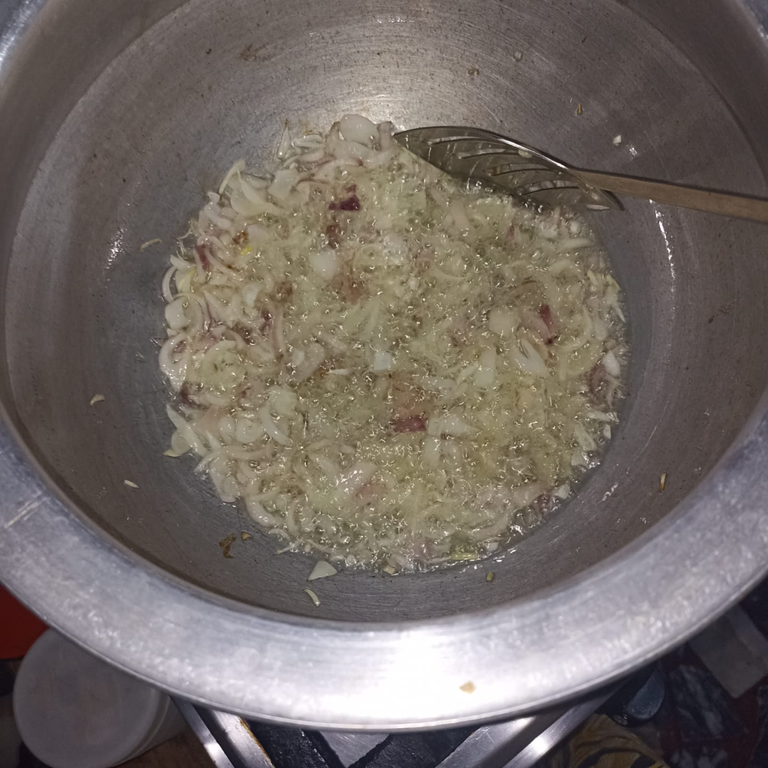
Step 04 Cooking
This is our final step in which we have to prepare biryani. To prepare it, first we have to take a pot and place it on the stove. In it we have to add a cup of oil and when the oil is hot, then we have to add onions in it. And we have to cook them until the color of these onions turns brown.
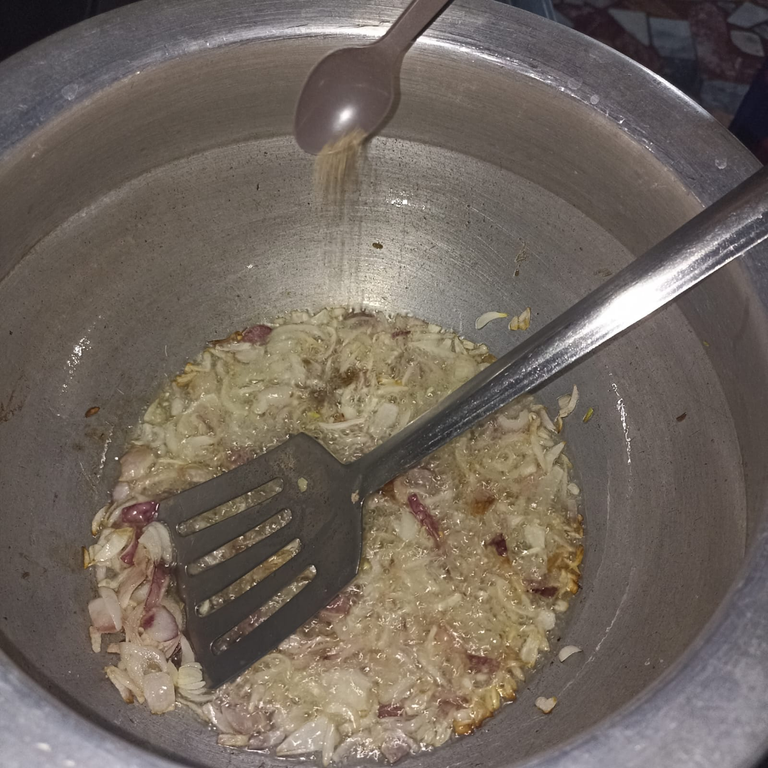
At the same time we have to add a spoonful of cumin and we have to add onions. And then mix them well.
 |  |
|---|
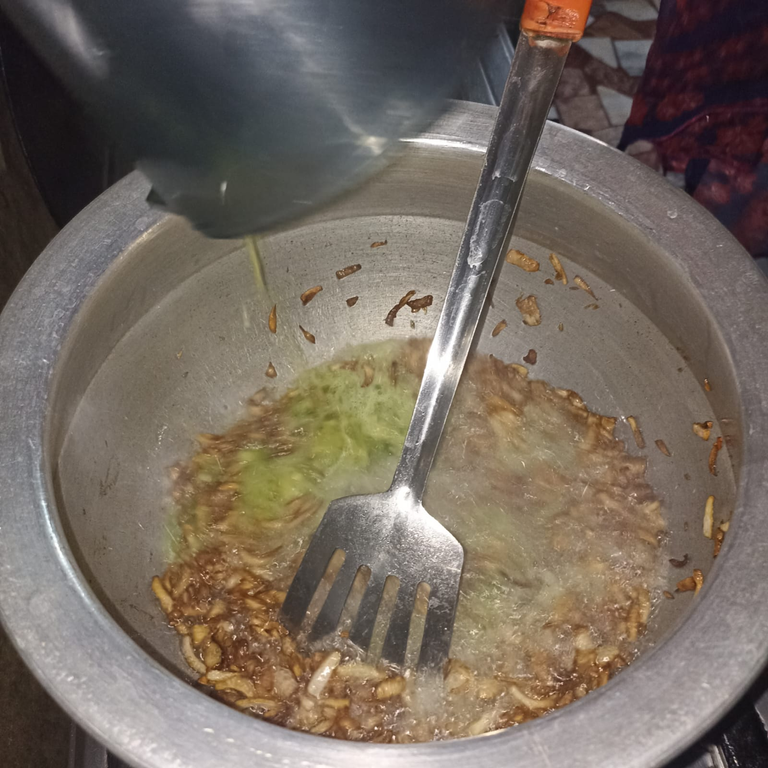
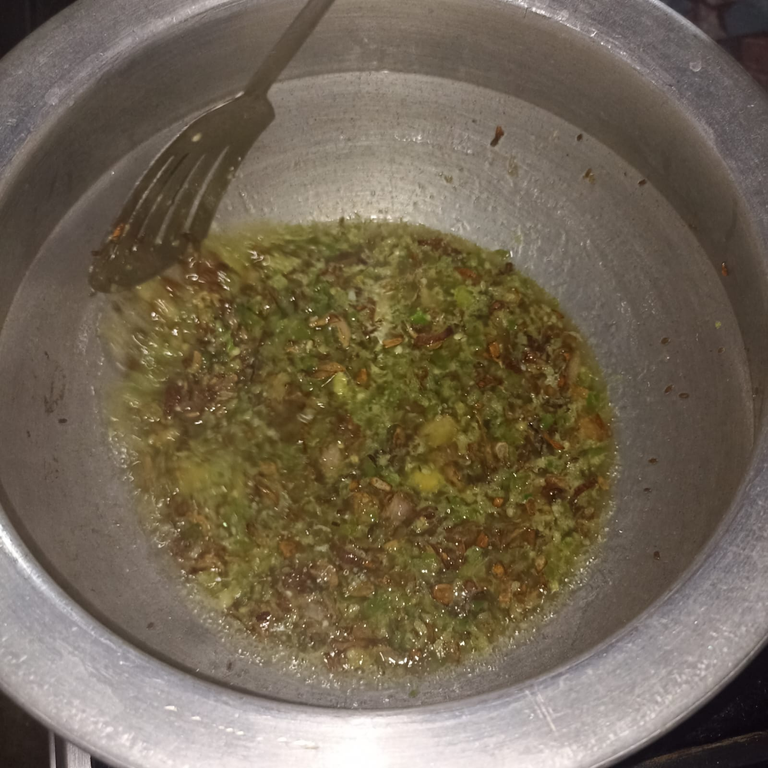
When the color of the onion turns brown, then we have to add the ginger, garlic and green chili paste we have prepared to it. And then stir it for two minutes.
 |  |
|---|
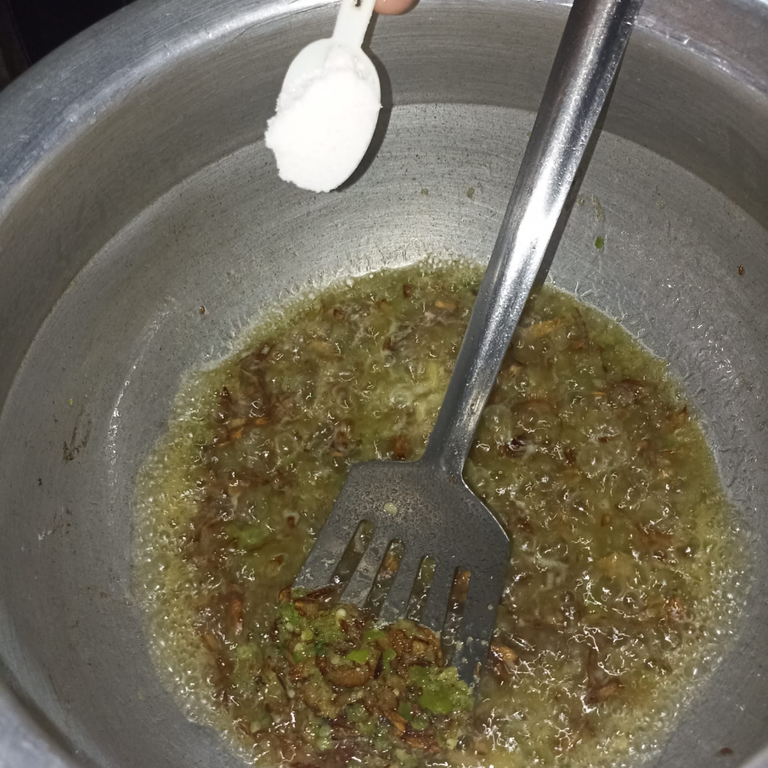
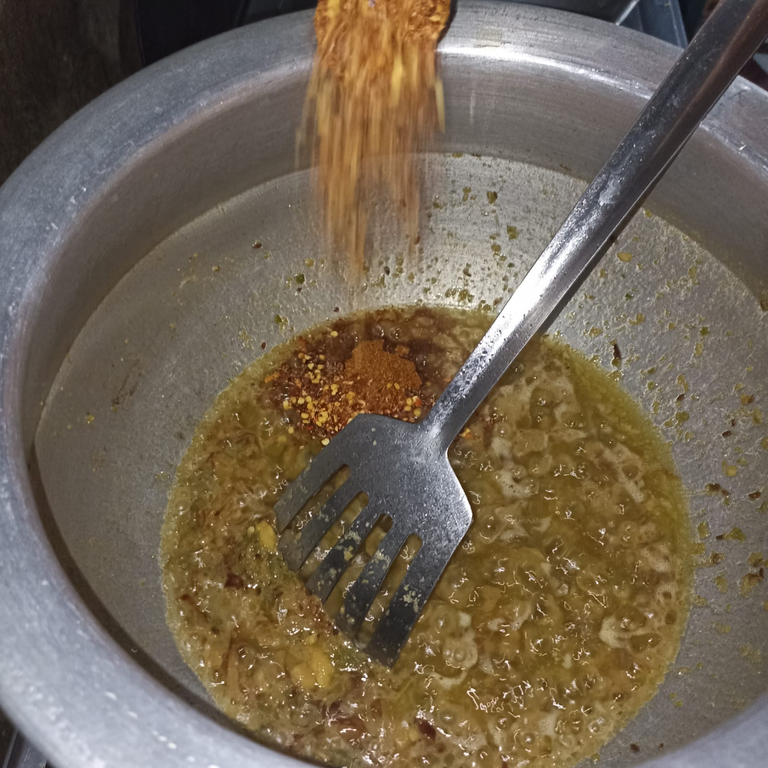
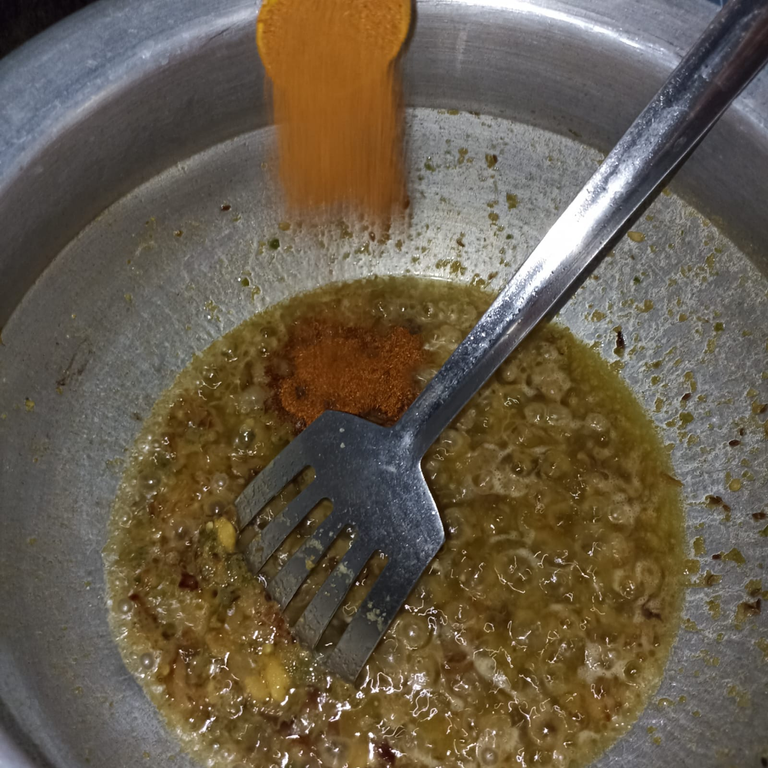
Now our next step is to add spices to it. In which we have to use salt as per taste along with we have to use red chillies. And red chillies should be used along with it. Add it in and mix it well.
 |  |  |
|---|
After cooking them for two minutes then we have to add curd to it. Yogurt we have to use one cup and then cook it well.
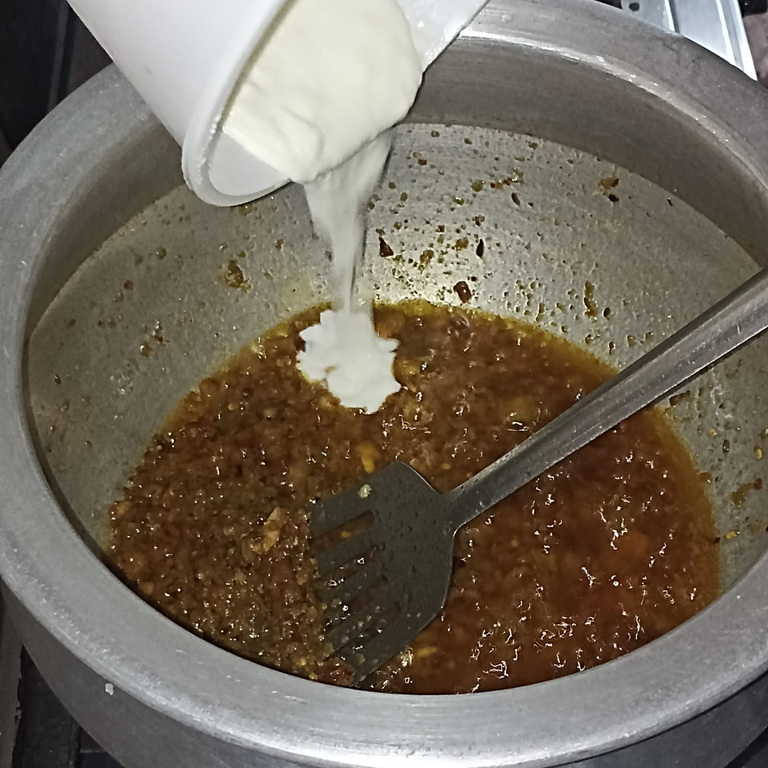 | 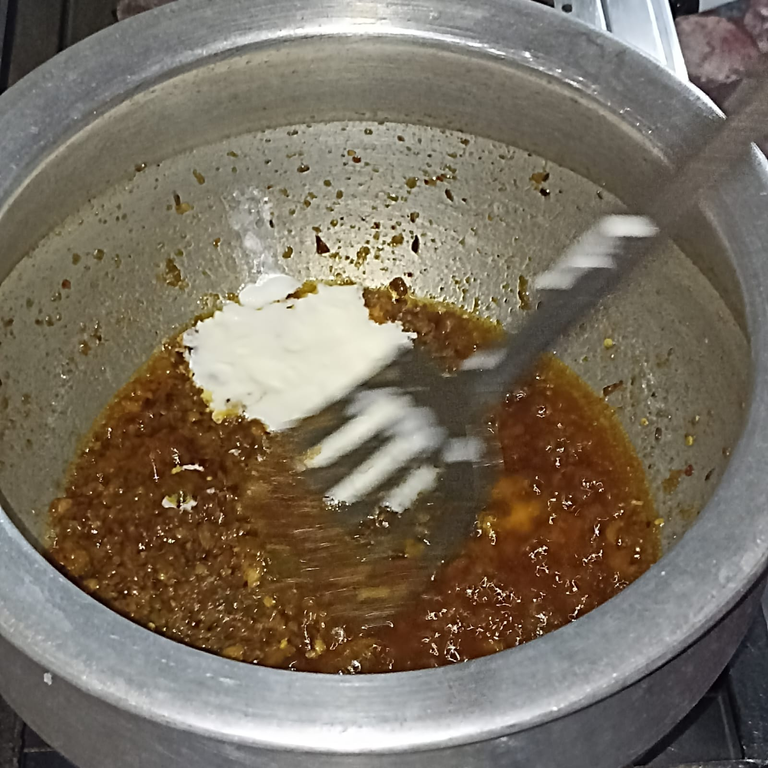 |
|---|
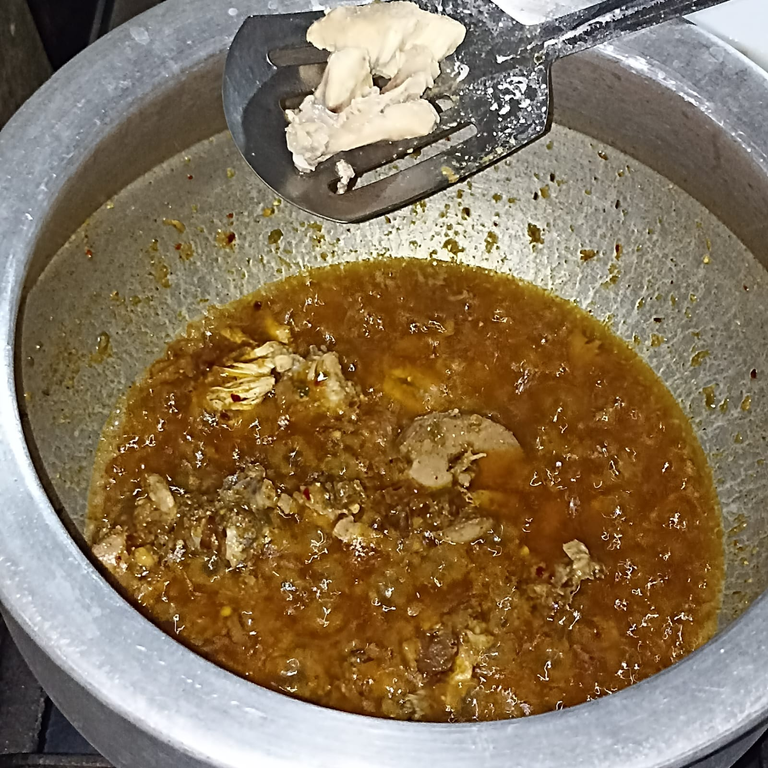
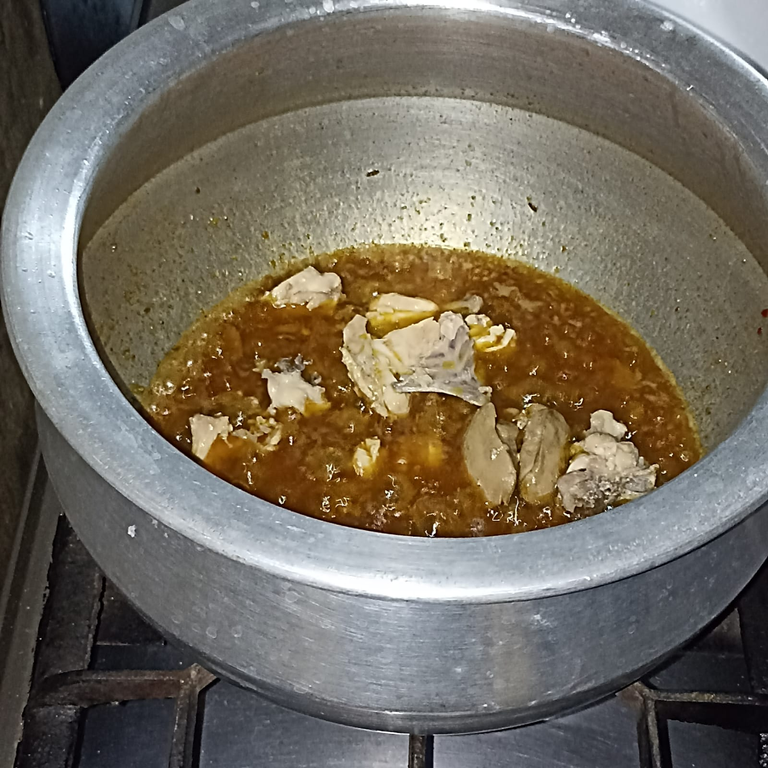
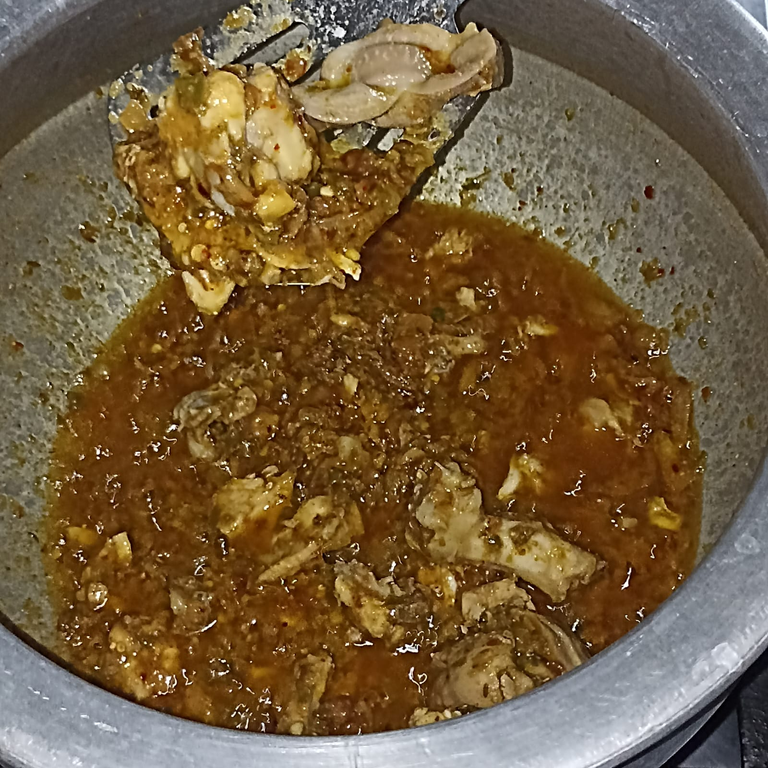
Now in this we have to use black pepper, you can add as much as you want according to your taste. Add the black pepper and then add the meat.
When it is seen that everything has left the ghee, then after that we have to add the boiled chicken in it.
 |  |  |  |
|---|
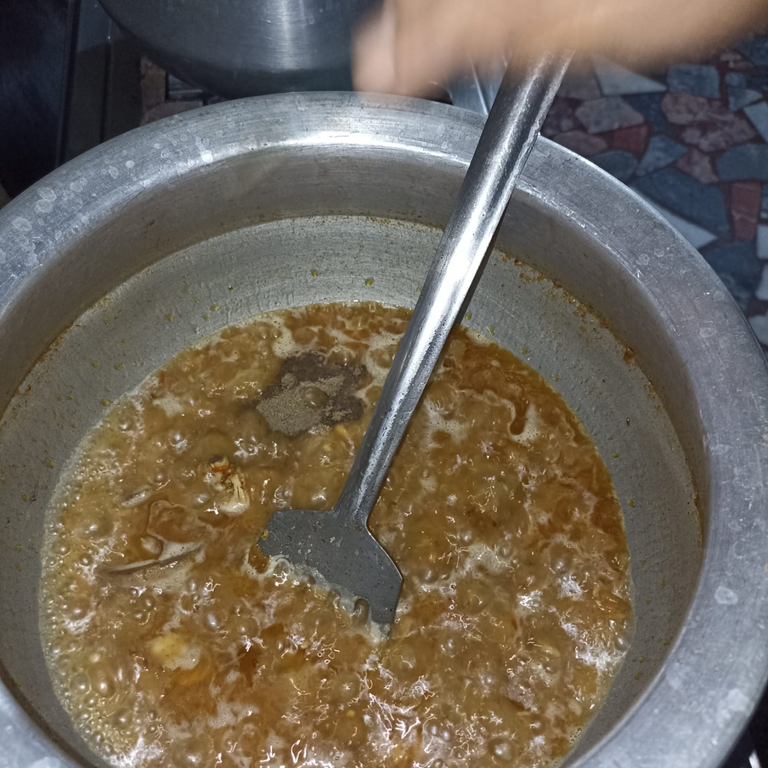
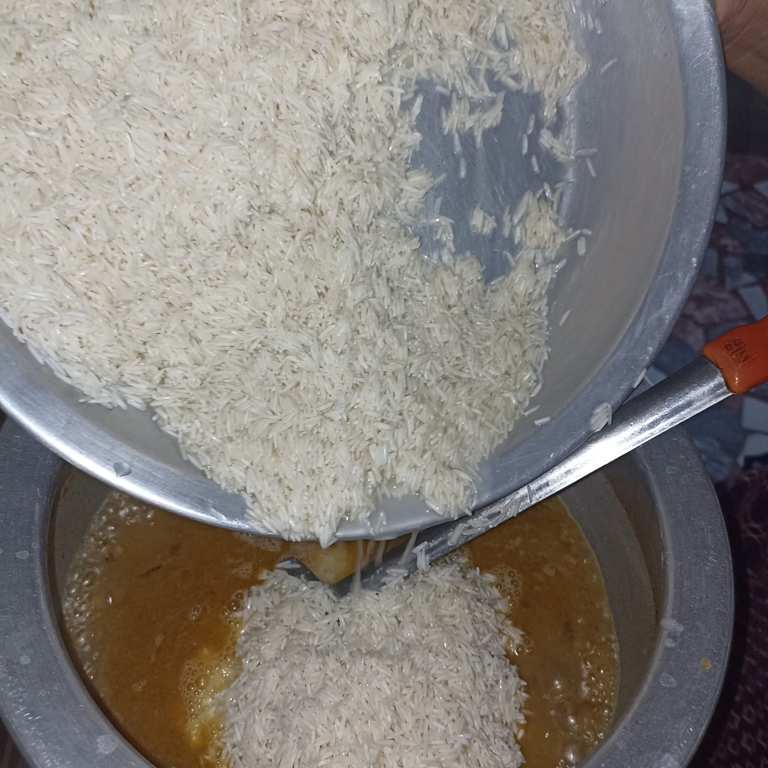
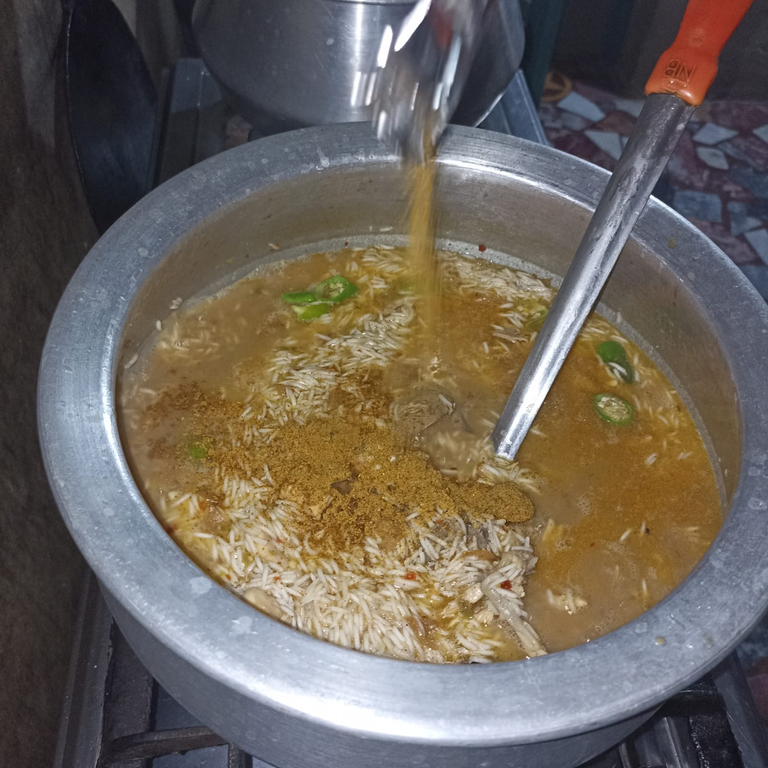
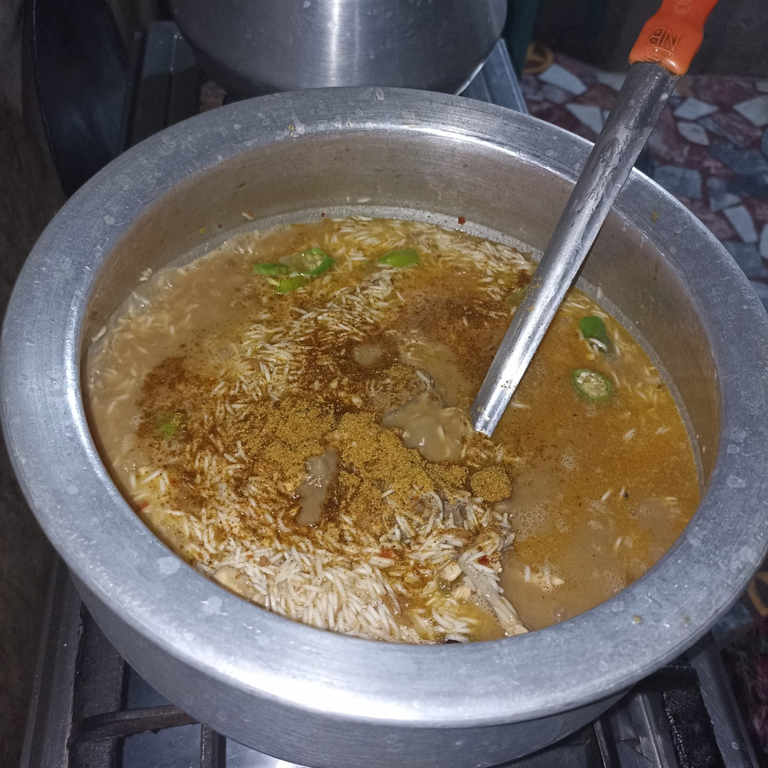
Stir it well for five minutes and then add the rice. Add the rice that we have already soaked in water. If you have one kilo of rice, add two kilos of water to it and start cooking it.
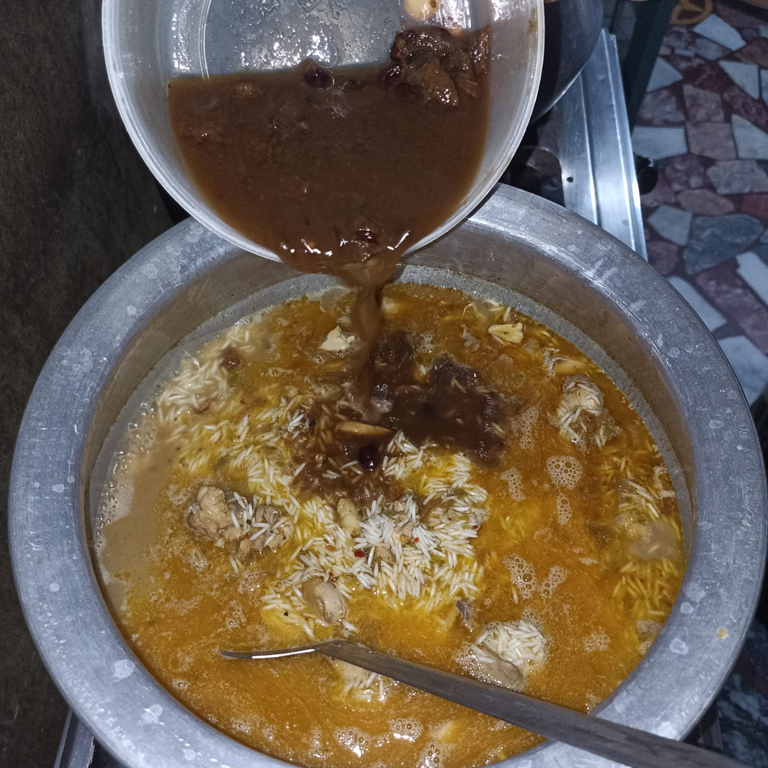
When we have added rice to it, at the same time we have to add tamarind pulp to it. Also add biryani spices. Then it has to be cooked properly.
 |  |
|---|
 |  |  |
|---|
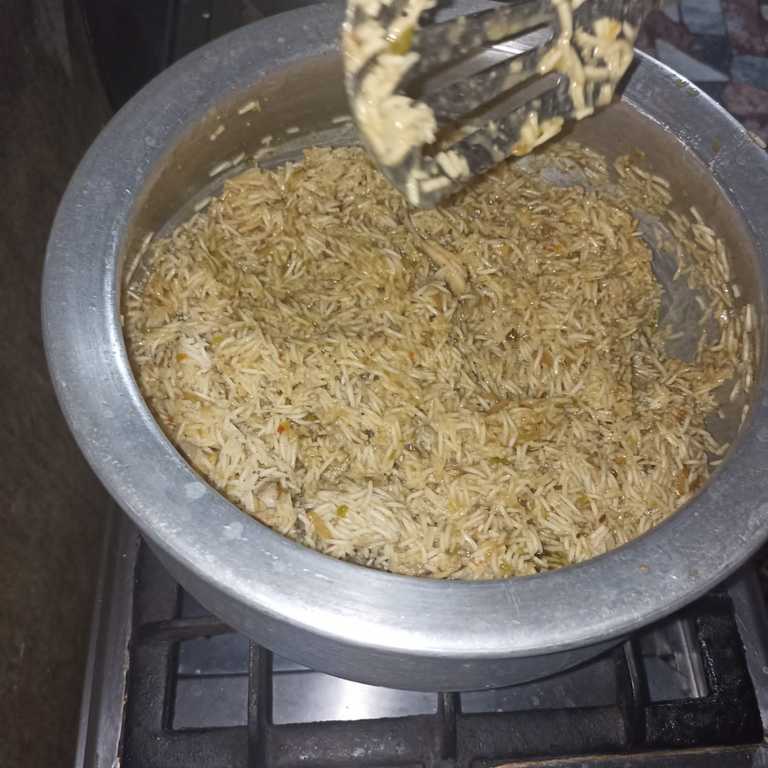
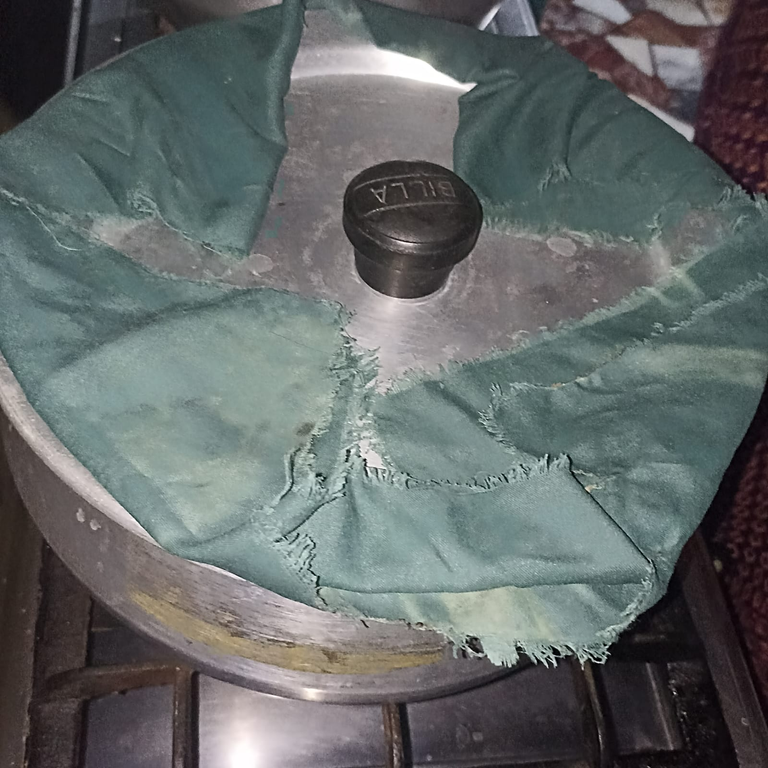
When the water in the rice dries up well, then steam it for 15 minutes. Cover it with a cloth and place it on top of it. So that oxygen does not escape from it and steam it on low flame for 15 minutes.
 |  |
|---|
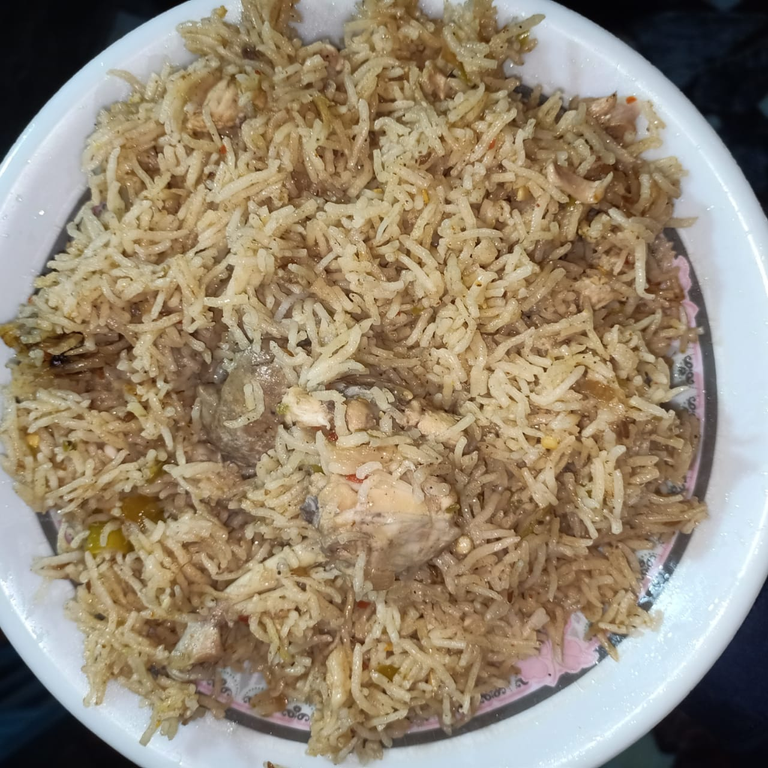
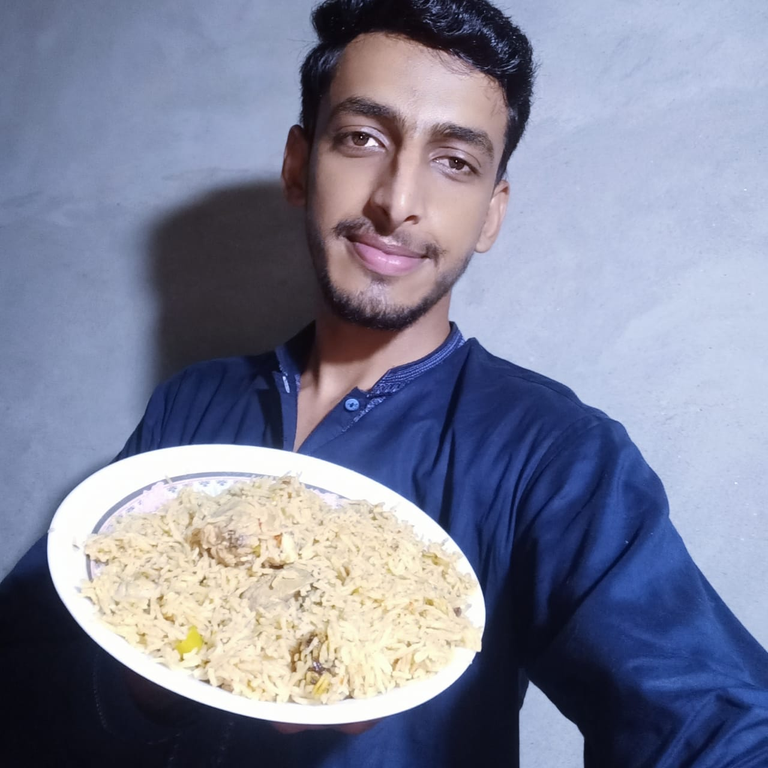
After 15 minutes you will see that you have a delicious chicken biryani ready. This is the final look of the chicken biryani which you can see in the pictures below. And you can also see my selfie with them. Hope you guys also like this chicken biryani it is very tasty.
 |  |
|---|---|
|  |
Hope you guys know how we can prepare chicken biryani. There is a very easy way to prepare it which I have described before you. Thank you all so much for stopping by. See you in a new post with new content until then I ask for your permission Allah Hafiz.