How's it going I have been intrigued with avalanche, and cro and even polygon..
I had no idea how to use avalanche but I looked around and found it to be rather simple. I will be using Hive to AVAX as an example, for this I will be using the simpleswap exchange.
Now, listen you are able to use your Metamask extension
- https://wallet.avax.network/wallet
- Beeswap*
- Simpleswap
- Metamask
Above are what I will be presenting.. again once I got it done it was a piece of cake. If you want to try the avalanche network keep reading.
One thing though, metamask using a different setup "network" C chain like smart contract type of deal, I will explain below about how to move from your mainwallet AVAX to metamask wallet.
For this example I will use hive and simpleswap if you don't have liquid hive but you do have swap.hive id recommend using https://beeswap.dcity.io/swap so once you have Hive in your wallet it be in your hive account wallet or exchange.. for this purpose I have hive on here.
Instructions
STEP 1. AVAX main wallet set up
So, I have my hive, but first you must create an avalanche wallet, - https://wallet.avax.network/create
- Follow instructions pretty much the same process as any other wallet you have created thus far.
save your passphrase
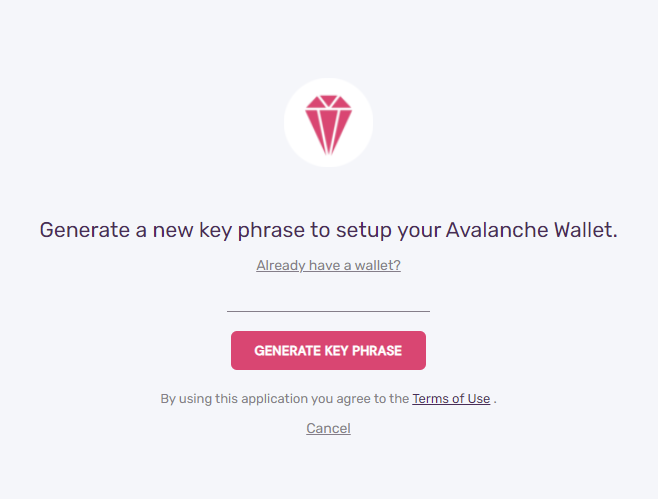
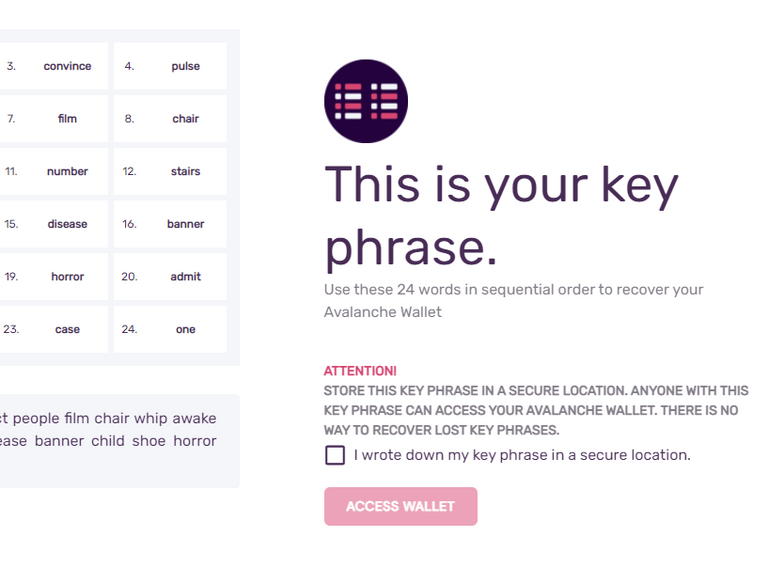
This is what it will look like when it shows you your words. !!SAVE THEM!!
Once you have it all set up it will bring you to your dashboard.
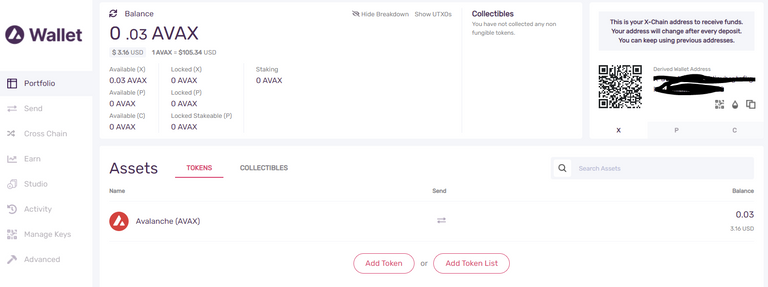
Now you have your wallet, and your words saved, also maybe bookmark the wallet ( it is a web wallet, yes)
STEP 2. Swap Hive for AVAX main coin - SIMPLESWAP
Now we go to simpleswap, and as you can see I already have a swap ready to roll, I took this screenshot a couple of minutes ago for this post, I already traded hive for AVAX and was actually able to get more when the price was lower, image below.
You enter the amount of hive you want to swap min is 75 hive atm, than you grab you AVAX wallet address from you wallet you created earlier.
Now this is where the metamask and main coin come into play you can see you have three options for addresses, X, P and C we will be using X and C network the C address is the one you can use to interact with Metamask.
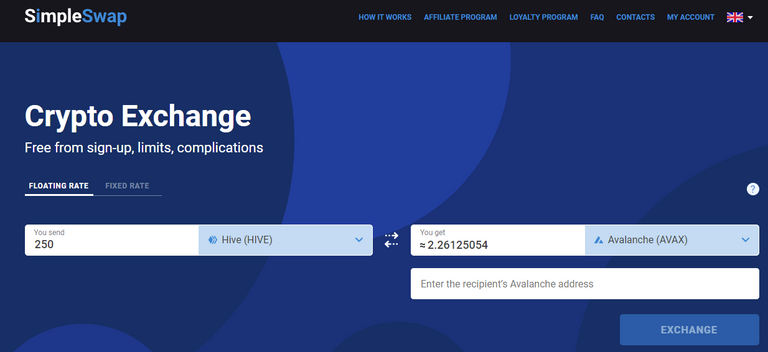
This is the swap I did earlier while I was setting this up for myself.

Once you have your AVAX in your main wallet, we must than set up your Metmask wallet to be able it use the AVAX network, see below.
STEP 3. Set up AVAX network on Metmask
How do I set up MetaMask on Avalanche?
If you are already using Metamask you already know.. if not check out some youtube videos on metamask.
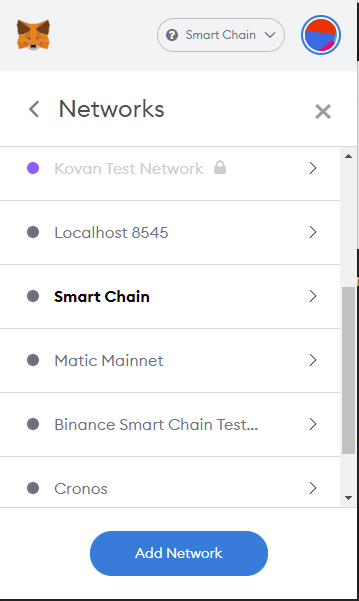
Network Name: Avalanche Network
New RPC URL: https://api.avax.network/ext/bc/C/rpc
ChainID: 43114
Symbol: AVAX
Explorer: https://snowtrace.io/
STEP 4. Send AVAX to Your MetaMask Connected to Avalanche
Go to https://wallet.avax.network/, and access your Avalanche Wallet.
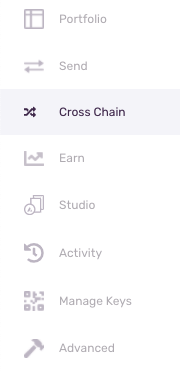
On the left, there is a list of options. Click "Cross-Chain"
- Choose the "C Chain (Contract)" as the destination chain
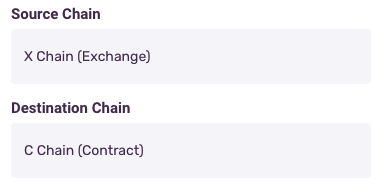
- Enter the amount you would like to transfer, and then click confirm
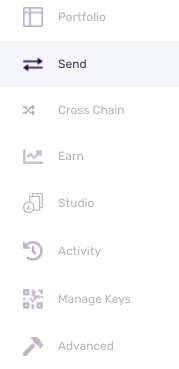
Now you can send the AVAX from your Avalanche wallet to your MetaMask wallet.
- Select "Send"

- Select "C Contract" as the Source Chain
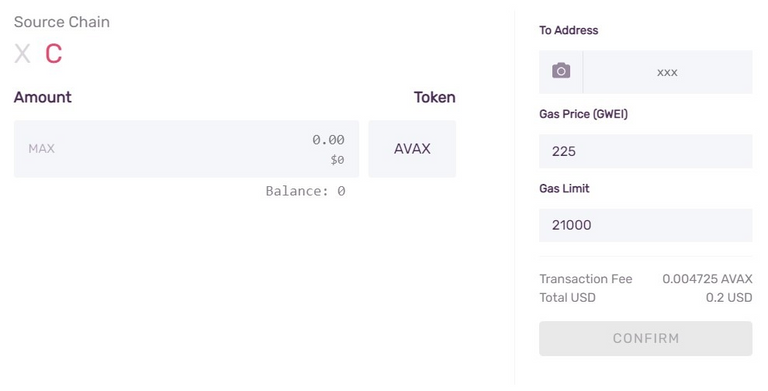
- Enter your MetaMask wallet address by copying and pasting it into the "To Address" field on your Avalanche wallet.
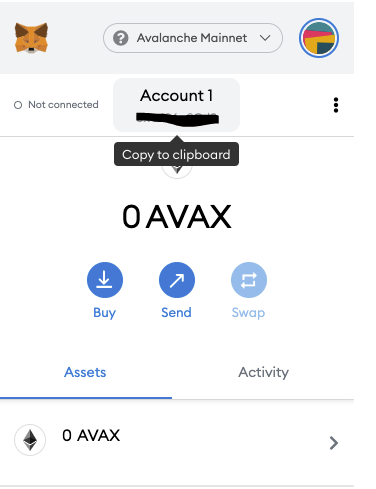
- Confirm, and finalize the transaction.
and done, just do the opposite if you want to come back to hive from Metamask.
Thanks. I seem to have many problems with metamask. My money always just disappears … so now I just buy Blurt and BYT on Hive-Engine. I’m happy with a 3,000 % return.